

These Red Velvet Cupcakes are simply divine – moist, tender, with that signature hint of cocoa and gorgeous crimson color that makes them irresistible. With a velvety texture and topped with cream cheese frosting, these cupcakes are perfect for special occasions or whenever you need a little sweetness in your life. Ready in under 40 minutes, they’re surprisingly simple to make even on busy days!
Why You’ll Love This Recipe
- Classic Flavor with Modern Ease: These cupcakes deliver that nostalgic red velvet flavor everyone loves, but with straightforward instructions that make them accessible even for novice bakers.
- Perfect Texture: The combination of cake flour and buttermilk creates an incredibly tender crumb that literally melts in your mouth – it’s what puts the “velvet” in red velvet!
- Versatile for Any Occasion: Whether it’s Valentine’s Day, birthdays, holidays, or just Tuesday afternoon, these cupcakes bring a touch of elegance and fun to any gathering.
- Foolproof Results: This recipe has been tested repeatedly to ensure success – follow the steps and you’ll get picture-perfect cupcakes every single time.

Ingredients You’ll Need
- Cake Flour: The lower protein content creates a more delicate, tender crumb than all-purpose flour. If you don’t have cake flour, you can make your own by replacing 2 tablespoons per cup with cornstarch.
- Cocoa Powder: Provides that subtle chocolate flavor that defines red velvet. Don’t increase the amount or you’ll lose the signature taste!
- Salt: Enhances all the flavors and balances the sweetness.
- Eggs: Act as binders and add richness to the batter.
- Sugar: Sweetens the cupcakes and helps create their tender texture.
- Vegetable Oil: Creates moisture that lasts for days – much better than butter for these particular cupcakes.
- Vanilla Extract: Adds depth and warmth to the flavor profile.
- Red Gel Food Coloring: Gives the cupcakes their iconic color. Gel works better than liquid as it provides intense color without thinning the batter.
- Vinegar: Reacts with baking soda to create lift and tenderness.
- Baking Soda: Works with the vinegar and buttermilk to create the perfect rise.
- Buttermilk: Adds tanginess and creates an incredibly moist texture. The acidity also helps activate the baking soda.
Variations
Want to put your own spin on these classic cupcakes? Try these creative variations:
- Mini Red Velvet Cupcakes: Use a mini muffin tin and reduce baking time to about 10-12 minutes for bite-sized treats.
- Red Velvet Cookie Cups: Press red velvet cookie dough into muffin tins, bake, and fill the centers with cream cheese frosting.
- White Chocolate Chips: Fold 1/2 cup of white chocolate chips into the batter for pockets of creamy sweetness.
- Filled Red Velvet Cupcakes: Core the center of baked and cooled cupcakes, then fill with chocolate ganache, caramel, or even a raspberry filling before frosting.
How to Make Red Velvet Cupcakes
Step 1: Prepare Your Workspace
Preheat your oven to 350°F and line a standard muffin tin with paper liners. Having everything ready before you start mixing will make the process smoother.
Step 2: Mix Dry Ingredients
In a medium bowl, whisk together the sifted cake flour, cocoa powder, and salt until well combined. Sifting the flour is crucial for achieving that light, fluffy texture.
Step 3: Create Your Base
Using an electric mixer, combine the sugar and vegetable oil until fully incorporated. This mixture won’t get fluffy since there’s no butter, but it should be well blended.
Step 4: Add Eggs and Flavor
Add eggs one at a time, mixing just until combined after each addition. Overmixing at this stage can make your cupcakes tough. Mix in the vanilla extract and red food gel coloring, adjusting the amount of coloring to achieve your desired shade of red.
Step 5: Incorporate Wet and Dry Ingredients
Alternate adding the flour mixture and buttermilk to your batter in three batches, beginning and ending with the flour. Mix well between each addition but don’t overbeat.
Step 6: The Chemical Reaction
In a small separate bowl, stir together the vinegar and baking soda – watch it fizz! Quickly fold this bubbly mixture into your batter, mixing until just combined. This reaction helps create the distinctive texture of red velvet.
Step 7: Fill and Bake
Using an ice cream scoop or spoon, divide the batter evenly among the lined muffin cups, filling each about 2/3 full. Bake for 18 minutes, rotating the pan halfway through cooking time. They’re done when a toothpick inserted in the center comes out clean.
Step 8: Cool Completely
Allow the cupcakes to cool in the pan for about 5 minutes, then transfer to wire racks to cool completely before frosting. Patience here is key – frosting warm cupcakes will result in a melty mess!
Pro Tips for Making the Recipe
- Room Temperature Ingredients: Make sure eggs and buttermilk are at room temperature for better incorporation into the batter.
- Don’t Overmix: Mix just until ingredients are combined to keep cupcakes tender. Overmixing develops gluten and results in tough cupcakes.
- Measure Accurately: Use the spoon and level method for measuring flour – spoon flour into measuring cups and level with a knife.
- Color Control: Add food coloring gradually until you reach your desired shade. Remember that the color will darken slightly during baking.
- Use an Ice Cream Scoop: For perfectly uniform cupcakes, use a standard ice cream scoop to portion the batter.
How to Serve
Red velvet cupcakes are versatile enough to be served in numerous delightful ways:
Perfect Pairings
Serve with a glass of cold milk, hot coffee, or even champagne for special celebrations. The tanginess of the cream cheese frosting pairs beautifully with both coffee and sparkling wine.
Seasonal Touches
Customize your decorations based on the season – heart sprinkles for Valentine’s Day, green and red accents for Christmas, or pastel decorations for spring events.
Dessert Table Star
Create a tiered display of these cupcakes for an impressive presentation at parties. Their vibrant color makes them a natural centerpiece for any dessert table.
Make Ahead and Storage
Storing Leftovers
Store frosted cupcakes in an airtight container in the refrigerator for up to 3 days. The moisture from the oil keeps them tasting fresh even after refrigeration.
Freezing
Unfrosted cupcakes freeze beautifully for up to 3 months. Wrap each cupcake individually in plastic wrap, then place in a freezer bag. Thaw completely at room temperature before frosting.
Make Ahead Options
Prepare the cupcakes 1-2 days ahead and store unfrosted in an airtight container at room temperature. You can also make the frosting ahead and refrigerate separately, then bring to room temperature and whip briefly before assembling.
FAQs
Why did my red velvet cupcakes turn brown?
Red velvet cupcakes can turn brownish if there’s too much cocoa powder or not enough food coloring. Make sure to measure the cocoa precisely and use gel food coloring for the most vibrant red. Also, check that your oven isn’t running too hot, as high temperatures can affect the color.
Can I make these cupcakes without food coloring?
Absolutely! While they won’t have the signature red color, the flavor will still be delicious. Some bakers use natural alternatives like beet powder, though this will alter the flavor slightly and produce a more muted burgundy color rather than bright red.
Why use buttermilk in red velvet cupcakes?
Buttermilk serves multiple important functions: its acidity helps activate the baking soda, creates tenderness, adds moisture, and provides that subtle tangy flavor that’s characteristic of red velvet. If you don’t have buttermilk, you can make a substitute by adding 1 tablespoon of white vinegar or lemon juice to 1 cup of milk and letting it sit for 5 minutes.
What’s the best frosting for red velvet cupcakes?
Cream cheese frosting is the traditional choice because its slight tanginess perfectly complements the subtle cocoa flavor of red velvet. If you’re not a fan of cream cheese, vanilla buttercream is a good alternative. For something different, try white chocolate frosting or even a chocolate ganache!
Final Thoughts
These Red Velvet Cupcakes are more than just a treat – they’re a small celebration in cupcake form. Their vibrant color, velvety texture, and perfect balance of flavors make them absolutely irresistible. Whether you’re baking for someone special or just treating yourself, these cupcakes never fail to bring joy. Give this recipe a try – I promise the results will have everyone asking for seconds!
Print
Red Velvet Cupcakes Recipe
- Prep Time: 20 minutes
- Cook Time: 18 minutes
- Total Time: 38 minutes
- Yield: 24 cupcakes 1x
- Category: Desserts
- Method: Baking
- Cuisine: American
- Diet: Vegetarian
Description
These moist, fluffy Red Velvet Cupcakes feature a tender crumb, a rich hint of cocoa, and a vibrant red hue, finished with your favorite cream cheese frosting. Perfect for celebrations or a decadent treat, they’re simple to make and deliver bakery-quality results at home.
Ingredients
Cupcakes
- 2 1/2 cups cake flour, sifted
- 1 tsp salt
- 2 tbsp cocoa powder
- 1 1/2 cups sugar
- 1 1/2 cups vegetable oil
- 2 large eggs
- 1 tsp vanilla extract
- 1 tsp red gel food coloring (add more for deeper red color)
- 1 cup buttermilk
- 2 tsp vinegar
- 1 1/2 tsp baking soda
Instructions
- Preheat Oven & Prepare Pan: Preheat your oven to 350°F (175°C). Line a standard muffin tin with 24 paper liners.
- Combine Dry Ingredients: In a medium bowl, whisk together the sifted cake flour, cocoa powder, and salt until evenly combined. Set aside.
- Mix Sugar and Oil: In a large bowl, use an electric mixer to combine the sugar and vegetable oil until smoothly blended.
- Add Eggs: Add the eggs one at a time, mixing gently after each addition until just combined.
- Incorporate Flavor & Color: Add the vanilla extract and red gel food coloring to the wet mixture, mixing slowly until the color is evenly distributed. Add more coloring if a deeper red shade is desired.
- Alternate Dry & Wet Ingredients: Alternately add the flour mixture and buttermilk to the wet ingredients in three batches, beginning and ending with flour. Mix well between each addition, but avoid overmixing to keep the cupcakes tender.
- Add Leavening Mixture: In a small bowl, stir together the vinegar and baking soda (it will fizz) and immediately add this to the cupcake batter. Mix until just combined.
- Fill Cupcake Liners: Use an ice cream scoop or spoon to evenly divide the batter among the 24 muffin cups, filling each about 2/3 full.
- Bake: Bake for 18 minutes, rotating the muffin tin halfway through, until a toothpick inserted in the center comes out clean.
- Cool: Let cupcakes cool in the pan for a few minutes, then transfer to wire racks to cool completely before frosting.
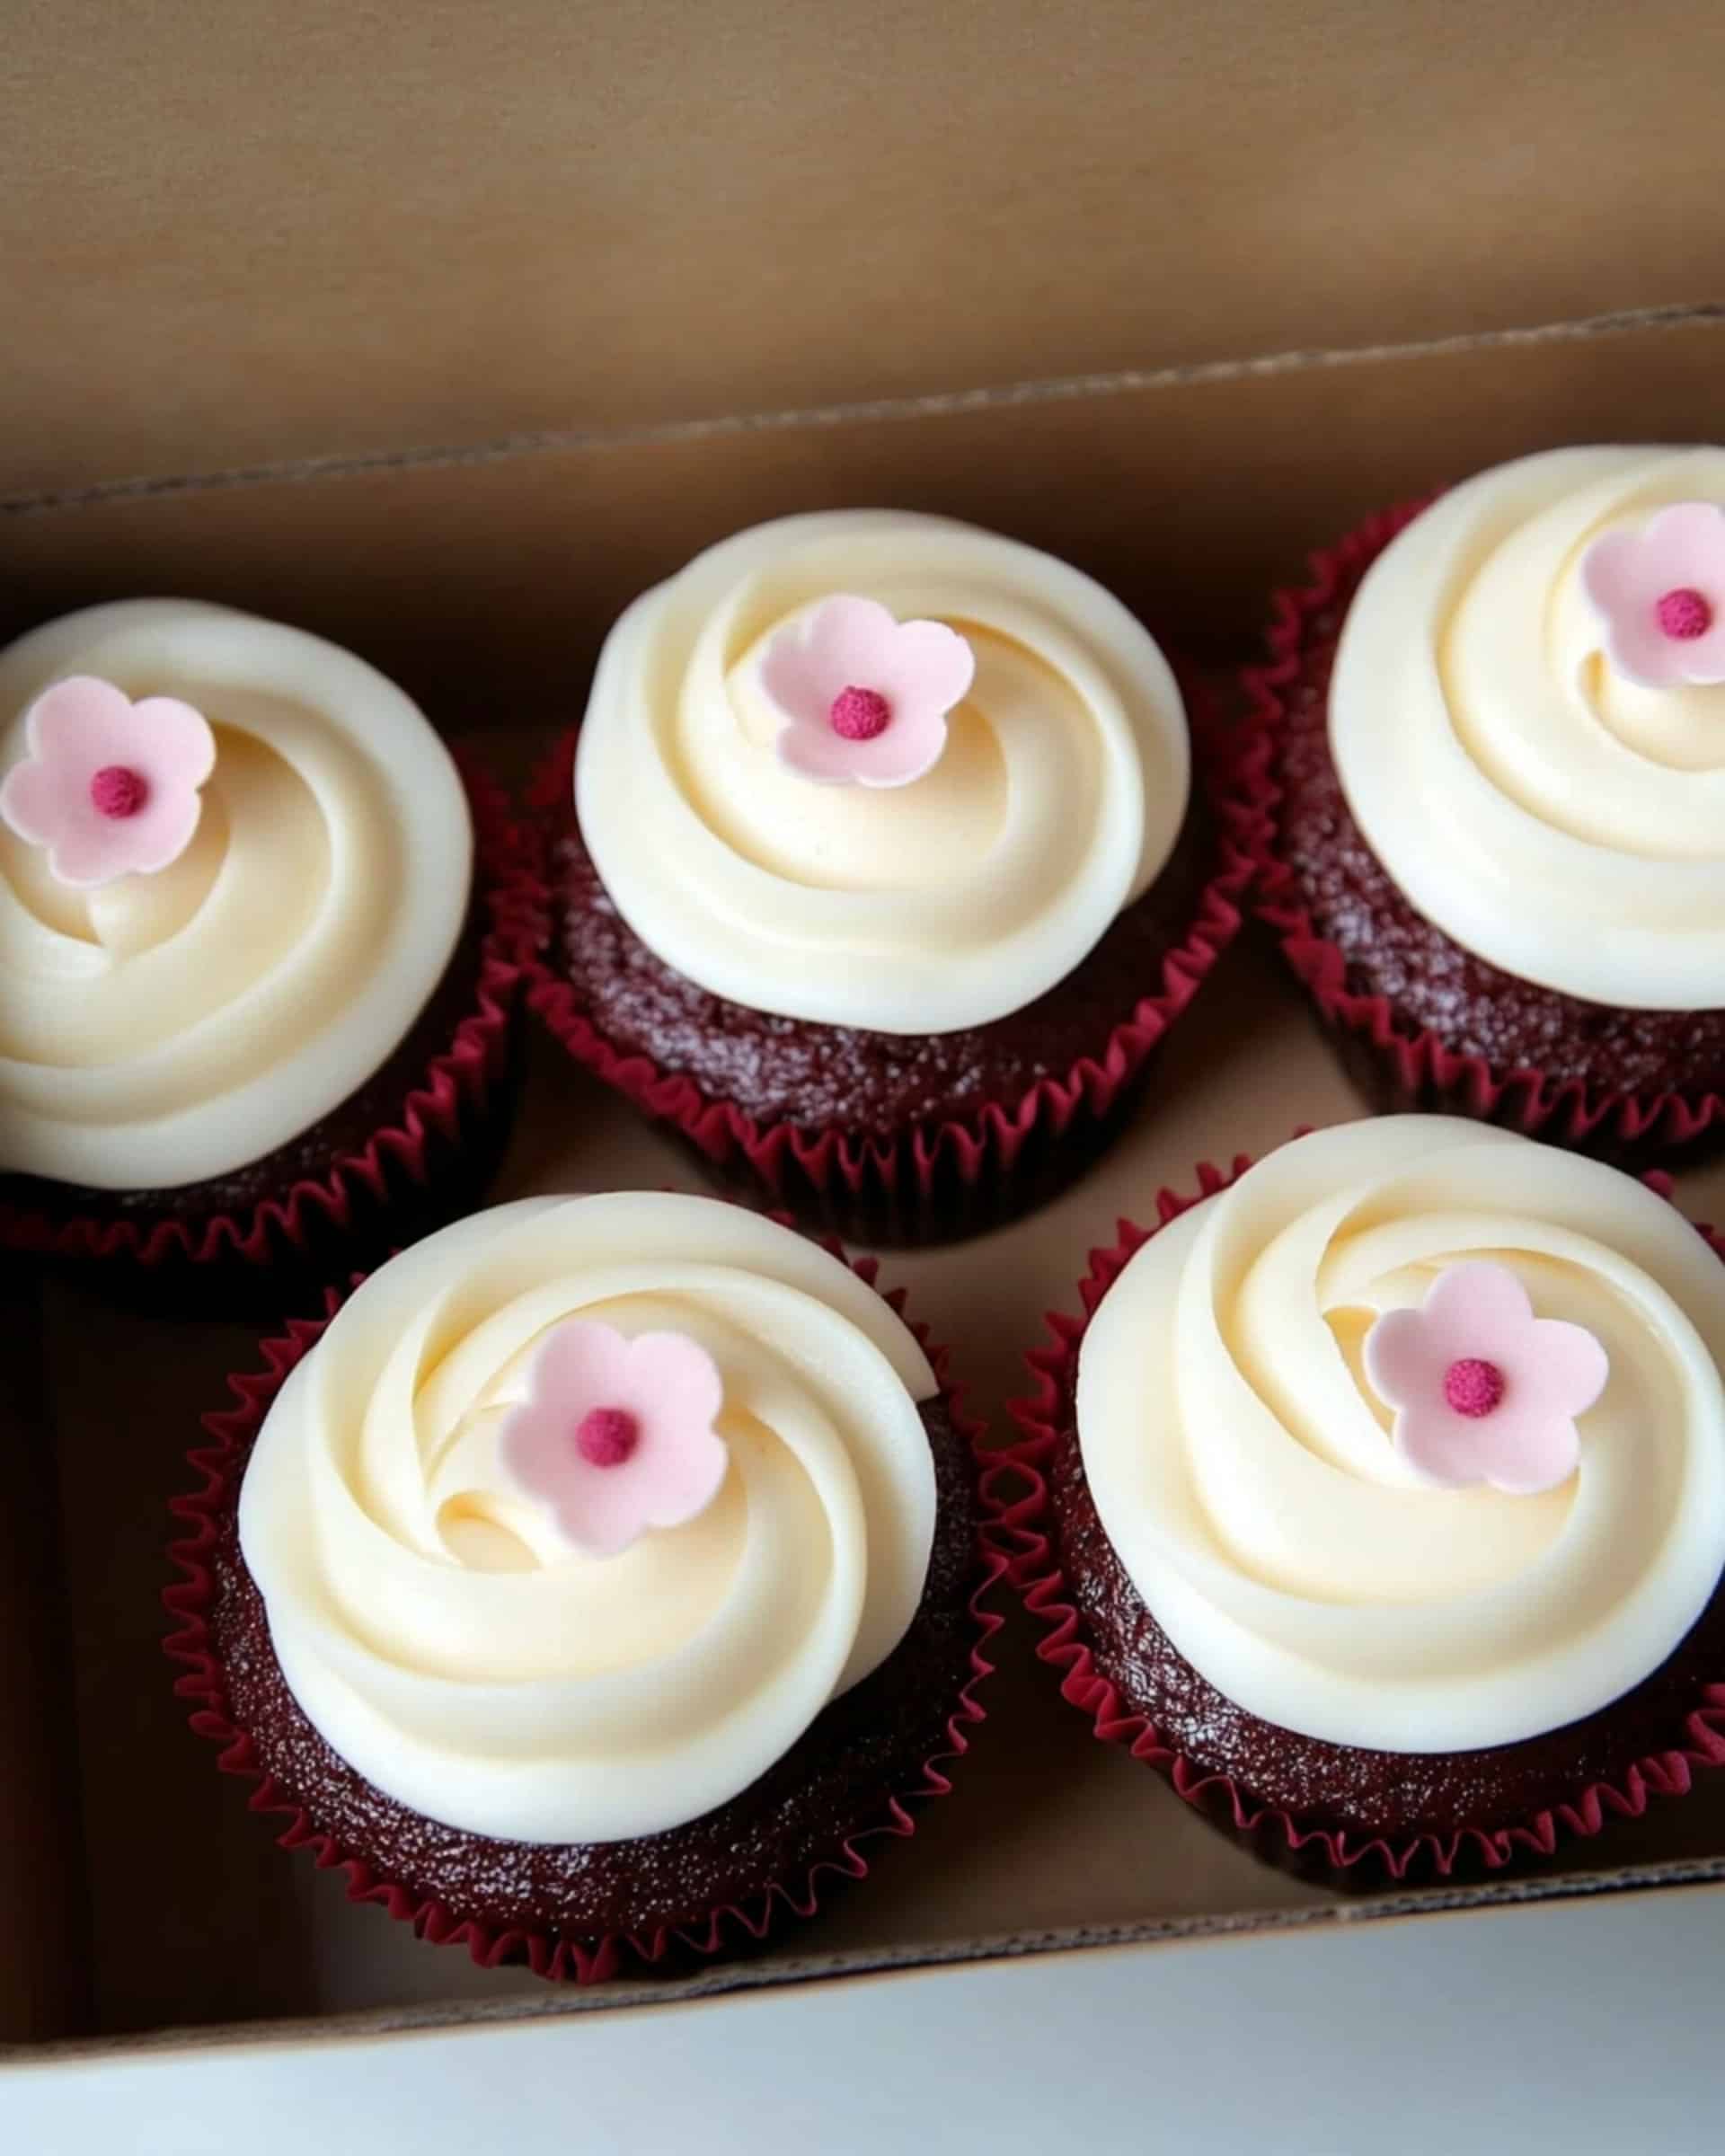
- Frost and Decorate: Once fully cooled, frost generously with cream cheese frosting. Decorate with fondant flowers, hearts, red velvet cake crumbs, or enjoy plain.
Notes
- For the deepest color, use gel food coloring rather than liquid.
- Ensure cupcakes are completely cool before frosting to prevent the icing from melting.
- Red Velvet pairs best with classic cream cheese frosting.
- Store frosted cupcakes in an airtight container in the refrigerator for up to 3 days.
Nutrition
- Serving Size: 1 cupcake
- Calories: 230
- Sugar: 18g
- Sodium: 190mg
- Fat: 11g
- Saturated Fat: 1.5g
- Unsaturated Fat: 8g
- Trans Fat: 0g
- Carbohydrates: 30g
- Fiber: 0.7g
- Protein: 2.5g
- Cholesterol: 16mg

Your email address will not be published. Required fields are marked *