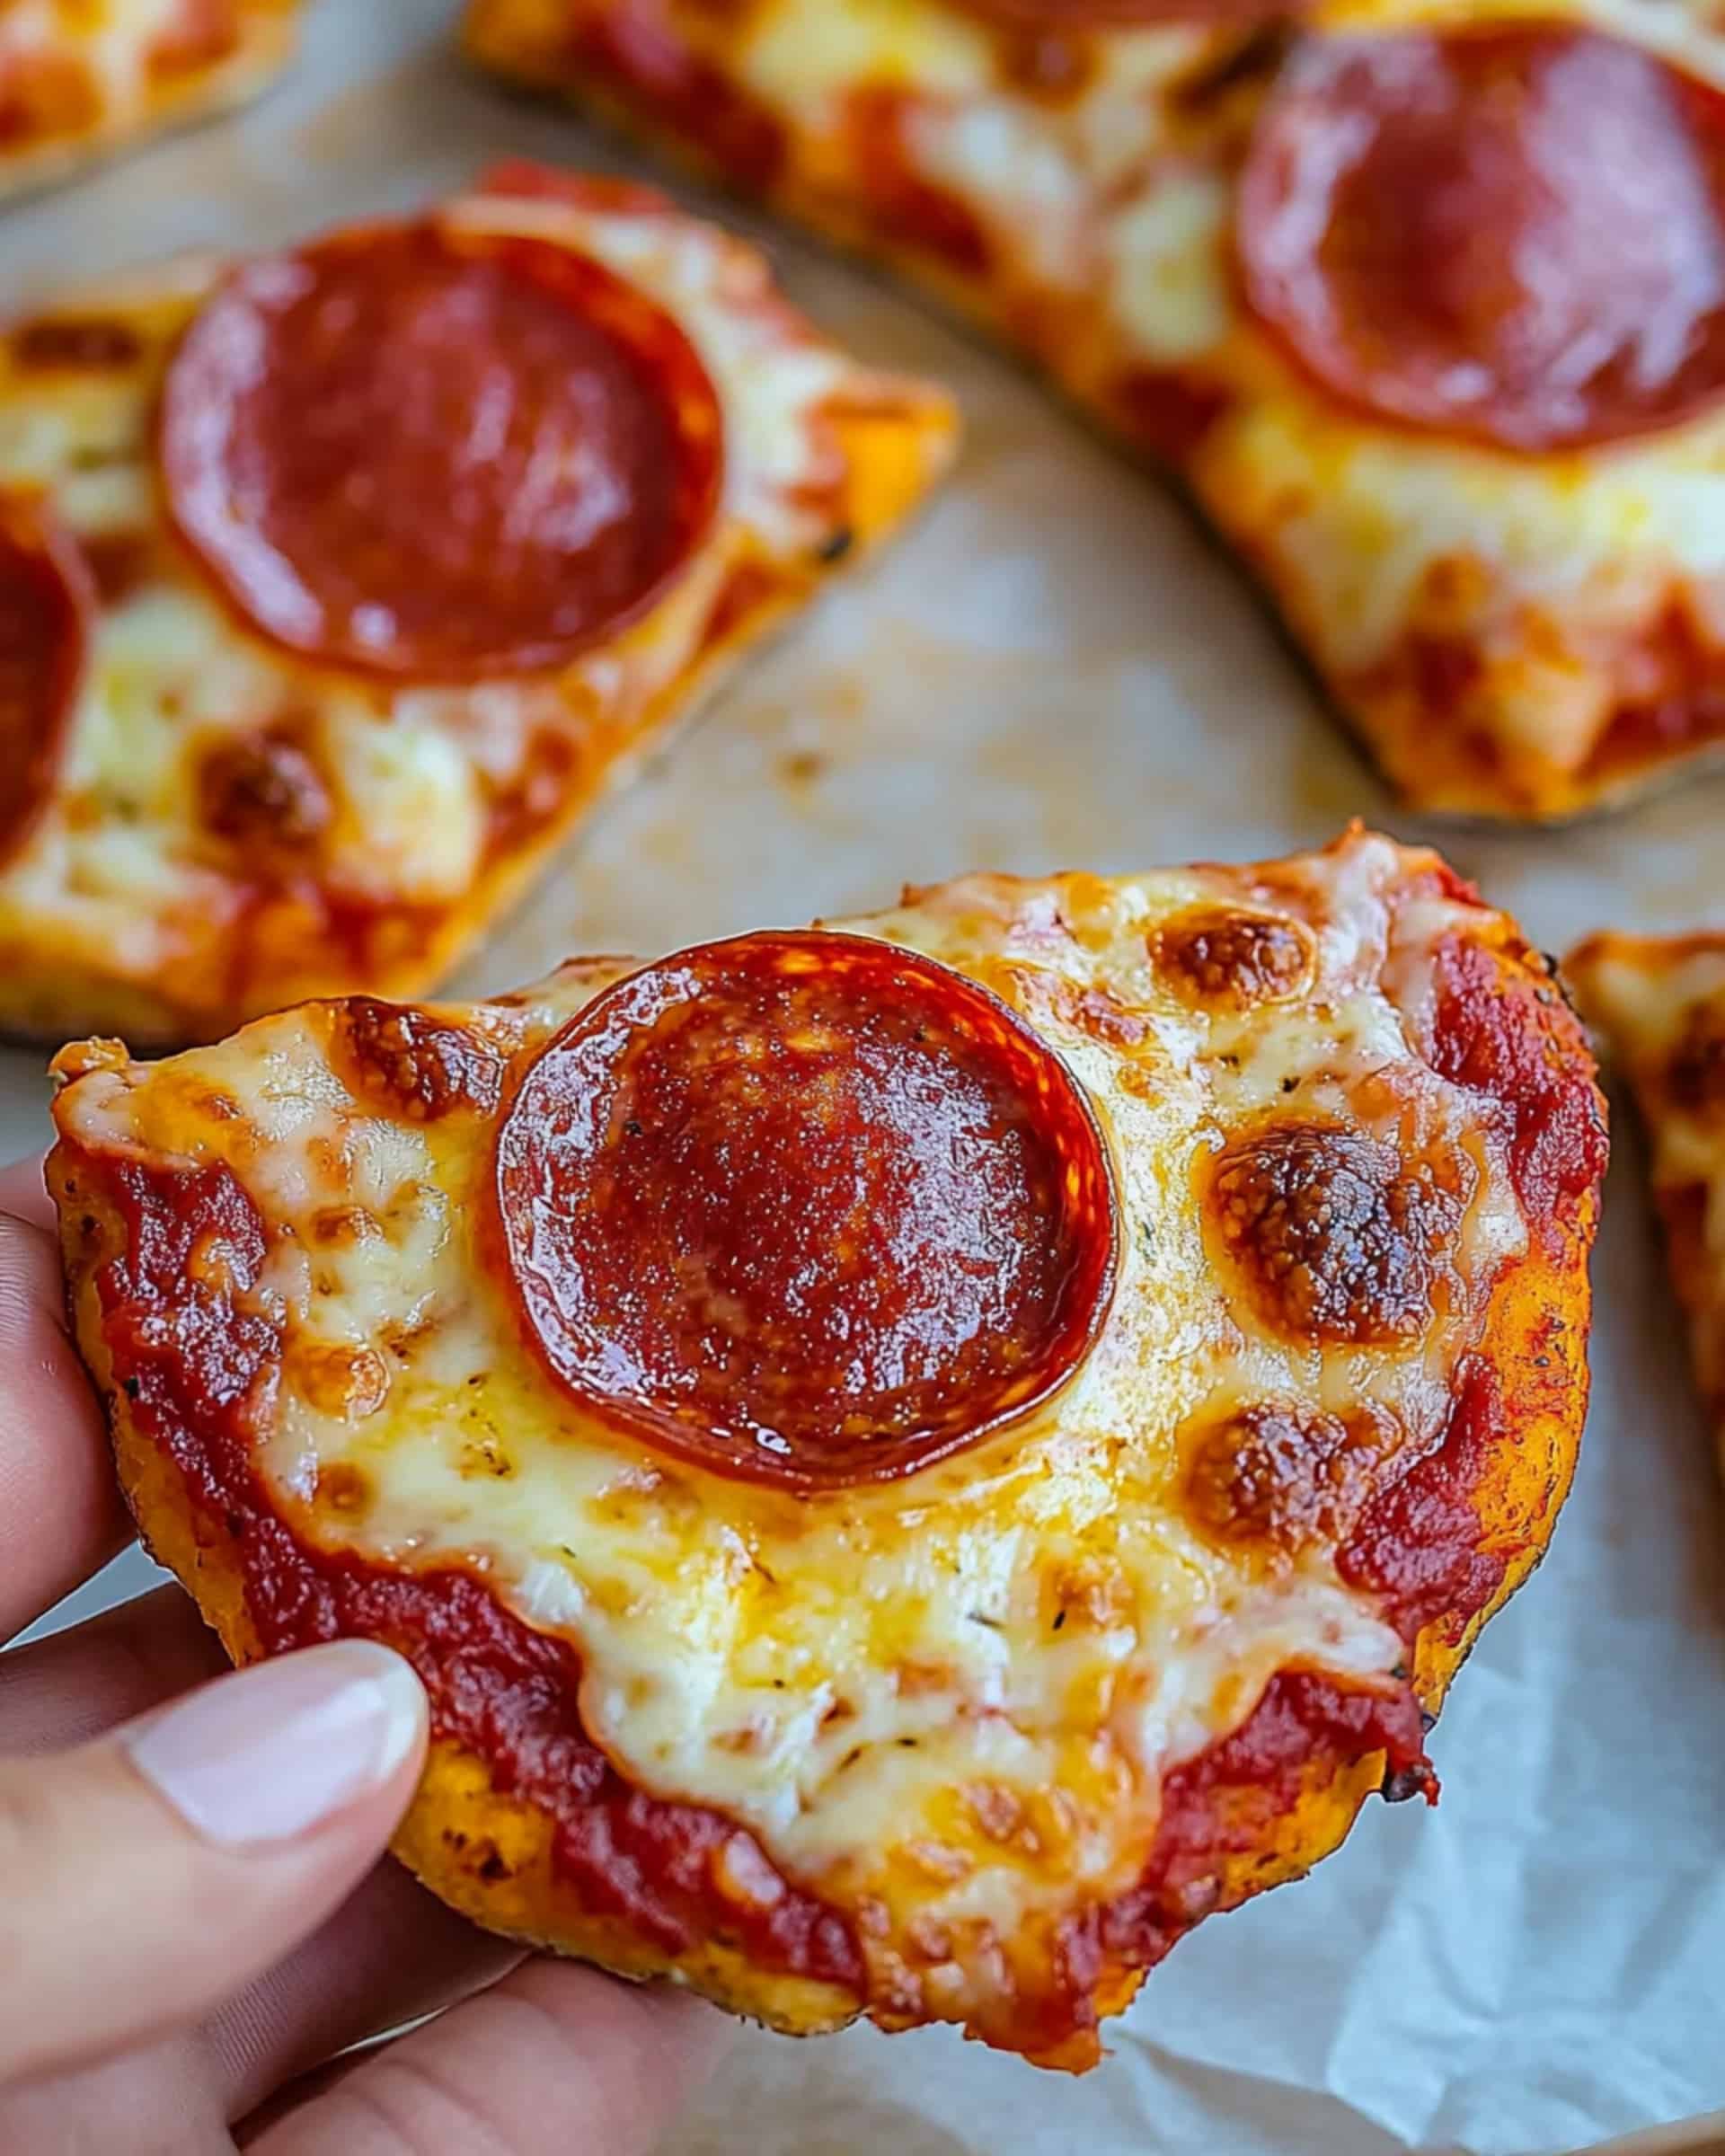
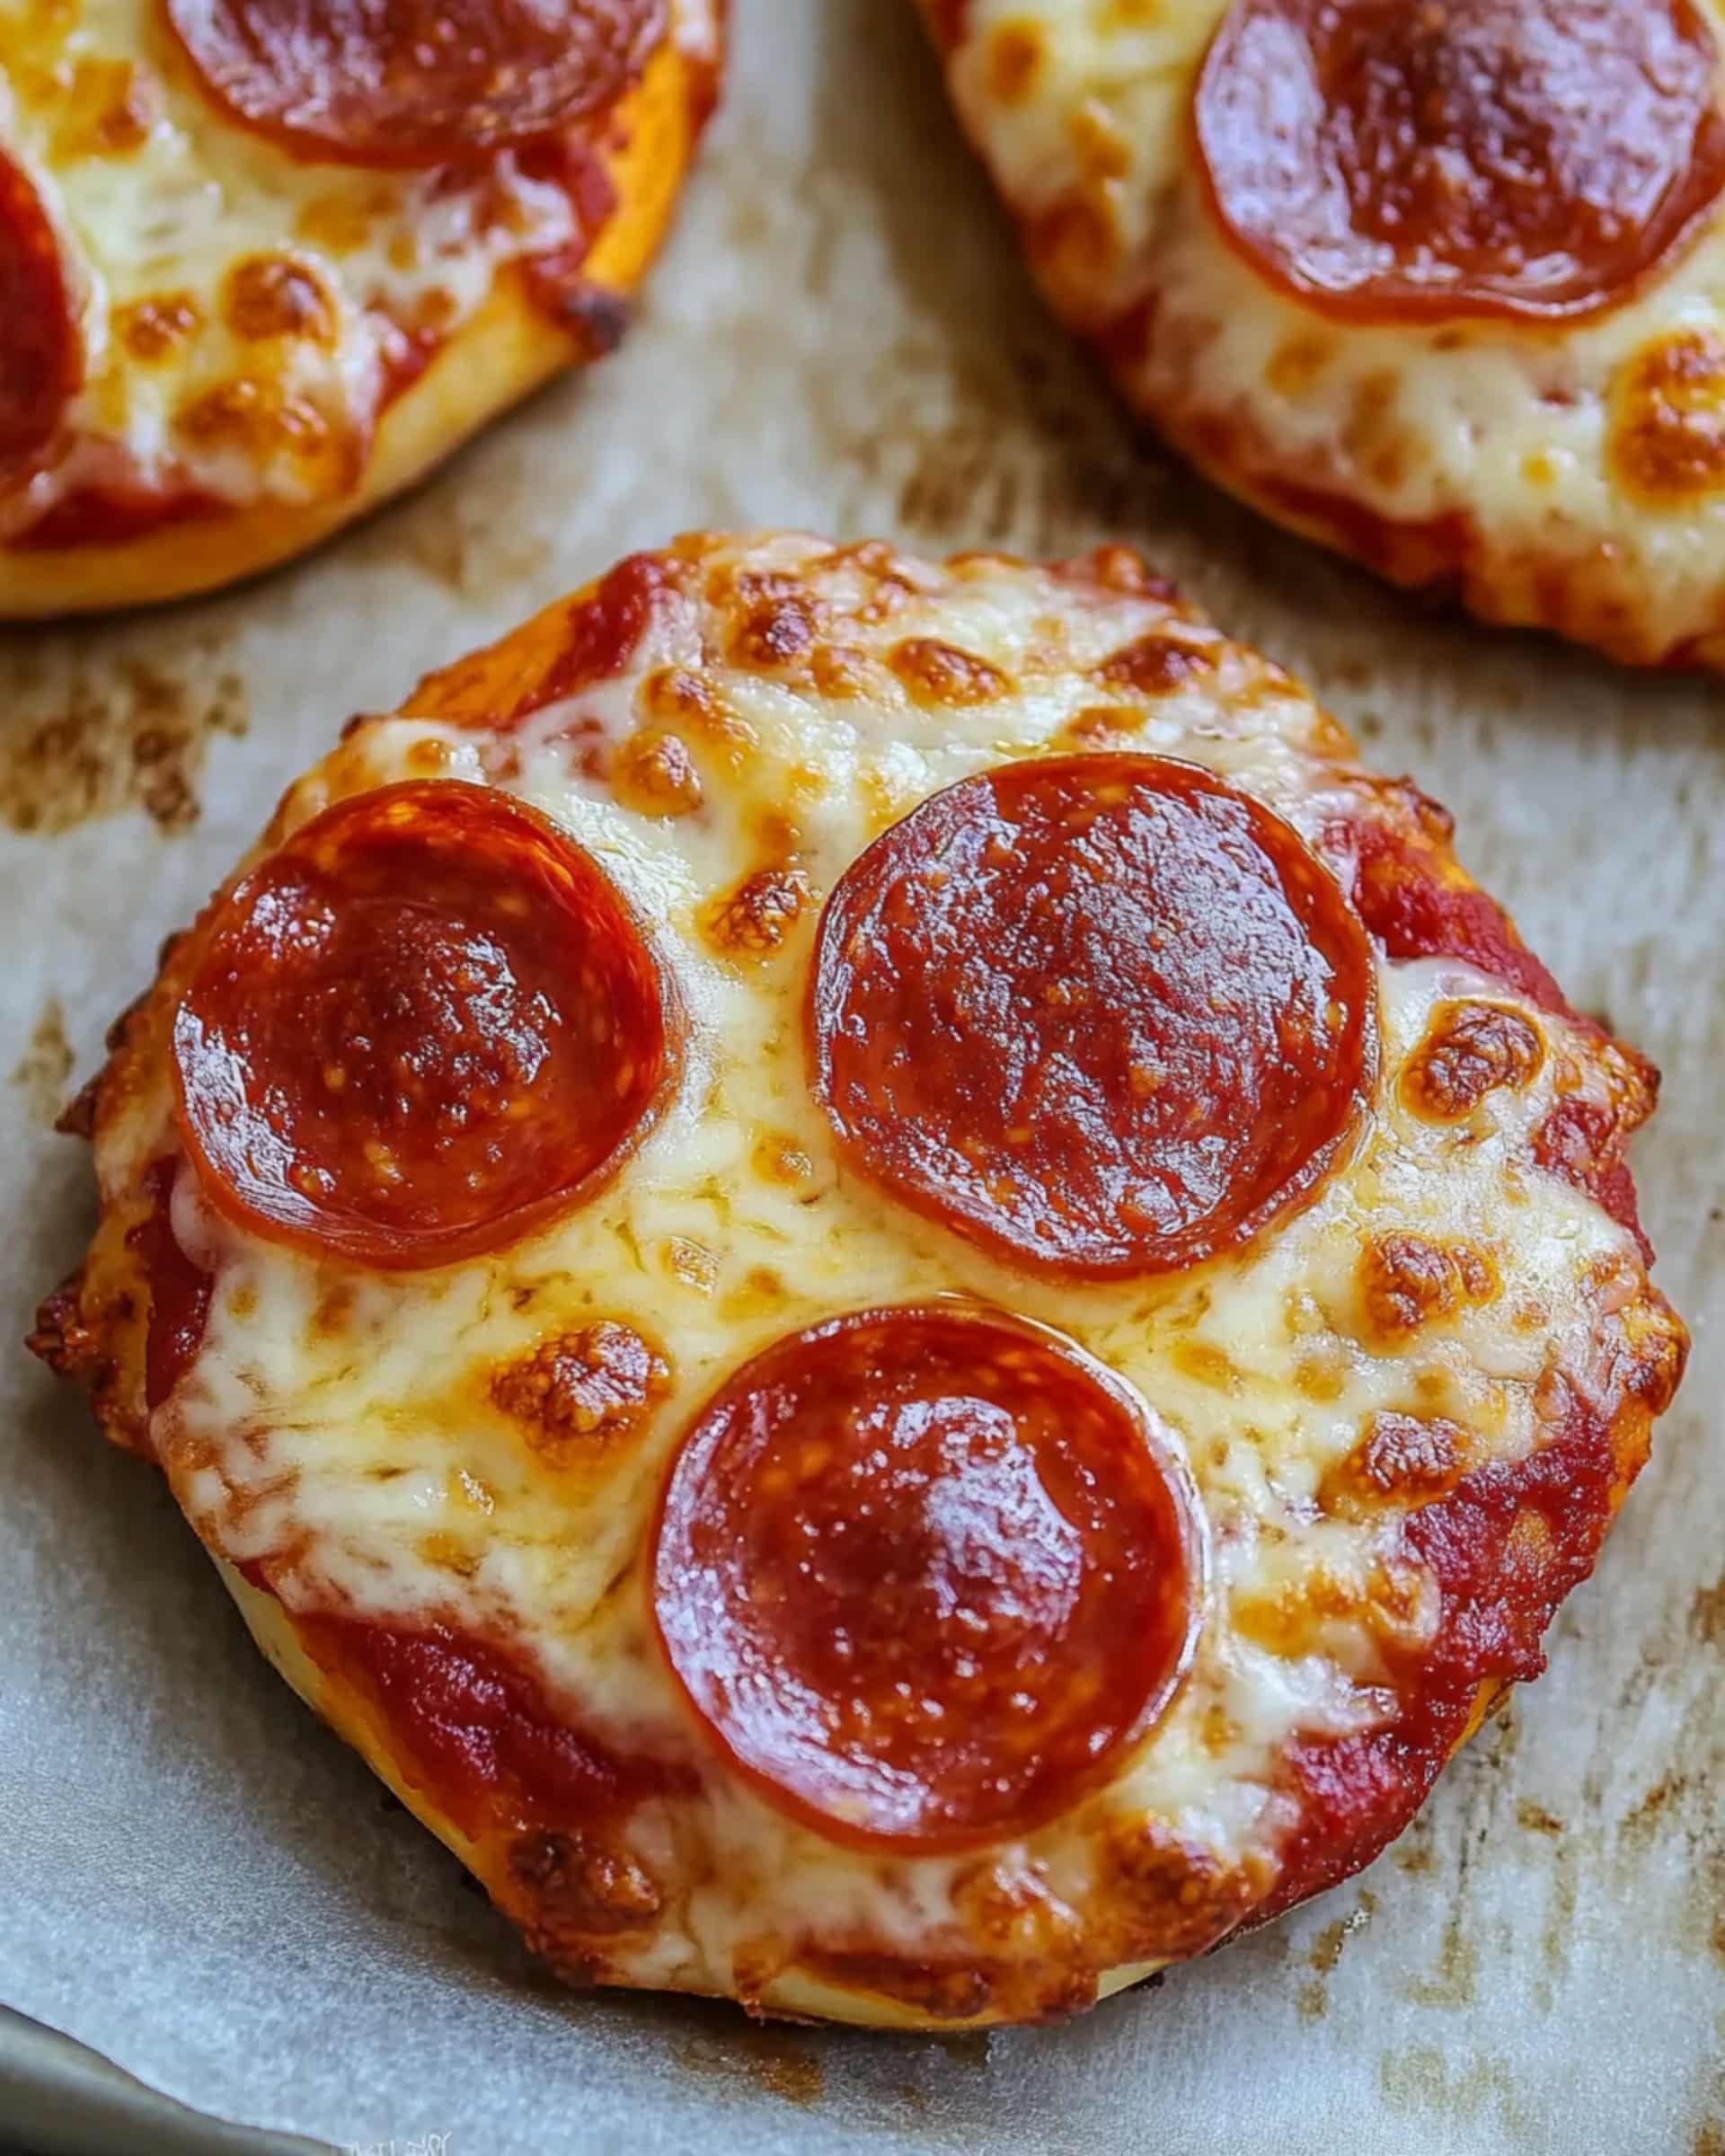
These Mini Lunchbox Pizzas are an absolute game-changer for busy families! Made with just a handful of ingredients, these personal-sized pizzas come together in under 30 minutes and are perfect for school lunches, quick dinners, or make-ahead meals. The two-ingredient dough creates a perfectly fluffy base that’s crisp on the outside and tender inside, while classic toppings deliver that pizza flavor everyone loves.
Why You’ll Love This Recipe
- Incredibly Simple: With just two ingredients for the dough, you’ll be amazed at how easy these are to make, even on the busiest weeknights.
- Kid-Friendly: These mini pizzas are perfect for little hands and picky eaters. Who doesn’t love having their own personal pizza?
- Versatile: Use whatever toppings you have on hand – pepperoni is just the beginning! These pizzas are perfect for using up leftover veggies, meats, or cheeses.
- Perfect for Meal Prep: Make a big batch and freeze them for quick lunches or after-school snacks that are ready in minutes.
Ingredients You’ll Need
- Self-raising flour: Creates the perfect fluffy texture for the pizza base without any yeast or rising time required.
- Greek yogurt: The secret to this amazing two-ingredient dough! Full-fat yogurt provides moisture and tanginess, making the dough tender and flavorful.
- Tomato paste: Concentrated flavor that adds the perfect pizza sauce base without making the dough soggy.
- Mozzarella cheese: Freshly shredded gives you that classic stretchy cheese pull that makes pizza so satisfying.
- Pepperoni: Adds a savory, slightly spicy flavor that pairs perfectly with the cheese and tomato.
Variations
There’s no end to the ways you can customize these mini pizzas:
- Veggie Lovers: Top with bell peppers, mushrooms, spinach, and olives for a colorful nutrient boost.
- BBQ Chicken: Swap tomato paste for BBQ sauce and top with cooked shredded chicken and red onions.
- Breakfast Pizza: Add scrambled eggs, bacon bits, and cheddar cheese for a morning twist.
- Mediterranean: Sprinkle with feta cheese, diced tomatoes, and a touch of oregano after baking.
How to Make Mini Lunchbox Pizzas
Step 1: Prepare the Dough
Preheat your oven to 200°C (400°F) or 180°C fan-forced. In a large bowl, mix the self-raising flour and Greek yogurt together until flaky, then knead with your hands until a soft dough forms. Don’t worry if it seems dry at first – keep kneading and it will come together beautifully.
Step 2: Shape the Pizzas
Lightly flour your work surface and roll the dough to about 1 cm (1/2 inch) thickness. Use a large mug or cookie cutter to cut out rounds. Gather and re-roll any scraps to make more pizza bases until you’ve used all the dough.
Step 3: Add Toppings
Place the dough rounds on your lined baking tray. Spread a thin layer of tomato paste on each round, then sprinkle with mozzarella and add pepperoni on top.
Step 4: Bake to Perfection
Bake for 12-14 minutes until the edges are golden and the cheese is bubbly and melted. Let them cool slightly before transferring to a cooling rack or serving.
Pro Tips for Making the Recipe
- Flour Your Hands: If the dough gets sticky while kneading, dust your hands with a little extra flour.
- Don’t Overload: Keep toppings light so the pizzas cook evenly and the centers don’t get soggy.
- Cheese Strategy: For the best melt, use freshly grated cheese rather than pre-packaged shredded cheese which contains anti-caking agents.
- Size Matters: Keep the pizzas about 3-4 inches in diameter for perfect lunchbox sizing and even cooking.
How to Serve

These mini pizzas are incredibly versatile when it comes to serving:
Lunchbox Ready
Pack cooled pizzas in lunchboxes with some fresh fruit and veggie sticks for a balanced meal kids will actually eat.
Family Dinner
Serve warm with a simple side salad for a quick and satisfying weeknight dinner.
Party Pleasers
Arrange on a platter for birthday parties or casual gatherings – they’re perfect finger food!
Make Ahead and Storage
Storing Leftovers
Keep cooled pizzas in an airtight container in the refrigerator for up to 3 days. They’re delicious cold or reheated!
Freezing
These mini pizzas freeze beautifully! Cool completely, then layer with parchment paper in a freezer-safe container. Freeze for up to 3 months.
Reheating
From refrigerated: Microwave for 30 seconds or pop in a 180°C (350°F) oven for 5 minutes until warmed through.
From frozen: Either thaw overnight in the refrigerator before reheating or reheat from frozen in a 180°C (350°F) oven for about 10 minutes.
FAQs
Can I make these if I don’t have self-raising flour?
Absolutely! Use plain (all-purpose) flour and add 4 teaspoons of baking powder (2 teaspoons per cup of flour). This will give you the same fluffy texture without needing to buy special flour.
Why is my dough too sticky?
Greek yogurt brands can vary in moisture content. If your dough is too sticky, simply add a little more flour, a tablespoon at a time, until it reaches a workable consistency. Remember that a slightly sticky dough will become less sticky as you knead it.
Can I make these dairy-free?
Yes! Try plant-based yogurt for the dough (coconut works well) and use your favorite dairy-free cheese alternative. The texture will be slightly different but still delicious.
Can I use other toppings for different dietary needs?
Definitely! These pizzas are incredibly adaptable. For vegetarians, load up with vegetables or use plant-based pepperoni. For lower-carb options, keep the toppings simple and pair with a big salad.
Final Thoughts
These Mini Lunchbox Pizzas have become a staple in my kitchen rotation – they’re just that good! The simplicity of the two-ingredient dough combined with endless topping possibilities makes this recipe one you’ll return to again and again. Whether you’re feeding picky kids or looking for make-ahead meal solutions, these little pizzas deliver big flavor with minimal effort. Give them a try this week – your lunchboxes (and family) will thank you!
Print
Mini Lunchbox Pizzas Recipe
- Prep Time: 10 minutes
- Cook Time: 15 minutes
- Total Time: 25 minutes
- Yield: Around 10 mini pizzas 1x
- Category: Snacks
- Method: Baking
- Cuisine: Western
Description
These Mini Lunchbox Pizzas are perfect for quick meals, snacks, or even meal prepping. With a simple two-ingredient dough and customizable toppings, they make a delicious and portable treat for kids and adults alike! These pizzas are crispy on the outside, fluffy on the inside, and topped with gooey mozzarella cheese and pepperoni for the perfect bite every time.
Ingredients
Dough
- 2 cups (300 g) self-raising flour (or see Note 1 for substitution with plain/all-purpose flour)
- 1 cup (250 g) full-fat plain Greek yoghurt
Toppings
- 1/3 cup (90 g) tomato paste (concentrated puree)
- 1 cup (125 g) freshly shredded mozzarella
- 1/2 cup (80 g) pepperoni
Instructions
- Preheat the Oven
Preheat the oven to 200°C (400°F) or 180°C (350°F) if using a fan-forced setting. Line a baking tray with baking (parchment) paper to prepare for baking. - Make the Dough
In a large bowl, combine the self-raising flour and yoghurt. Start mixing with a spoon until the mixture resembles large crumbs, and then knead with your hands for 1–2 minutes. If the dough feels dry initially, keep kneading until it forms a soft dough. (See Note 2 for troubleshooting if the dough feels too dry or sticky.) - Roll and Cut the Dough
Lightly flour a clean work surface. Roll the dough out to about a 1 cm (1/2 inch) thickness. Use a large mug or cookie cutter to cut out round shapes. Collect any leftover scraps of dough, knead them into a ball, and roll out again to cut more rounds. Repeat the process until all the dough has been used. - Assemble the Pizzas
Arrange the dough rounds on the prepared baking tray. Spread a thin layer of tomato paste over each round. Next, top with shredded mozzarella and finally, a few pieces of pepperoni for each. - Bake the Pizzas
Bake the pizzas for 12–14 minutes, or until the dough is golden and the cheese is melted. If you’re using two trays, there’s no need to swap trays during cooking. - Cool and Serve
Let the mini pizzas cool slightly on the tray before serving. They can be enjoyed warm or cold, making them ideal for any occasion!
Notes
- Note 1: If you don’t have self-raising flour, substitute with plain/all-purpose flour and add 4 teaspoons of baking powder (2 teaspoons per cup of flour) to achieve a similar fluffy texture.
- Note 2: The dough may feel dry initially, but keep kneading, and it will come together. If the dough starts to feel sticky, sprinkle extra flour on your hands or the dough to make it easier to handle.
- Make Ahead Tips: These mini pizzas are great for meal prepping. Once cooked, allow them to cool completely and freeze in airtight containers with parchment paper between each layer to prevent sticking. To serve, thaw overnight in the fridge or reheat in the oven or microwave. Cooked mini pizzas can be stored in the fridge for up to 3 days or frozen for up to 3 months.
Nutrition
- Serving Size: 1 mini pizza
- Calories: 150
- Sugar: 2g
- Sodium: 300mg
- Fat: 7g
- Saturated Fat: 3g
- Unsaturated Fat: 4g
- Trans Fat: 0g
- Carbohydrates: 15g
- Fiber: 1g
- Protein: 8g
- Cholesterol: 15mg


