

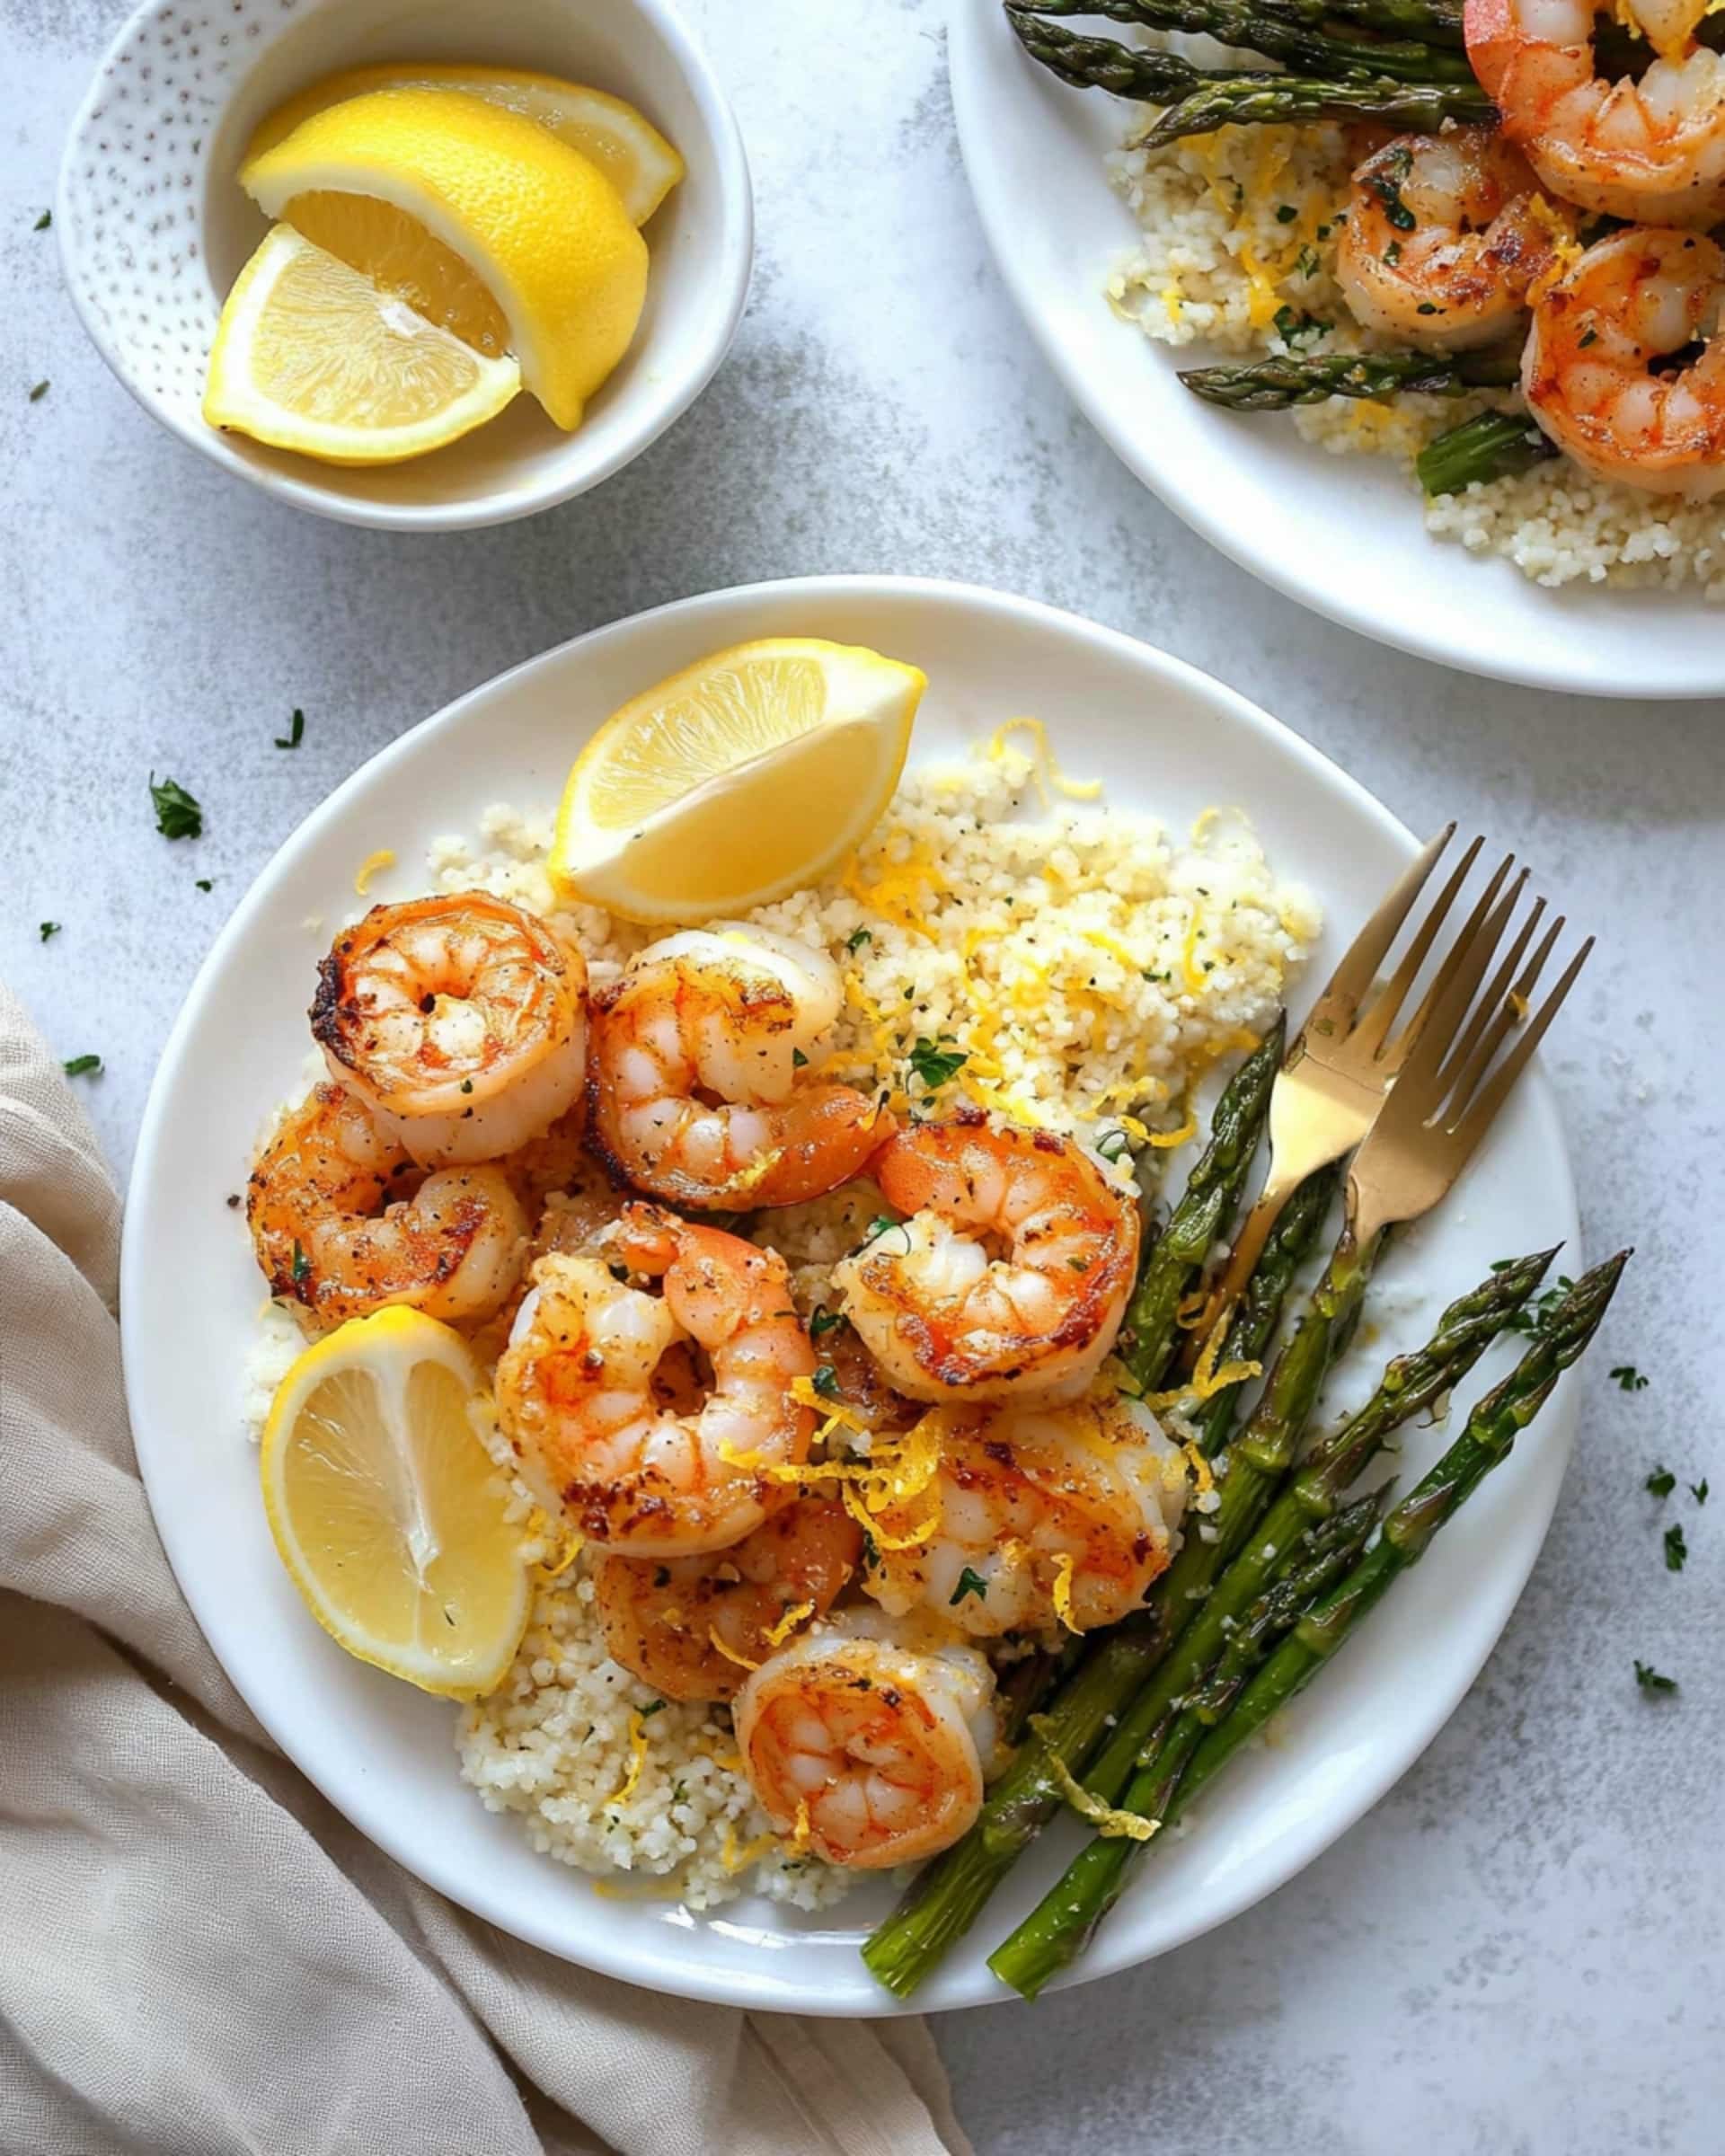
Welcome to your new weeknight staple—Lemon Pepper Shrimp! In just 30 minutes (yes, really!), you’ll have golden, crisp shrimp bursting with zingy lemon flavor ready to pile over pasta, greens, or your favorite grain. This recipe is all about big, bold taste with barely any fuss. Think tender, buttery shrimp, a crave-worthy crispy coating, and a hint of garlic—all perfectly balanced by the bright, aromatic pop of lemon pepper. No complicated steps, no hard-to-find ingredients, just pure deliciousness in every bite!
Why You’ll Love This Recipe
- Speedy and Simple: You don’t need chef skills for this—everything comes together in half an hour. It’s perfect for those evenings when takeout almost wins, but you know something homemade will taste so much better.
- Flavor-Packed: There’s no such thing as bland shrimp here. The lemon pepper brings tanginess, the garlic adds depth, and the light flour coating gives you just enough crisp.
- Flexible: Got leftover veggies or a half-box of pasta? This shrimp will make them shine. Serve over rice, tuck into tacos, or toss with a salad.
- Minimal Ingredients, Maximum Impact: Just a couple of pantry staples and a pound of shrimp transform into something you’ll want to make again and again.

Ingredients You’ll Need
Here’s what you’ll need to bring this Lemon Pepper Shrimp to life—along with tips for choosing the best versions:
- All-Purpose Flour: Coats the shrimp for that light, crispy crust—you don’t need much, but don’t skip it!
- Lemon Pepper Seasoning: The star! Look for a blend that includes actual lemon peel for the boldest flavor. If you adore citrus, have a fresh lemon handy to squeeze on top at the end.
- Garlic Powder: Rounds out the flavors and adds aroma without overpowering the lemon.
- Kosher Salt: Enhances everything—shrimp need salt!
- Shrimp: Fresh or frozen both work. Just make sure they’re peeled and deveined, tails on or off as you prefer.
- Butter: Adds that irresistible richness and helps those flavors soak right in. Don’t skimp—shrimp and butter are best friends in the skillet.
Tip: Make sure to fully thaw frozen shrimp and pat them dry for optimal browning!
Variations
- Spicy-Lemon Kick: Add a sprinkle of crushed red pepper flakes to the flour mix or finish with a drizzle of hot sauce for a punchier bite.
- Citrus Twist: Grate in a bit of lime or orange zest for a different bright note.
- Herbaceous: Toss in a handful of chopped fresh parsley or dill just before serving.
- Gluten-Free Option: Use gluten-free all-purpose flour or cornstarch for the breading.
- Parmesan Lover: After cooking, give the shrimp a dusting of grated parmesan for a savory finish.
How to Make Lemon Pepper Shrimp
Step 1: Prepare the Coating
In a large bowl, whisk together the flour, lemon pepper seasoning, garlic powder, and kosher salt. The aroma alone will have you hungry already.
Step 2: Dredge the Shrimp
Add your thawed, peeled shrimp to the bowl and toss until evenly coated. The flour mixture should lightly cover every shrimp—shake off excess so you don’t end up with gummy coating.
Step 3: Get the Pan Hot
Heat a large skillet over medium-high and add 1 tablespoon of butter along with a slick of your favorite cooking oil (just enough to lightly coat the pan). The butter gives flavor, while the oil keeps it from burning.
Step 4: Sear the Shrimp
Working in two batches, arrange the coated shrimp in a single layer. This gives you that all-important crispy exterior. Don’t stir! Let them brown for 3-4 minutes on the first side—resist the urge to peek.
Step 5: Flip and Finish
When the first side is crisp, flip each shrimp. Cook for another couple of minutes until both sides are golden and the shrimp are cooked through. Remove these beauties to a plate, melt the second tablespoon of butter in the pan, and repeat with the rest.
Step 6: Serve and Savor
To serve, pile the shrimp over rice, pasta, or veggies. Finish with a squeeze of fresh lemon juice and, if you really crave that lemon zing, another sprinkle of lemon pepper.
Pro Tips for Making the Recipe
- Work in Batches: Don’t crowd the pan, or the shrimp will steam instead of crisp—patience pays off!
- Dry Your Shrimp: Extra moisture is the enemy of a good sear. Pat your shrimp dry after thawing and before coating.
- Don’t Overcook: Shrimp cook fast. The moment they’re opaque and curled into a loose “C,” they’re ready. Overcooked shrimp turn rubbery—nobody wants that.
- Use Real Lemon: A final squeeze of real lemon juice right before serving wakes up all the flavors.
How to Serve
There are endless ways to serve these juicy, zesty shrimp:
- Classic: Toss over angel hair pasta with olive oil and fresh herbs.
- Grain Bowl: Try with fluffy rice, quinoa, or farro, adding roasted veggies for a full meal.
- Salad Topper: Add to a crisp green salad for a refreshing, protein-packed lunch.
- Taco-Ready: Spoon into warm tortillas with crunchy slaw and a creamy sauce.
- Appetizer: Serve with toothpicks and a bright aioli for dipping at your next gathering.
Tip: For a party platter, surround shrimp with lemon wedges and a bowl of spicy mayo.
Make Ahead and Storage
Storing Leftovers
Any leftover shrimp can be stored in an airtight container in the fridge for up to 2 days. The breading might lose a little crunch, but the flavors remain bright and bold.
Freezing
It’s best to enjoy lemon pepper shrimp fresh, but you can freeze cooked shrimp if needed. Place in a single layer on a tray to freeze, then transfer to a zip-top bag for up to one month. Thaw overnight in the fridge before reheating.
Reheating
Reheat quickly in a skillet over medium heat with a little butter or oil (just until warmed). Microwaving works in a pinch but can toughen the shrimp, so try to avoid it if you can.
FAQs
Can I use pre-cooked shrimp for this recipe?
Technically you can, but it’s not recommended. Pre-cooked shrimp will dry out and become tough if cooked again, and they also won’t take on that irresistible crispy coating.
Do I need to peel and devein the shrimp before cooking?
Yes! Peeling and deveining ensures tender, tasty bites without any gritty surprises. You can keep the tails on for a fun finger-food presentation, or remove them for easier eating.
What if I don’t have lemon pepper seasoning?
You can make your own in a pinch: mix black pepper, coarse salt, and freshly grated lemon zest. It won’t be quite as punchy as the store-bought blend, but it gets the job done.
How do I know when the shrimp are done?
Shrimp cook incredibly fast! Look for an opaque, pinkish-white color and a gentle “C” shape. Overcooked shrimp curl into a tight “O” and become rubbery—better to err on the side of slightly underdone, as residual heat will finish the job.
Final Thoughts
Lemon Pepper Shrimp has everything you crave in a speedy weeknight dinner: bright flavors, just enough crunch, and a buttery richness that’s impossible to resist. Make it your way, try a fun twist, and most importantly—enjoy every bite. Dive in and watch this dish become a regular on your table. You’ve got this!
Print
Lemon Pepper Shrimp Recipe
- Prep Time: 15 minutes
- Cook Time: 15 minutes
- Total Time: 30 minutes
- Yield: 2 servings 1x
- Category: Main-course
- Method: Stovetop
- Cuisine: American
- Diet: Halal
Description
This Lemon Pepper Shrimp is a quick and flavorful main course featuring succulent shrimp coated in a zesty lemon pepper seasoned flour, then pan-fried in butter for a perfectly crispy exterior. Ready in just 30 minutes, it’s perfect for weeknight dinners or as an impressive yet simple meal for guests.
Ingredients
For the Seasoned Flour Mixture
- 1/2 cup (63 g) all purpose flour
- 3 teaspoons lemon pepper seasoning
- 1 teaspoon garlic powder
- 1 teaspoon kosher salt
For the Shrimp
- 1 pound (454 g) frozen or fresh shrimp, thawed or peeled and deveined
For Cooking
- 2 tablespoons (28 g) butter, divided
- 1–2 teaspoons cooking oil (vegetable or olive oil, as needed)
For Serving (Optional)
- Lemon pepper seasoning, to taste
- Fresh lemon juice, to taste
- Your favorite vegetable sides, grains, or pasta
Instructions
- Prepare the Seasoned Flour Mixture: In a large bowl, whisk together the all-purpose flour, lemon pepper seasoning, garlic powder, and kosher salt until well combined.
- Coat the Shrimp: Add the thawed, peeled, and deveined shrimp to the flour mixture. Toss well to ensure each shrimp is fully coated in the seasoned flour.
- Preheat the Skillet: Heat a large skillet over medium-high heat. Add 1 tablespoon of butter and a small amount of cooking oil, allowing the butter to melt completely and the oil to become hot.
- Cook the Shrimp (First Batch): Shake off any excess flour from the shrimp and arrange them in a single, even layer in the hot skillet. Avoid overcrowding; cook in two batches if needed. Let the shrimp cook undisturbed for 3-4 minutes until the exterior becomes crispy and browned.
- Flip and Finish Cooking: Flip the shrimp and cook for an additional 2-3 minutes on the other side until they are crisp, browned, and cooked through. Remove the shrimp and set aside on a plate.
- Repeat with Remaining Shrimp: Add the remaining 1 tablespoon of butter to the skillet, and repeat the cooking process for the rest of the shrimp.
- Serve: Plate the cooked shrimp and, if desired, sprinkle with extra lemon pepper seasoning, a squeeze of fresh lemon juice, and serve with your choice of vegetable sides, grains, or pasta.
Notes
- Use fresh or well-thawed shrimp for best texture and flavor.
- Do not over-crowd the skillet to ensure the shrimp get crispy.
- Adjust lemon pepper seasoning according to your taste preference.
- This recipe can be doubled for a larger crowd.
- Serve immediately for best texture.
Nutrition
- Serving Size: 1/2 of recipe
- Calories: 320
- Sugar: 0.6 g
- Sodium: 1350 mg
- Fat: 14 g
- Saturated Fat: 7 g
- Unsaturated Fat: 5 g
- Trans Fat: 0 g
- Carbohydrates: 23 g
- Fiber: 1 g
- Protein: 32 g
- Cholesterol: 260 mg

Your email address will not be published. Required fields are marked *