
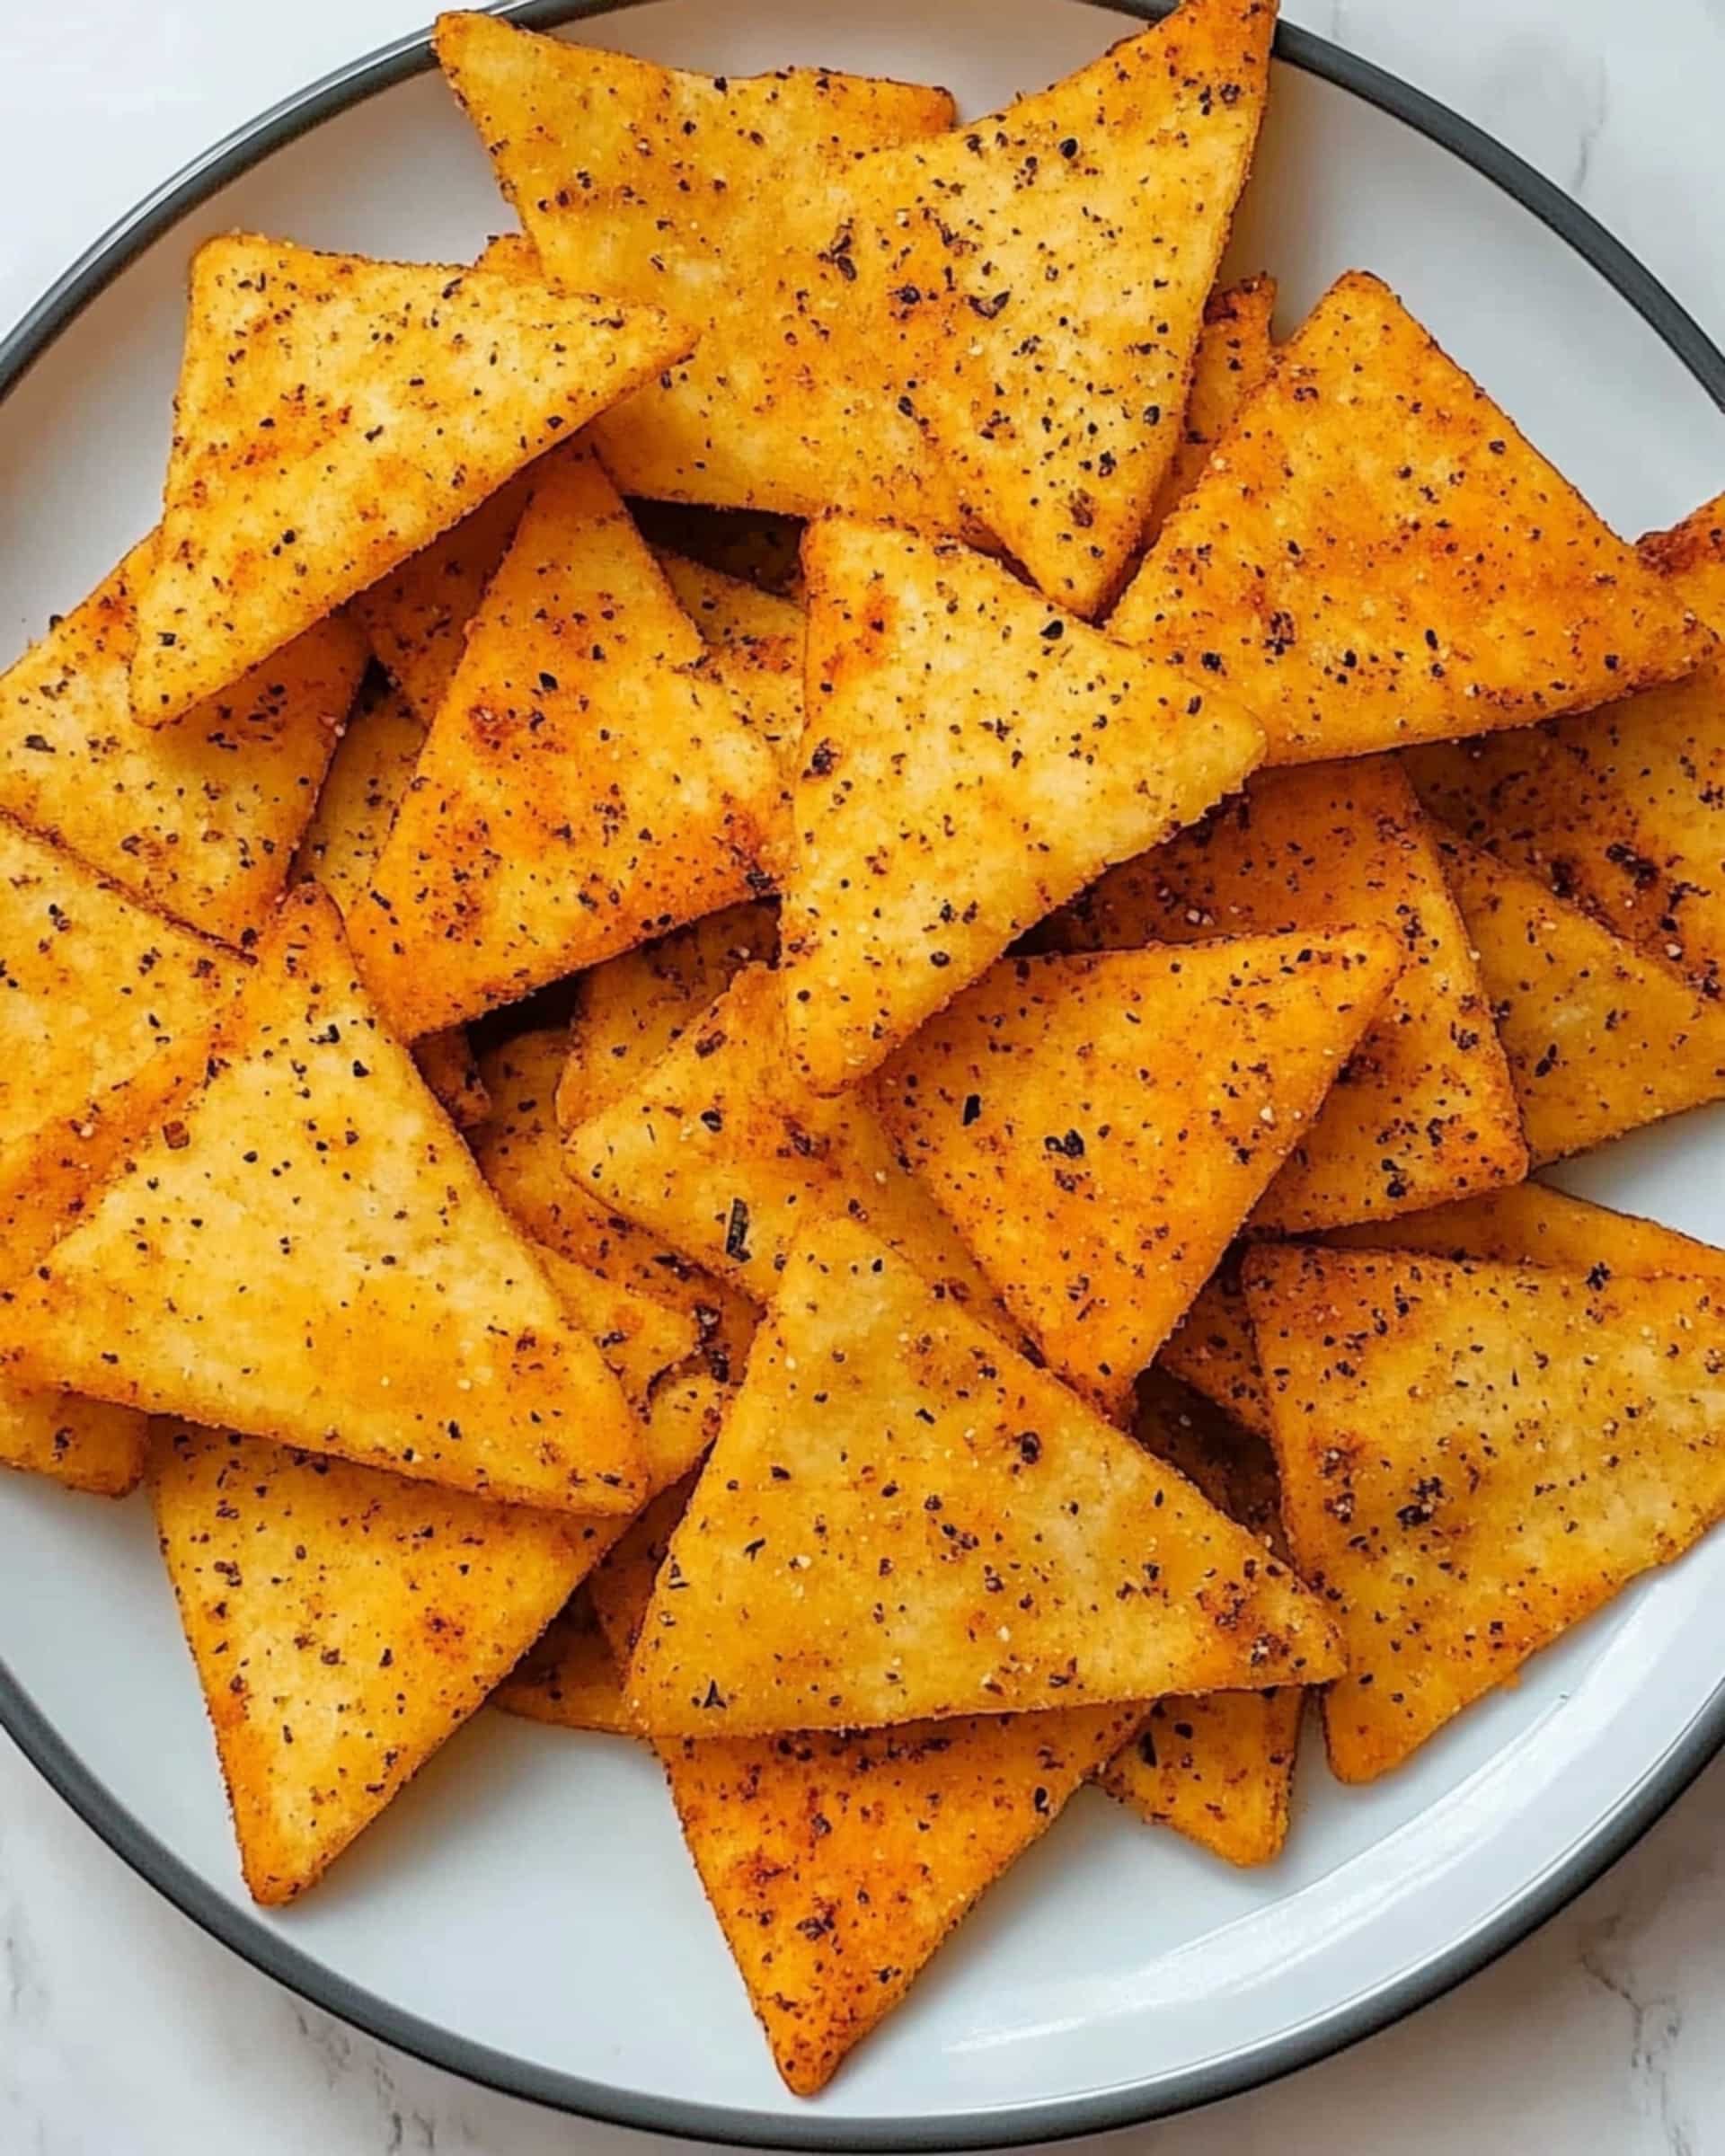
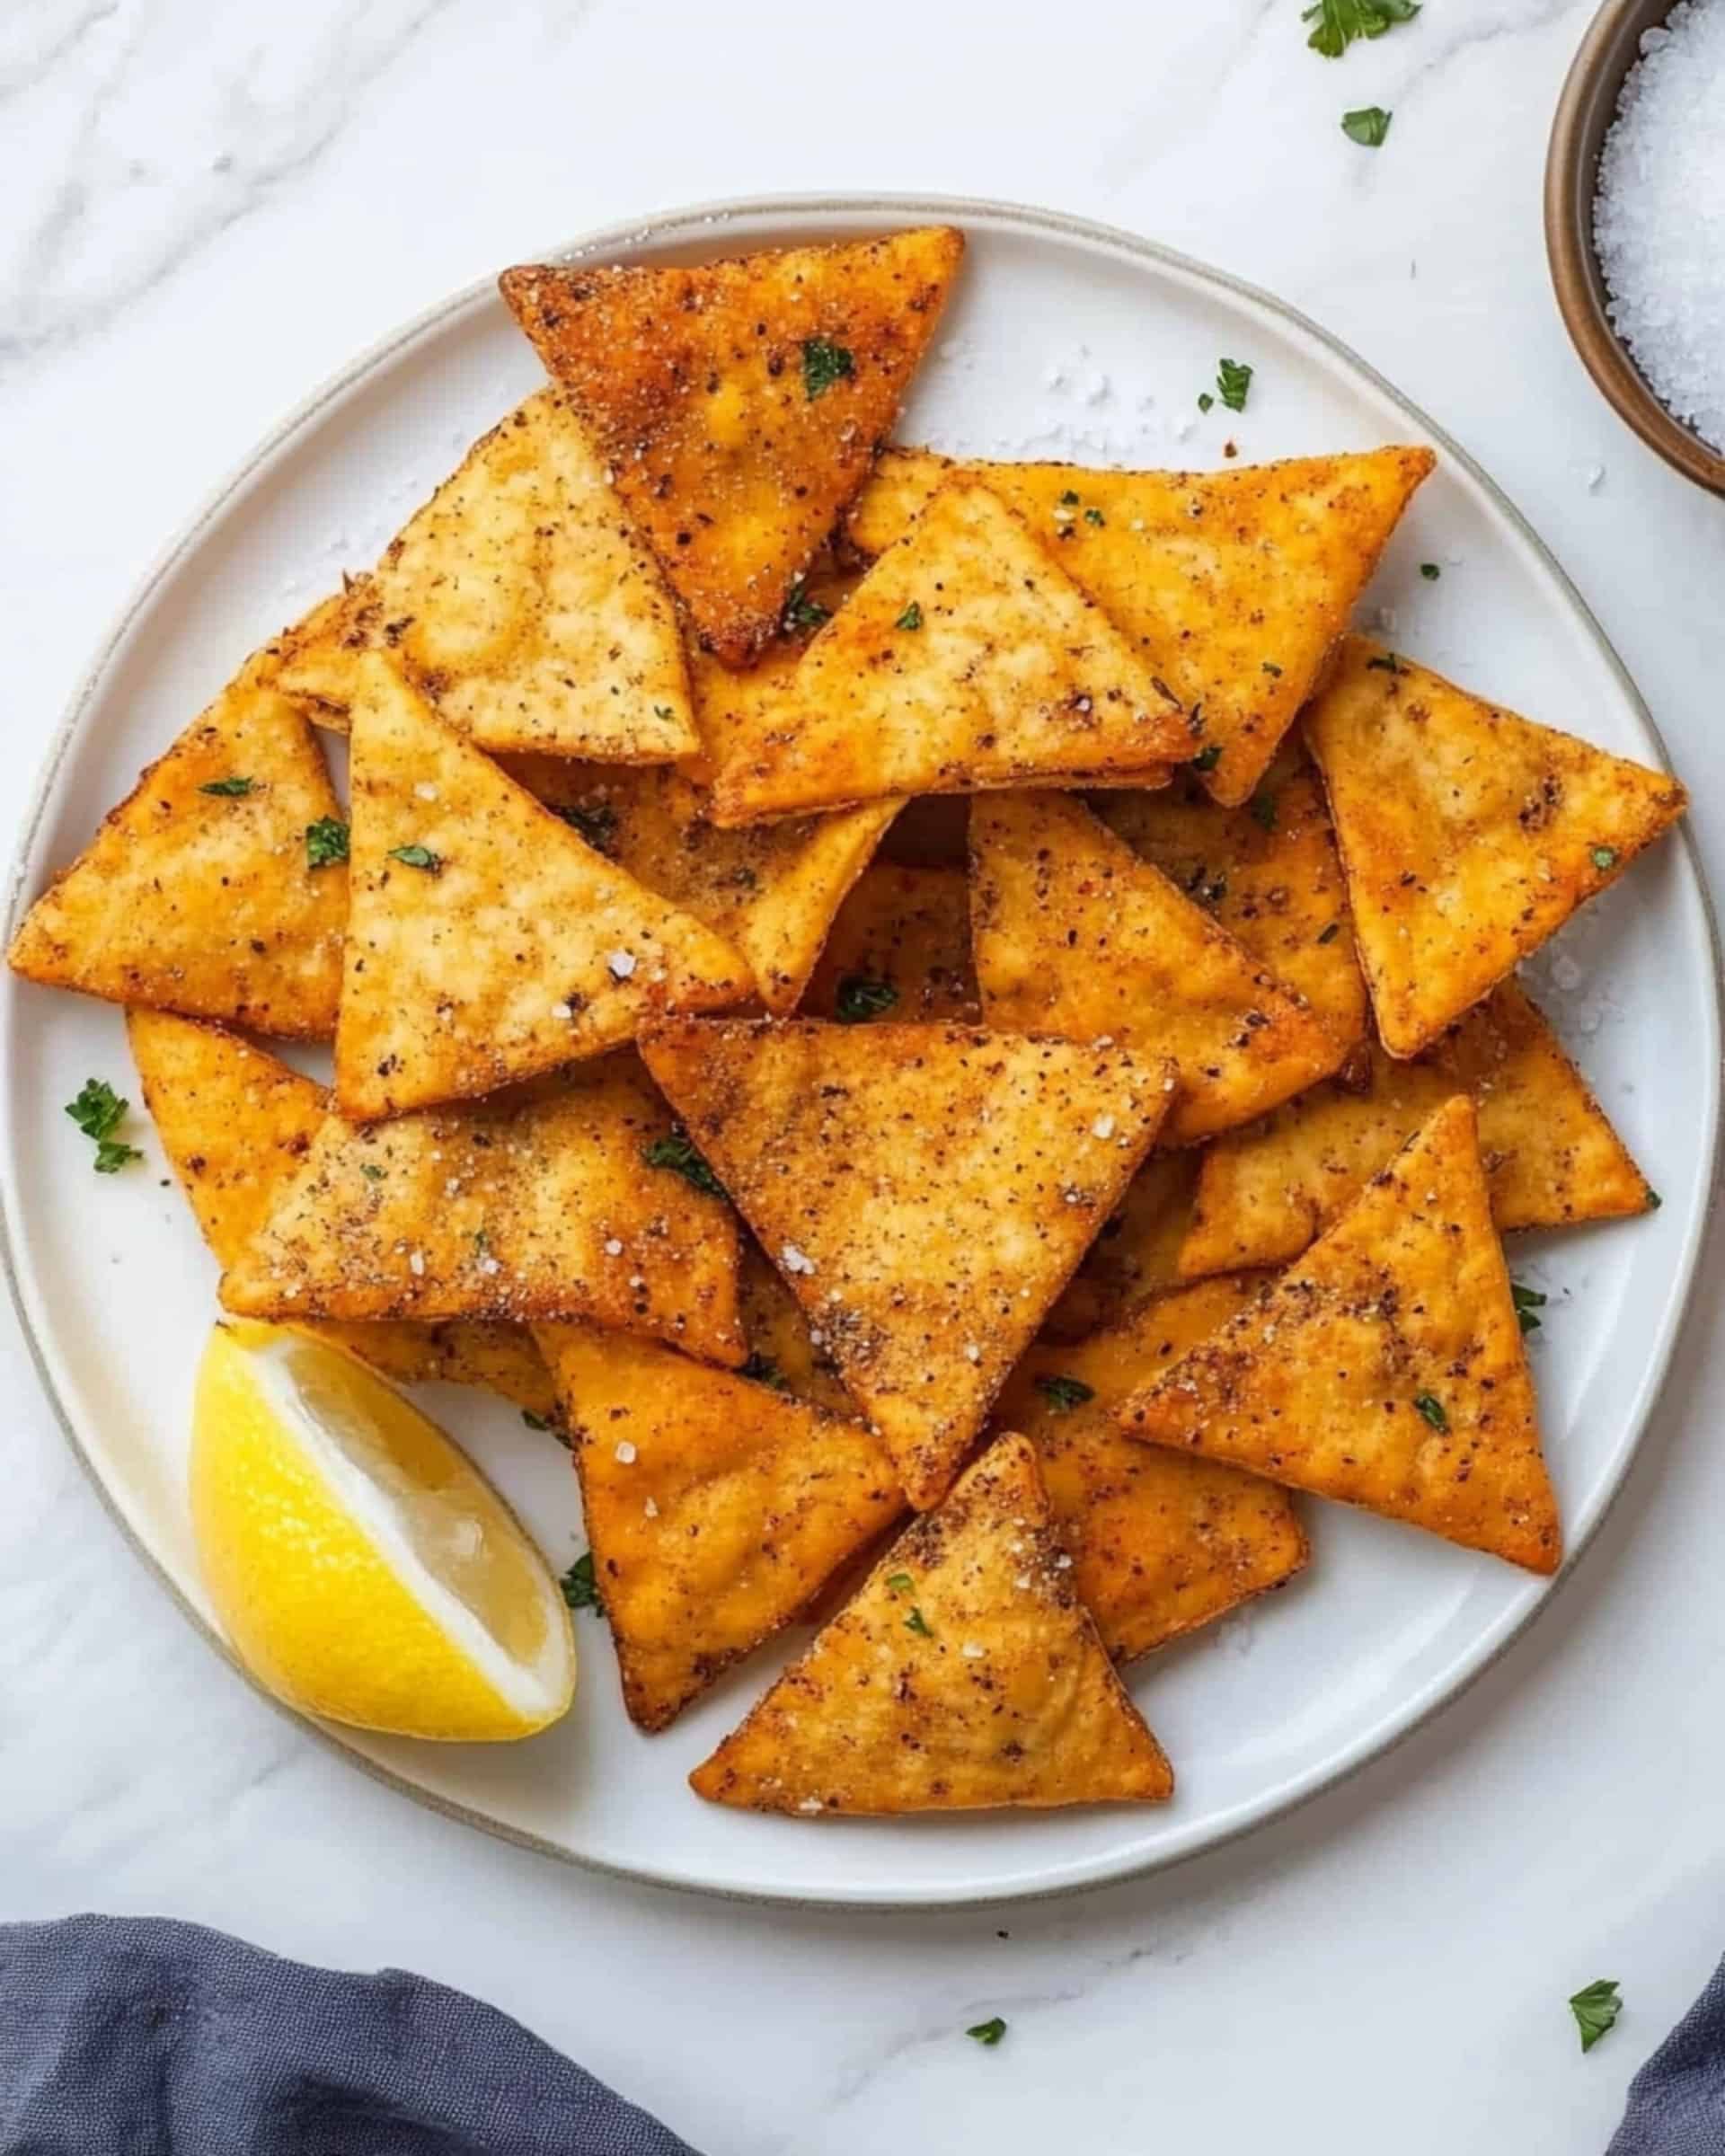
Crispy, golden, and impossibly addictive, these homemade pita chips will transform your snacking game forever! Ready in just 13 minutes, they’re the perfect solution when you need something crunchy in a hurry. The simple combination of pita bread, coconut oil, and salt creates chips that are worlds better than anything from a bag – with a satisfying crunch and flavor that makes them impossible to stop eating!
Why You’ll Love This Recipe
- Lightning Fast: From start to finish in just 13 minutes – perfect for those sudden snack cravings!
- Budget-Friendly: Transform basic pita bread into a gourmet snack for a fraction of the cost of store-bought chips.
- Customizable: The perfect blank canvas for whatever flavors you’re in the mood for – from savory to sweet and everything in between.
- Healthier Option: Control exactly what goes into your chips – no preservatives, less oil, and just the right amount of salt.

Ingredients You’ll Need
- Pita Rounds: The foundation of our chips. Look for thicker, fresher pita for the best results. Whole wheat pita works beautifully too if you want to add some extra nutrition.
- Salt: Just a touch enhances the natural flavors and gives that classic chip satisfaction. Sea salt or kosher salt provides the best flavor distribution.
- Coconut Oil: Creates that perfect crispy texture while adding a subtle sweetness. The slight coconut flavor works surprisingly well with the pita bread.
- Seasonings (Optional): This is where you can get creative and make these chips truly your own – more on this in the variations section!
Variations
Want to mix things up? These pita chips are incredibly versatile:
- Cinnamon Sugar: A sweet treat that pairs perfectly with fruit salsa or as a dessert chip. Mix 1 teaspoon cinnamon with 2 teaspoons sugar and sprinkle over oiled pita before baking.
- Italian: Transform your chips with Italian seasoning (or create your own blend with oregano, basil, thyme, and garlic powder). Perfect with marinara dip or hummus.
- Za’atar: Embrace Middle Eastern flavors with this aromatic spice blend. The combination of thyme, sesame seeds, and sumac creates chips that shine alongside traditional dips like baba ganoush or tzatziki.
- Garlic Parmesan: Sprinkle with garlic powder and grated parmesan cheese before baking for a savory, indulgent treat.
How to Make Homemade Pita Chips
Step 1: Prepare the Oven and Pan
Preheat your oven to 180C/350F. While it’s heating up, lightly grease a large baking sheet. This prevents sticking and helps the chips crisp up beautifully.
Step 2: Prepare the Pita
Cut each pita round into six triangular pieces. You can stack them to make the cutting faster, but don’t overcrowd or you’ll get uneven pieces. In a small bowl, whisk together the salt and melted coconut oil. This is also where you’d add any additional seasonings you’ve chosen.
Step 3: Season and Arrange
Brush or drizzle the oil mixture over the pita triangles, making sure each piece gets a light, even coating. Arrange them in a single layer on your prepared baking sheet, giving them a little space to crisp up properly.
Step 4: Bake to Perfection
Bake for approximately 8 minutes, or until the edges turn golden brown and the chips are crispy throughout. Keep a close eye on them after the 6-minute mark as they can go from perfectly crisp to burnt quickly!
Step 5: Cool Completely
Remove from the oven and let the chips cool right on the baking sheet. They’ll continue to crisp up as they cool, so resist the temptation to try them immediately (though I completely understand if you can’t wait!).
Pro Tips for Making Perfect Pita Chips
- Even Thickness: Try to cut your triangles uniformly so they bake at the same rate.
- Don’t Overdo the Oil: A light coating is all you need – too much oil will make your chips soggy instead of crispy.
- Rotate the Pan: If your oven has hot spots, rotate the baking sheet halfway through cooking for even browning.
- Trust Your Eyes: Every oven is different, so watch for visual cues rather than strictly following the timer. The perfect chip is golden around the edges with no soft spots in the center.
- Patience Pays Off: Letting the chips cool completely ensures maximum crispness and better storage life.
How to Serve
These versatile pita chips shine in so many scenarios:
Dipping Companions
Pair with hummus, guacamole, tzatziki, or baba ganoush for a Mediterranean-inspired snack platter.
Salad Toppers
Crush slightly and use as crunchy salad toppers in place of croutons.
Soup Sidekick
Serve alongside soups like tomato or lentil for a satisfying crunch that beats regular crackers.
Charcuterie Board
Add to cheese boards with olives, nuts, and fresh fruit for an elevated appetizer that will impress guests.
Make Ahead and Storage
Storing Leftovers
Allow chips to cool completely before storing in an airtight container. They’ll stay fresh and crispy at room temperature for up to a week.
Tip: Never store these in the refrigerator as the moisture will make them soggy and ruin that perfect crunch.
Make Ahead
These chips are perfect for meal prep! Make a big batch on Sunday to enjoy throughout the week. They maintain their crispness beautifully when stored properly.
Refreshing Stale Chips
If your chips lose some crispness after a few days, you can easily revive them with a quick 2-minute reheat in a 350°F oven.
FAQs
Can I use olive oil instead of coconut oil?
Absolutely! Olive oil works wonderfully and brings its own distinct flavor to the chips. Any neutral oil like avocado or grapeseed oil will work too. Each oil will impart a slightly different flavor and texture, so feel free to experiment based on what you have on hand.
My chips burned quickly. What happened?
Pita chips can burn rapidly due to their thinness. Your oven might run hotter than the temperature indicates. Next time, reduce the temperature to 325°F and check them after 5-6 minutes. Every oven is different, so finding the perfect time and temperature might take a little experimentation.
Can I use stale pita bread for this recipe?
Yes! In fact, slightly stale pita bread often makes even better chips because it has less moisture to begin with. Just make sure the bread isn’t moldy or too hard to cut safely.
Why aren’t my pita chips crispy enough?
If your chips aren’t crispy enough, they likely need more time in the oven. You can also try cutting the pita a bit thinner or making sure your oven is fully preheated before baking. Remember that the chips will continue to crisp up as they cool, so give them time before deciding they need more baking.
Final Thoughts
These homemade pita chips are a true game-changer – simple, quick, and infinitely better than anything from a package. Whether you’re serving them at your next gathering or keeping them on hand for everyday snacking, they’re sure to become a staple in your kitchen. The best part? You probably have everything you need to make them right now, so there’s no reason not to give them a try!
Print
Homemade Pita Chips Recipe
- Prep Time: 5 minutes
- Cook Time: 8 minutes
- Total Time: 13 minutes
- Yield: 4 servings 1x
- Category: Snacks
- Method: Baking
- Cuisine: Middle Eastern
Description
A simple and crunchy snack made from pita bread, these homemade pita chips are perfect for dipping into hummus, guacamole, or enjoying on their own. They’re quick to make, customizable with flavors, and require just a few basic ingredients!
Ingredients
- Pita Chips Base:
- 3 pita rounds
- 1/2 teaspoon salt
- 2 teaspoons coconut oil, melted
Instructions
- Preheat the oven
Start by preheating your oven to 180°C (350°F). Prepare a large baking sheet by greasing it lightly to prevent sticking. - Cut the pita bread
Using a knife or kitchen scissors, slice each pita round into six triangular pieces. Ensure the triangles are evenly sized for uniform cooking. - Prepare the seasoning
In a small mixing bowl, combine the melted coconut oil and salt. For additional flavor variations, you can mix in your desired seasonings during this step (e.g., Italian spices, za’atar, or cinnamon sugar). - Coat the pita triangles
Arrange the pita triangles evenly on the prepared baking sheet. Lightly brush or drizzle the oil mixture over each triangle, ensuring they are evenly coated. - Bake the chips
Place the baking sheet in the preheated oven and bake the pita chips for approximately 8 minutes, or until they turn golden and crispy. Keep an eye on them to avoid overcooking. - Cool and store
Remove the baking sheet from the oven and let the chips cool completely. Once cooled, transfer them to an airtight container if not serving immediately.
Notes
- Storage Tips: Ensure the pita chips are completely cooled before placing them in an airtight container. Stored at room temperature, they will remain fresh and crispy for up to one week. Avoid refrigerating, as this can cause them to become dense and soggy.
- Flavor Variations:
- Cinnamon Sugar: Combine cinnamon and sugar in a small bowl, and sprinkle it over the oiled pita before baking.
- Italian: Mix Italian seasoning or a blend of oregano, basil, thyme, and garlic powder, and sprinkle it on the chips for a savory, herbal flavor.
- Za’atar: Sprinkle the pita chips with Za’atar spices for a robust Middle Eastern twist.
Nutrition
- Serving Size: 1 serving
- Calories: 120
- Sugar: 0g
- Sodium: 150mg
- Fat: 4g
- Saturated Fat: 3g
- Unsaturated Fat: 1g
- Trans Fat: 0g
- Carbohydrates: 18g
- Fiber: 1g
- Protein: 3g
- Cholesterol: 0mg

Your email address will not be published. Required fields are marked *