
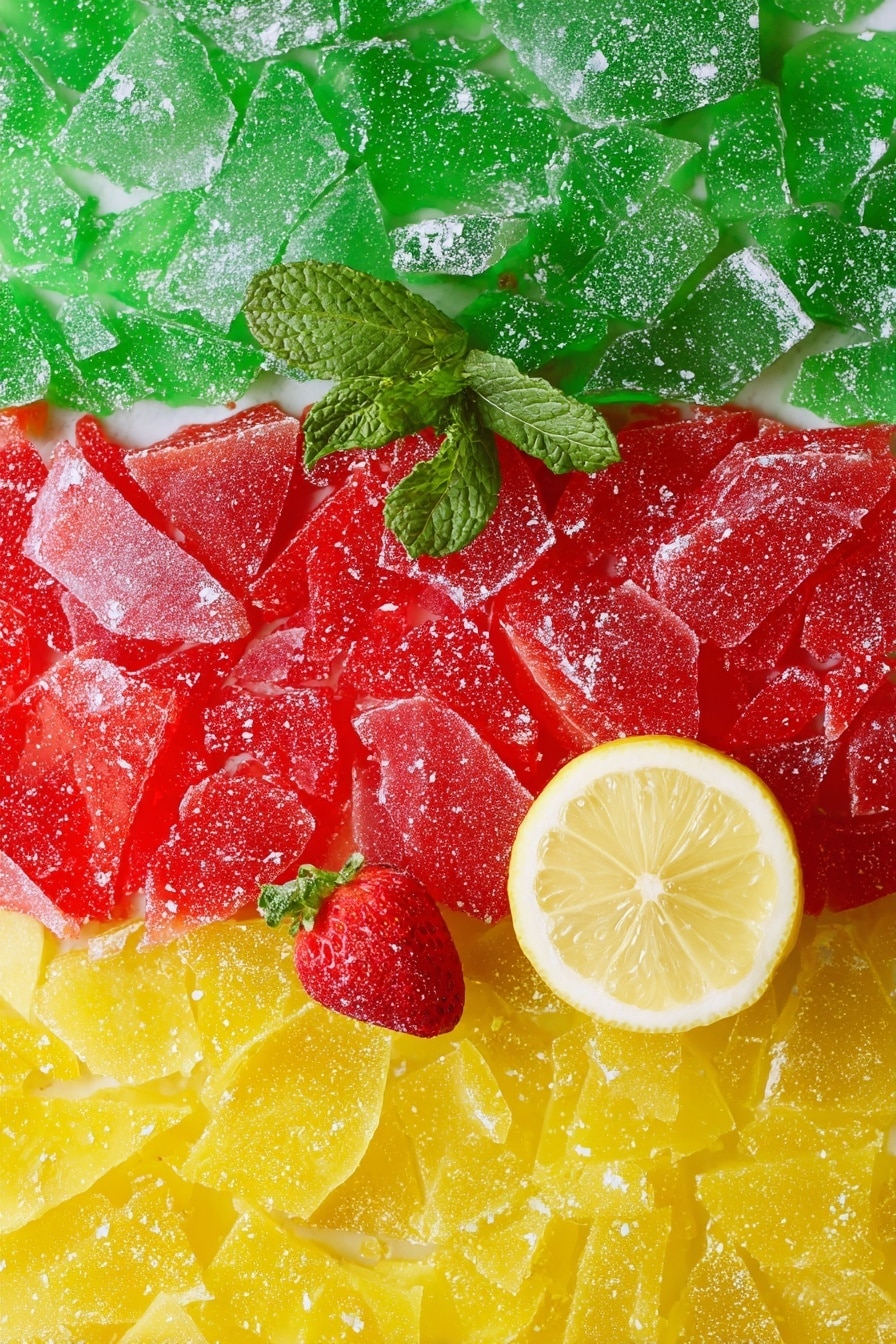
If you’ve ever wanted to try a classic candy-making adventure at home, this Homemade Hard Candy Recipe is an absolute gem. I absolutely love how this recipe turns out with its shiny, glass-like texture and burst of flavor that you can easily customize. Once you get the hang of it, you’ll find it’s not just satisfying to make but also a fantastic treat to share with friends or gift around the holidays. Stick with me, and I’ll walk you through every step so you can enjoy candy-making success right in your own kitchen.
Why You’ll Love This Recipe
- Simple Ingredients: You only need pantry staples, making it easy to whip up anytime cravings strike.
- Customizable Flavors: Add your favorite flavors and colors to create candies uniquely yours.
- Perfect Texture: You’ll nail that satisfying hard snap every time with the right candy thermometer.
- Impressive Results: Your friends and family will be amazed that you made these gorgeous candies from scratch.

Ingredients You’ll Need
These ingredients come together beautifully to give your hard candy the perfect shine, sweetness, and flavor. Having quality light corn syrup and a good candy thermometer makes all the difference in your homemade treat.
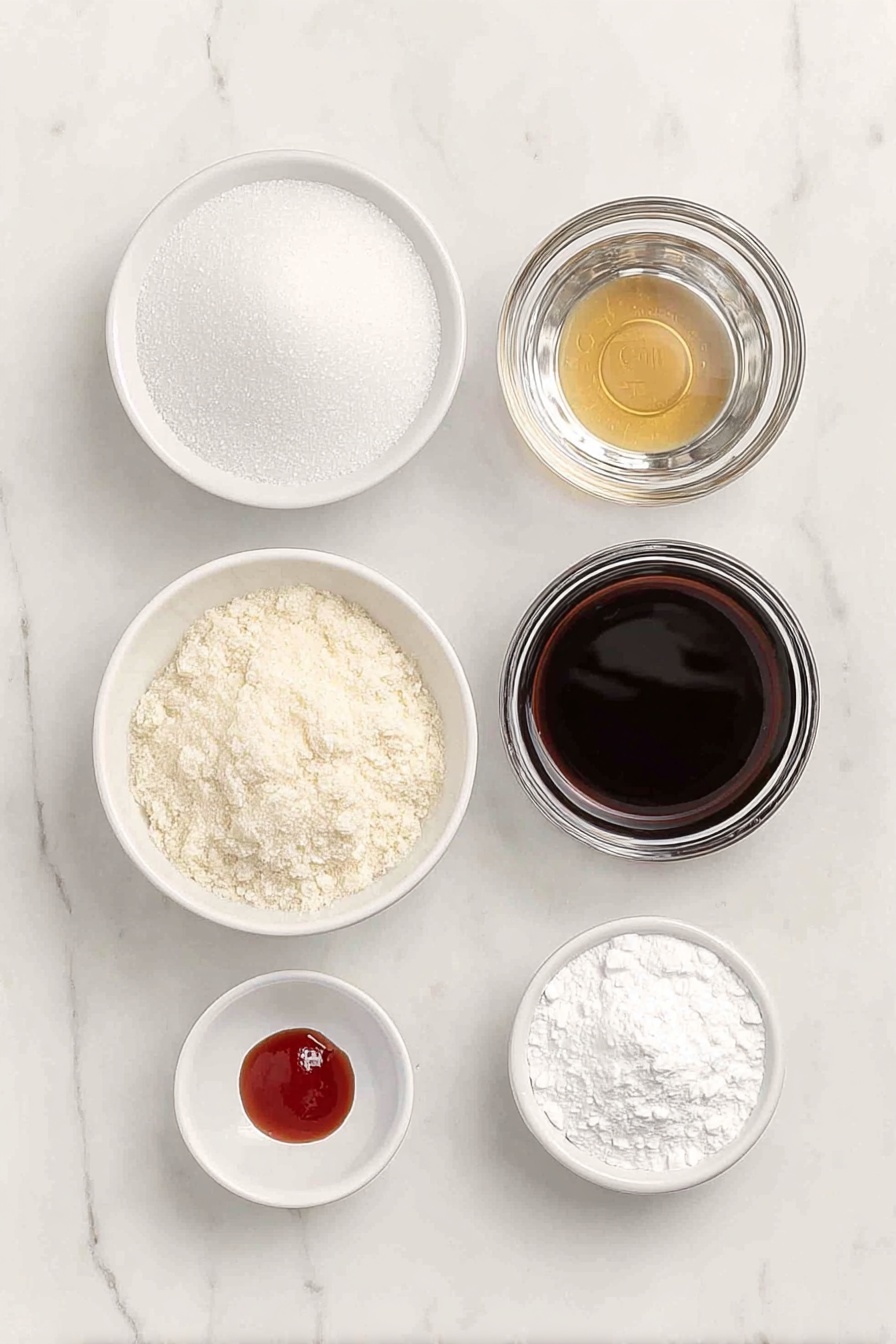
- Granulated white sugar: The backbone for your candy’s sweetness and structure; be sure it’s fresh and free-flowing.
- Light corn syrup (Karo syrup): Helps prevent crystallization and keeps the candy smooth and clear.
- Water: Combines with sugar to dissolve and cook evenly.
- Oil flavoring: Use candy-grade oils for a potent punch of flavor; they work better than extracts here.
- Food coloring: Adds the fun and makes your candies visually irresistible.
- Powdered sugar: For dusting the finished candy so pieces don’t stick to each other.
Variations
I love how versatile this Homemade Hard Candy Recipe is—you can easily switch up flavors and colors to match whatever mood or holiday you’re aiming for. Don’t be afraid to experiment a little; that’s part of the fun!
- Fruit-flavored candies: I often use strawberry oil with red food coloring for a vibrant, classic look my kids adore.
- Minty version: Spearmint or wintergreen oil with green coloring makes a refreshing holiday favorite that wakes up your taste buds.
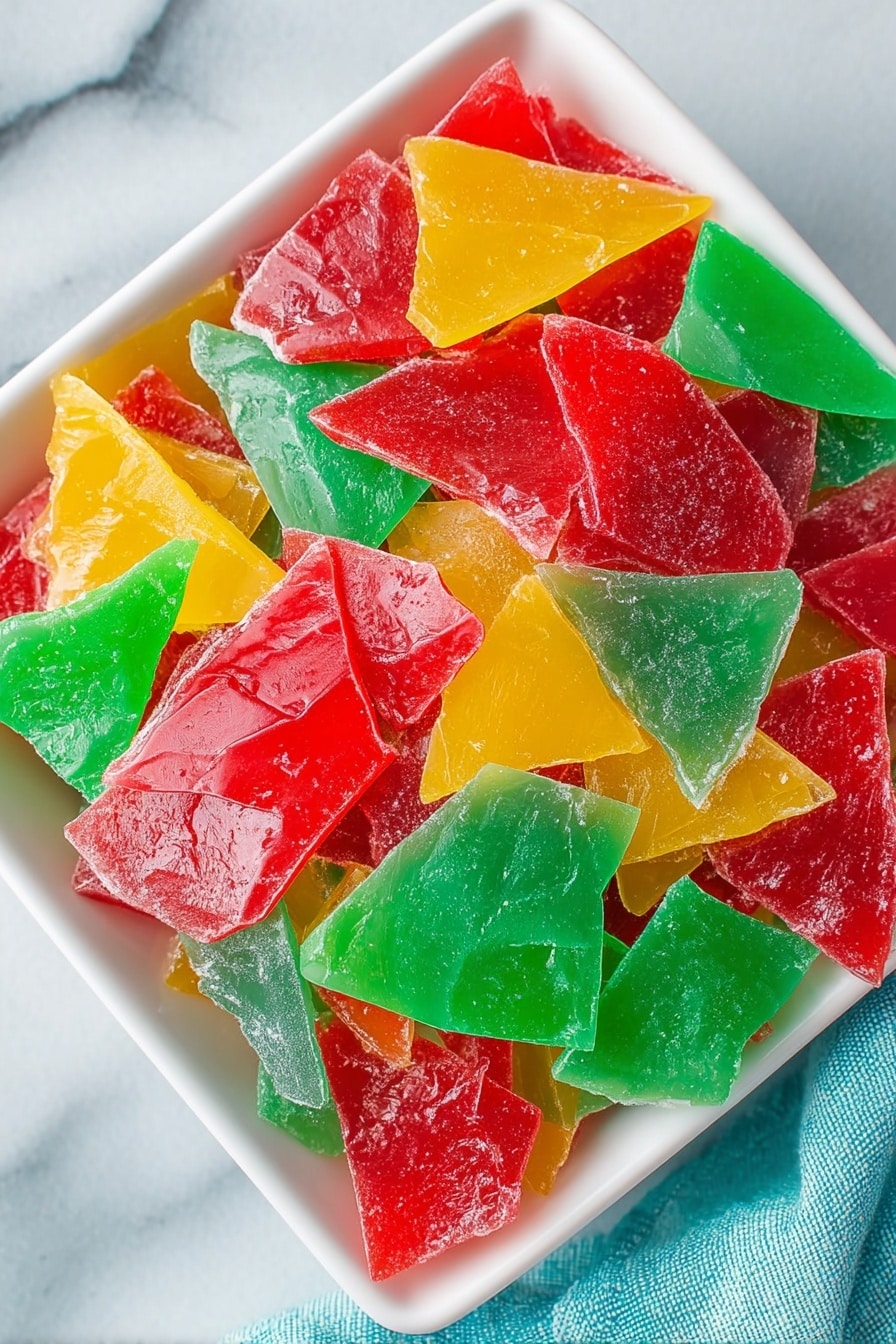
- Mix and match flavors: Try making two batches with different flavors and breaking them into a bowl to create a colorful candy mix.
- Use candy molds or lollipop sticks: For a fun twist, pour the candy into molds so you can skip the hammer step and get perfect shapes every time!
How to Make Homemade Hard Candy Recipe
Step 1: Prepare Your Setup
Start by lining your cookie sheets with silicone liners, parchment, or aluminum foil—whichever you prefer. Then, sprinkle powdered sugar over the surface to prevent sticking. I always use cookie sheets with a lip to keep the hot candy contained. Trust me, this prep step makes cleanup way easier!
Step 2: Dissolve Your Sugar Mix
Combine your sugar, corn syrup, and water in a sturdy saucepan. Stir constantly over medium heat until all the sugar dissolves into a clear liquid. This part can take a few minutes, so be patient. Make sure you don’t rush or leave lumps; that’s what ensures your candy will be smooth and glossy.
Step 3: Cook to Hard Crack Stage
After your sugar has dissolved, clip your candy thermometer to the side of the pan—make sure the sensor is submerged but not touching the bottom. Now, stop stirring and let the temperature climb to 295°F. This “hard crack” point is critical—it usually takes about 35-45 minutes. I remember the first time I missed the temperature and ended up with candy that was too soft; precise heat control is your best friend here.
Step 4: Add Color and Flavor
Once you hit the right temperature, take the pan off the heat immediately—timing is everything here. Now add your oil flavoring and your chosen food coloring. I usually eyeball the drops, adding more until I see the color I want. A quick warning: don’t lean over the pot while adding oils; the steam can be intense.
Step 5: Pour and Cool
Pour the hot mixture carefully onto your prepared cookie sheet, spreading it as thin and even as you can. Then, leave it alone for about 30 minutes until it fully cools and hardens. If you’re like me, this is when patience really pays off because you’re so tempted to dive in early!
Step 6: Break It Up and Dust
Lay parchment or wax paper over the cooled candy and gently tap it with a hammer or meat tenderizer to break it into bite-sized pieces. Toss the pieces in powdered sugar to keep them from sticking together. I found that a gentle tap works best—hit too hard and you’ll end up with tiny shards that are tough to handle.
Pro Tips for Making Homemade Hard Candy Recipe
- Use a Reliable Candy Thermometer: This is the heart of success—trust me, guessing the temperature just won’t cut it.
- Don’t Stir After Thermometer Insertion: Stirring during cooking after the syrup is dissolved can cause crystallization, leading to grainy texture.
- Add Flavorings Off Heat: Oils and extracts evaporate quickly with intense heat, so always add these after removing from the stove.
- Work Quickly When Pouring: The syrup hardens fast, so have your sheets ready and pour as soon as your flavor and color are mixed in.
How to Serve Homemade Hard Candy Recipe
Garnishes
I like to dust my finished hard candy with powdered sugar—it keeps them from sticking and adds a little sweet matte finish that looks so charming in a bowl or jar. For festive occasions, sprinkle a touch of edible glitter or crushed peppermint on top before the candy hardens for extra sparkle and texture.
Side Dishes
This candy shines solo, but I love pairing it with a hot cup of tea or coffee. It’s also a great palate cleanser after rich desserts or meals – you get that perfect sharp sweetness to finish on a high note.
Creative Ways to Present
For gifting or parties, I like wrapping individual candy pieces in clear cellophane bags tied with colorful ribbons. Another favorite is layering different colored candy shards in a tall glass jar—you get a colorful display that looks almost too good to eat (almost!). Using candy molds to create themed shapes also adds a fun twist perfect for holidays or kid’s parties.
Make Ahead and Storage
Storing Leftovers
Store your hard candy in an airtight container at room temperature to keep it crisp and prevent moisture from softening it. I usually put mine in a cookie tin lined with parchment paper—just make sure the candy pieces aren’t touching too much to avoid clumping.
Freezing
Freezing hard candy is generally not recommended because condensation can cause stickiness once thawed. From my experience, it’s best to make just enough to enjoy fresh and store leftovers sealed well at room temp instead.
Reheating
If you want to remake candy from leftover pieces, you can gently melt chunks over very low heat in a heavy pan, stirring constantly to avoid burning. Once melted, pour onto a lined sheet and let cool again. This trick lets you recycle candy bits without waste!
FAQs
-
What temperature should homemade hard candy reach?
For hard candy with a perfect snap, cook the sugar syrup to 295°F – this is called the “hard crack” stage. Using a candy thermometer is essential for accuracy.
-
Can I use extracts instead of oil flavorings?
You can, but extracts are less potent and may require larger amounts (about 1 tablespoon). Oils have stronger flavor but should be used cautiously because their taste is very concentrated.
-
How do I prevent my hard candy from sticking together?
Dust the finished candies with powdered sugar to keep them separate and store them in an airtight container lined with parchment paper. Avoid humid environments as moisture causes stickiness.
-
What if my candy turns out cloudy or grainy?
This usually happens if sugar crystals form during cooking. Make sure you dissolve the sugar fully at the start and do not stir once the thermometer is inserted. Using corn syrup also helps prevent crystallization.
Final Thoughts
This Homemade Hard Candy Recipe holds a special place in my kitchen because it’s a reminder that sometimes the simplest ingredients can make the most delightful treats. Once you get comfortable with candy-making basics here, you might even surprise yourself with your own flavor combos and creative presentations. I’ve seen friends go from nervous first-timers to confident candy artisans, and I can’t wait for you to experience the joy of crafting these classic sweets yourself. So grab that thermometer and get ready to impress—because this recipe really delivers that satisfying, sweet fun you’re craving.
Print
Homemade Hard Candy Recipe
- Prep Time: 10 minutes
- Cook Time: 45 minutes
- Total Time: 1 hour 25 minutes
- Yield: 20 servings 1x
- Category: Candy
- Method: Stovetop
- Cuisine: American
Description
This Homemade Hard Candy recipe provides a classic, sweet treat made from sugar, corn syrup, and water, flavored with your choice of oil flavoring and colored with food coloring. Perfect for candy lovers, these hard candies are easy to make at home with simple ingredients and can be customized in flavor and color. The candy is cooked on the stovetop to the hard crack stage, cooled on cookie sheets, then broken into bite-sized pieces and dusted with powdered sugar to prevent sticking.
Ingredients
Main Ingredients
- 3 ¾ cups granulated white sugar
- 1 ⅓ cups light corn syrup (Karo syrup)
- 1 cup water
Flavor and Finishing
- 1 teaspoon oil flavoring (or up to 1 teaspoon for stronger flavor)
- 7–10 drops food coloring, depending on desired color
- Powdered sugar for dusting
Instructions
- Prepare the cookie sheets: Line cookie sheets (preferably with a lip) with silicone liners, parchment paper, or aluminum foil. Sprinkle the lining generously with powdered sugar and set aside. This prevents the candy from sticking.
- Dissolve sugar mixture: Combine granulated sugar, light corn syrup, and water in a medium saucepan. Stir continuously over medium heat until the sugar dissolves completely, ensuring a smooth syrup.
- Cook the candy mixture: Insert a candy thermometer into the saucepan, making sure its tip is about an inch above the pan’s bottom and away from stirring. Cook the syrup without stirring further until it reaches 295°F (hard crack stage), which typically takes 35 to 45 minutes. Monitoring temperature is critical to achieve the proper candy texture.
- Add flavor and color: Remove the pan from heat carefully. Add your chosen food coloring (7 to 10 drops) and 1 teaspoon of oil flavoring to the hot syrup. Mix gently to combine, being cautious of the hot steam that may rise.
- Pour and cool: Immediately pour the hot candy mixture onto the prepared cookie sheet, spreading it evenly if needed. Allow the candy to cool and harden completely, about 30 minutes at room temperature.
- Break into pieces: Once cooled, cover the candy with parchment or wax paper and gently break it into bite-sized pieces using a hammer, meat tenderizer, or mallet. This helps to create rustic candy shards.
- Finish with powdered sugar: Place the broken candy pieces in a bowl and sprinkle them with powdered sugar. Toss them gently to coat all surfaces and prevent sticking.
- Repeat for multiple flavors: If making different flavors and colors, repeat the process from step 2 for each batch.
Notes
- One batch fills one cookie sheet and can be broken into any size pieces you prefer.
- Oil flavorings tend to be more potent than extracts, so use sparingly.
- Avoid leaning over the pot when adding oil flavorings to prevent inhaling strong steam.
- You can also use candy molds or make hard candy suckers with this recipe.
- Up to 1 teaspoon of oils can be used depending on flavor strength desired; extracts require roughly 1 tablespoon for comparable flavor.
- Flavor combinations include Strawberry oil with red coloring, Lemon oil with yellow, Orange oil with orange, and Spearmint or Wintergreen oil with green coloring.
Nutrition
- Serving Size: 1 piece (approx. 15g)
- Calories: 60
- Sugar: 15g
- Sodium: 0mg
- Fat: 0g
- Saturated Fat: 0g
- Unsaturated Fat: 0g
- Trans Fat: 0g
- Carbohydrates: 15g
- Fiber: 0g
- Protein: 0g
- Cholesterol: 0mg

Your email address will not be published. Required fields are marked *