

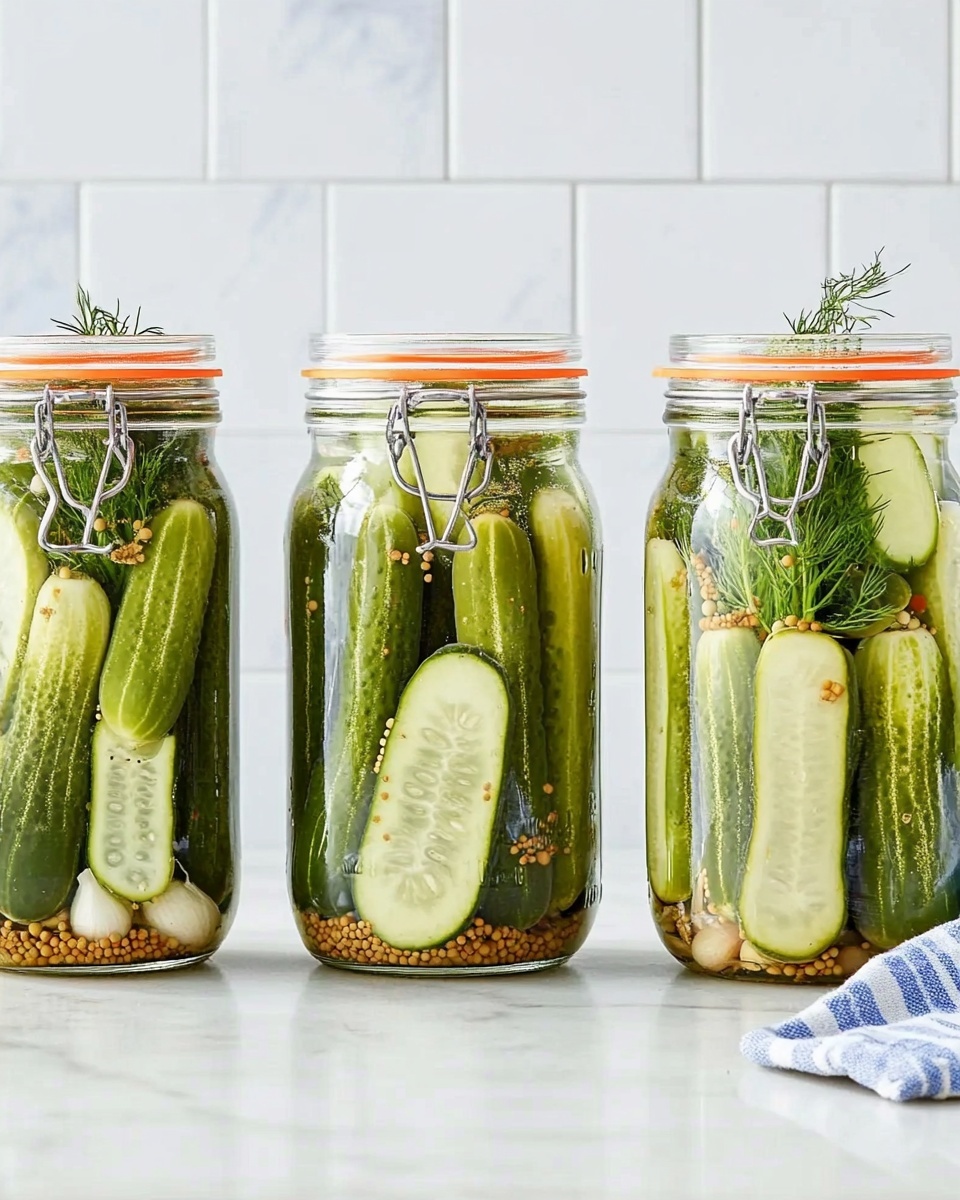
I absolutely love this Homemade Dill Pickles Recipe because it captures that perfect balance of tangy, salty, and fresh dill flavor that makes pickles so irresistible. Whether you’re craving a crunchy snack or looking to jazz up a sandwich, these pickles come together quickly and deliver that classic homemade taste you just can’t find in store-bought jars.
When I first tried this recipe, I was blown away by how simple it was and how the flavors deepened over just a few days in the fridge. It’s a perfect treat for summer when cucumbers are at their freshest, but honestly, I make these pickles year-round. Once you try this Homemade Dill Pickles Recipe, you’ll feel like you’ve unlocked a new level of kitchen confidence.
Why You’ll Love This Recipe
- Quick and Easy: You can prep your dill pickles in just minutes with minimal cooking time.
- Customizable Crunch: Choose between crisp spears or thin pickle chips depending on your mood.
- Fresh Flavor Boost: Real fresh dill and garlic give these pickles authentic, vibrant taste.
- Made for the Fridge: No canning fuss—just pop them in the fridge and enjoy safely for weeks.

Ingredients You’ll Need
The magic of this Homemade Dill Pickles Recipe lies in using crisp cucumbers and a spiced brine that borders between sour and sweet. Keep an eye out for fresh, firm cucumbers, and you’ll get that unbeatable crunch every time.
- Persian or pickling cucumbers: Choose firm ones without soft spots—Persian cucumbers give a great snack-size option.
- Garlic cloves: Halving brings out that punchy garlic flavor without overpowering the pickles.
- Mustard seeds: Adds a subtle warmth and texture to the brine.
- Peppercorns: Fresh whole peppercorns pack a mild heat and aromatic note.
- Fresh dill sprigs: The star herb for that unmistakable dill pickle flavor.
- Water: Helps dilute vinegar to perfect pickling strength.
- Distilled white vinegar: The key souring agent for that classic tang.
- Cane sugar: Balances the acidity for a slightly sweet edge.
- Sea salt: Brings out flavor while aiding preservation.
Variations
I love how versatile this Homemade Dill Pickles Recipe is, and I encourage you to tweak it to your taste. Whether you want your pickles just a bit spicier or a touch sweeter, this base recipe can handle it wonderfully.
- Spicy Kick: Adding a few red pepper flakes or a sliced jalapeño made my family go crazy over these fiery pickles.
- Herb Twist: Try tucking in some fresh thyme or bay leaves alongside the dill for an herbaceous surprise.
- Low-Sugar Version: Swap cane sugar for a little honey or omit it completely if you prefer very tart pickles.
- Quick Pickle Chips: Thin horizontal slices pickle quicker, perfect if you want to enjoy tangy pickles within a day.
How to Make Homemade Dill Pickles Recipe
Step 1: Prep Your Cucumbers
Start by washing your cucumbers thoroughly. For spears, slice each cucumber lengthwise into quarters—you’ll get a satisfying crunch that lasts. For chips, slice horizontally into thin rounds which absorb the brine faster and are perfect for sandwiches or salads. Keep the sizes consistent so they pickle evenly.
Step 2: Pack the Jars
Divide your cucumbers evenly into clean 8-ounce or 16-ounce jars. Add halved garlic cloves, mustard seeds, peppercorns, and a generous handful of fresh dill sprigs to each jar—these aromatics infuse each bite with amazing flavor. Don’t skimp on the dill; it’s what makes these pickles feel truly homemade.
Step 3: Make the Brine
In a medium saucepan over medium heat, combine water, distilled white vinegar, cane sugar, and sea salt. Stir gently until the sugar and salt dissolve, about 1 minute. Let the brine cool slightly before pouring it over the cucumbers—it’s important not to pour boiling hot liquid directly on the jars to avoid cracking or negatively impacting the pickles’ texture.
Step 4: Chill and Let Flavor Develop
Allow the jars to cool to room temperature before sealing and placing in your fridge. Spear pickles will have a light pickle flavor after 2 days, but the flavor really comes alive closer to day 5 or 6. Chips are ready in as little as one day but keep tasting better each day afterward. Remember, the longer they sit, the deeper that delicious flavor gets.
Pro Tips for Making Homemade Dill Pickles Recipe
- Pick the Right Cucumber: I learned the hard way that regular cucumbers can turn mushy—pickling or Persian cucumbers hold their crunch beautifully.
- Don’t Skip the Dill: Fresh dill makes all the difference; dried just doesn’t carry the same brightness.
- Use Distilled Vinegar: It’s neutral and prevents cloudiness or off-flavors in your brine.
- Cool Your Brine Before Pouring: Avoid soft pickles by letting the brine cool slightly so it doesn’t cook your cucumbers in the jars.
How to Serve Homemade Dill Pickles Recipe
Garnishes
I like to garnish my homemade dill pickles with an extra sprig of fresh dill when serving; it gives a pop of green and a fresh aroma that makes the pickles look as good as they taste. Sometimes, a light sprinkle of cracked black pepper adds a nice contrast.
Side Dishes
These pickles are perfect alongside juicy burgers, creamy potato salads, or a classic deli sandwich. I often serve them with matzo ball soup or as part of a charcuterie board to add a refreshing bite to the spread.
Creative Ways to Present
For special occasions, I like to stack pickle spears vertically in a tall glass jar tied with a rustic ribbon to give a charming gift or party favor. Another fun idea is layering pickle chips with cheese and sliced meats on appetizer skewers for easy entertaining.
Make Ahead and Storage
Storing Leftovers
Store your homemade dill pickles in airtight jars in the refrigerator. I find they keep their ideal texture and flavor for up to several weeks—longer if you’re careful with handling and always using clean utensils.
Freezing
Freezing dill pickles isn’t something I’d recommend since it changes their texture and makes them mushy. But if you’re really in a pinch, you can freeze pickle chips for recipes where texture isn’t as critical.
Reheating
Since these are refrigerator pickles, there’s no need to reheat them. Just pull a jar out and enjoy straight from the fridge whenever those crunchy cravings hit. Keeping them cold also preserves their crisp texture.
FAQs
-
How long do homemade dill pickles last in the fridge?
When stored properly in airtight jars, homemade dill pickles can last up to 3 to 4 weeks in the refrigerator while maintaining good texture and flavor. Always use clean utensils to prevent contamination.
-
Can I use regular cucumbers instead of pickling cucumbers?
You can, but regular cucumbers tend to be more watery and can become soft or mushy during pickling. Pickling cucumbers or Persian varieties hold up better and stay crisp longer in the brine.
-
Do I have to refrigerate these pickles?
Yes, since this recipe is a quick refrigerator pickle method without canning, the pickles need to be kept refrigerated to stay fresh and safe to eat.
-
How soon can I eat homemade dill pickles after making them?
Pickle chips develop flavor within 1 day, while pickle spears need about 2 days for a light pickle flavor, though they taste best after 5 to 6 days.
-
Can I adjust the spice level in this recipe?
Absolutely! Try adding chili flakes or sliced jalapeños to the jars for a spicy kick. You can also reduce peppercorns or garlic to mellow the heat if you prefer.
Final Thoughts
This Homemade Dill Pickles Recipe holds a special place in my kitchen because it’s so straightforward and reliably delicious every time. I hope you find making these pickles as satisfying as I do—there’s just something wonderful about biting into a crisp, tangy, dill-packed pickle that you made from scratch. Give it a try, share it with friends, and enjoy the freshest pickles you’ve ever tasted!
Print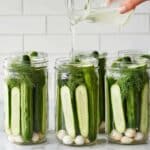
Homemade Dill Pickles Recipe
- Prep Time: 10 minutes
- Cook Time: 1 minute
- Total Time: 1 day 11 minutes
- Yield: 16 servings 1x
- Category: Pickling
- Method: No-Cook
- Cuisine: American
- Diet: Gluten Free
Description
This easy homemade dill pickle recipe uses fresh cucumbers, garlic, mustard seeds, peppercorns, and fresh dill, all soaked in a tangy vinegar brine with a touch of sugar and sea salt. Perfect for quick refrigerator pickles, these dill spears or chips offer a crisp, flavorful snack or condiment with minimal effort and no canning required.
Ingredients
Pickles
- 12 to 14 Persian cucumbers or 8 to 10 pickling cucumbers
Flavorings
- 4 garlic cloves, halved
- 2 teaspoons mustard seeds
- 2 teaspoons peppercorns
- Fresh dill sprigs, a few per jar
Brine
- 2 cups water
- 2 cups distilled white vinegar
- 1/4 cup cane sugar
- 2 tablespoons sea salt
Instructions
- Prepare the cucumbers: Slice the cucumbers lengthwise into quarters to make spears, or thinly slice horizontally to make chips.
- Divide cucumbers and spices: Place the cucumbers into 4 (8-ounce) or 2 (16-ounce) clean jars. Evenly distribute the garlic cloves, mustard seeds, peppercorns, and fresh dill sprigs among the jars.
- Make the brine: In a medium saucepan over medium heat, combine water, distilled white vinegar, cane sugar, and sea salt. Stir continuously until the sugar and salt dissolve completely, about 1 minute. Remove from heat and let the brine cool slightly.
- Pour brine over cucumbers: Carefully pour the warm brine into each jar, fully submerging the cucumbers and spices.
- Cool and refrigerate: Allow the jars to cool to room temperature. Seal with lids and refrigerate. Pickle spears will be lightly pickled and ready to enjoy after 2 days, with best flavor developing around days 5 to 6. Pickle chips are ready in 1 day and improve in flavor over several days.
- Storage: Store the pickles in the refrigerator for several weeks for optimum freshness and flavor.
Notes
- Use fresh, firm cucumbers for best crunch and flavor.
- The sugar in the brine balances the acidity of the vinegar, but you can adjust to taste.
- Pickle chips will pickle faster than spears due to increased surface area.
- Ensure all jars and utensils are clean to avoid contamination.
- These are refrigerator pickles and not shelf-stable canned pickles.
Nutrition
- Serving Size: 1 pickle spear or equivalent
- Calories: 10
- Sugar: 1.5g
- Sodium: 400mg
- Fat: 0g
- Saturated Fat: 0g
- Unsaturated Fat: 0g
- Trans Fat: 0g
- Carbohydrates: 2g
- Fiber: 0.5g
- Protein: 0.3g
- Cholesterol: 0mg

Your email address will not be published. Required fields are marked *