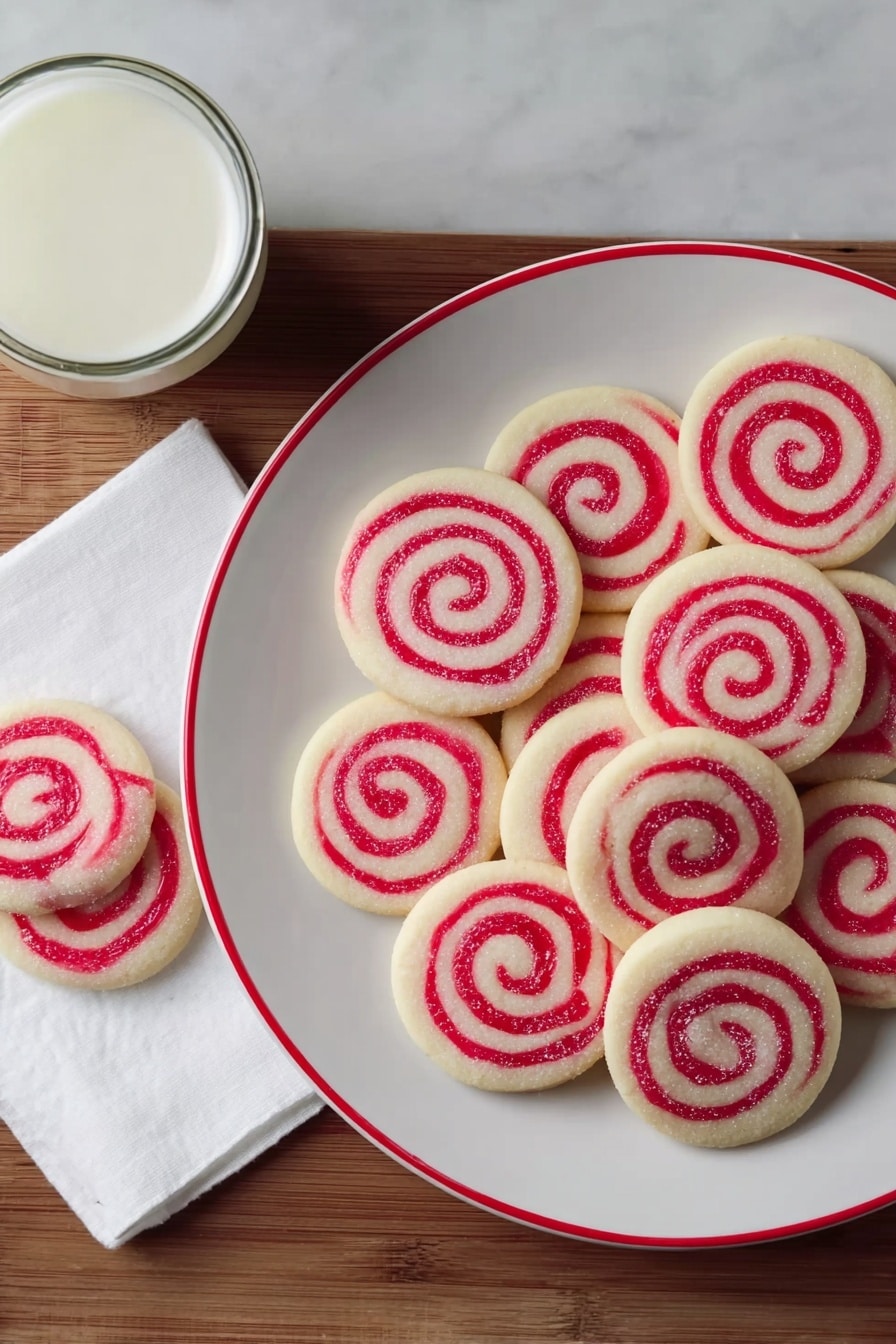
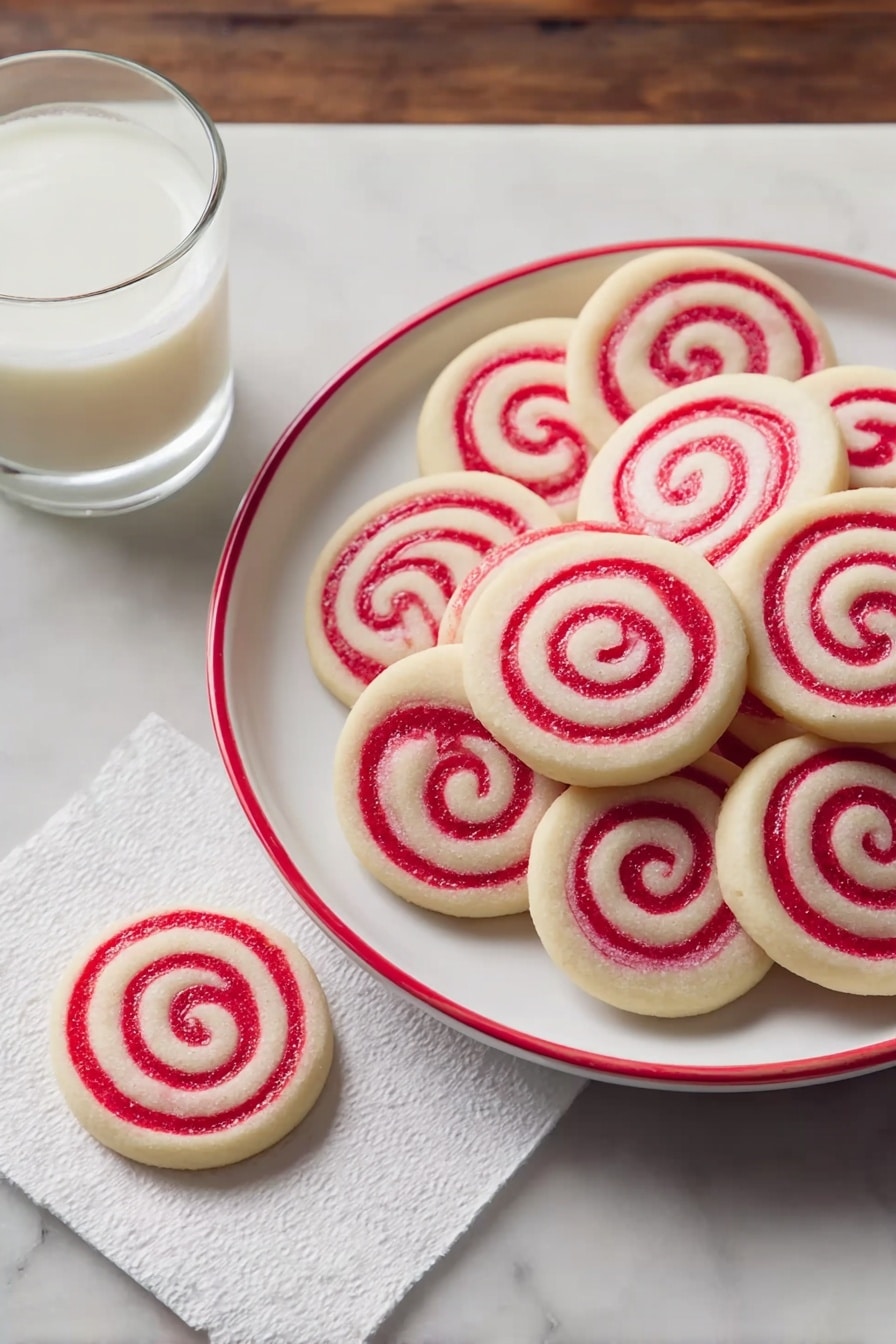
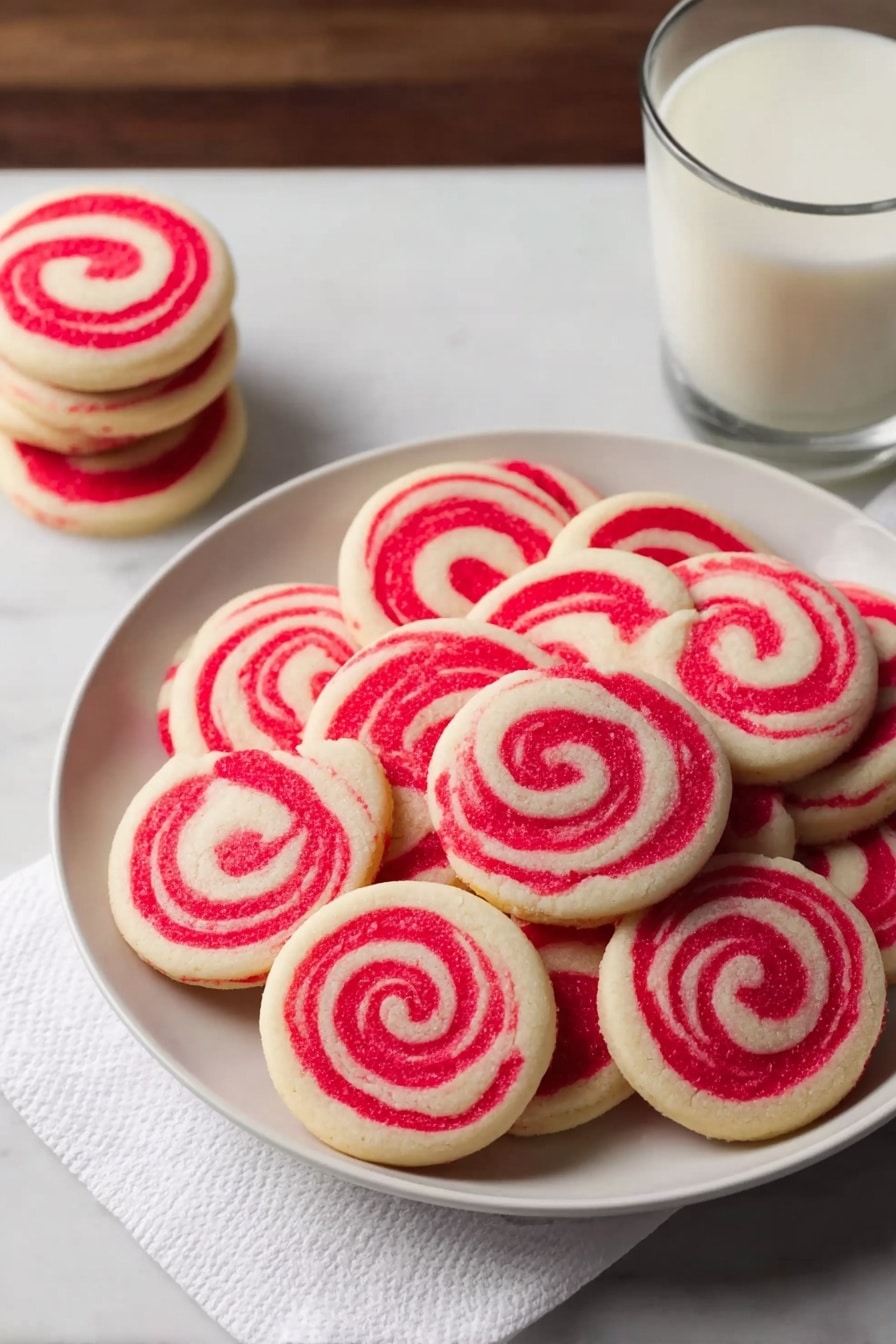
If you’re looking for a festive cookie that’s as fun to make as it is to eat, you’re going to adore this Holiday Pinwheel Cookies Recipe. I absolutely love how these cookies swirl with holiday cheer — colorful, buttery, and with just the right hint of raspberry—it’s like a holiday party in every bite! Stick with me and I’ll walk you through everything you need to nail these charming treats that are perfect for gifting, cookie swaps, or just brightening up your kitchen counter.
Why You’ll Love This Recipe
- Striking Appearance: The classic pinwheel swirl makes these cookies look impossible to resist, even before the first bite.
- Balanced Flavors: The subtle raspberry extract pairs beautifully with vanilla, giving the cookies a refreshing twist without overpowering them.
- Make-Ahead Friendly: The dough can be frozen for up to a month, making holiday prep stress-free and flexible.
- Perfect Texture: Buttery and tender, yet sturdy enough to hold that gorgeous swirl shape after baking.
Ingredients You’ll Need
These ingredients come together to create that classic buttery cookie dough with a festive raspberry pop. I like to use fresh, high-quality vanilla and real unsalted butter to really make the flavors shine. If you can find natural raspberry extract, grab it—it really boosts that bright fruitiness.
- White Granulated Sugar: Provides just the right amount of sweetness and helps give the cookies a tender crumb.
- Unsalted Butter: Using room temperature butter ensures smooth mixing and a rich, buttery flavor without extra salt.
- Vanilla Extract: A must-have for warmth and depth—don’t skip it!
- Baking Powder: Helps the cookies rise slightly, giving them a delicate texture.
- Salt: Enhances all the other flavors and balances the sweetness.
- Eggs: Bind all the ingredients together and add moisture for perfect dough consistency.
- All-Purpose Flour: The structure for these cookies—make sure to measure properly to avoid dense cookies.
- Liquid Red Food Coloring: Adds that eye-catching holiday red swirl—use sparingly for best results.
- Raspberry Extract: Gives the dough a subtle fruity flavor that makes these cookies special.
Variations
One of the best things about this Holiday Pinwheel Cookies Recipe is how easy it is to tailor to your taste or holiday theme. I love switching out the raspberry extract for orange, almond, or peppermint for a totally different vibe—try what makes your heart happy!
- Berry Swap: I once swapped raspberry for blueberry extract and loved the twist it gave the festive swirl.
- Chocolate Pinwheels: Substitute cocoa powder for part of the flour in one dough half for a chocolate variation that my family devoured.
- Natural Food Coloring: Use beet juice or matcha powder for a more natural approach if you prefer to avoid artificial colors.
- Gluten-Free Version: Try a 1:1 gluten-free flour blend—just be mindful it might affect the dough’s pliability slightly.
How to Make Holiday Pinwheel Cookies Recipe
Step 1: Cream the Butter and Sugar Until Dreamy
Start by beating the sugar, butter, vanilla, baking powder, and salt together using a stand mixer with a paddle attachment—mix until the batter is creamy, light, and clings to the bowl, about 2 minutes on medium speed. This step really sets the stage for tender cookies, so don’t rush it. I like to scrape down the sides then add the egg, mixing until fully incorporated so everything is evenly blended.
Step 2: Mix in the Flour and Divide Your Dough
With the mixer on low, slowly add the flour until no streaks remain—your dough will be soft but firm enough to handle. Scrape it onto your counter, divide it in half, and set one half aside. For the other half, add your red food coloring and raspberry extract, mixing until the color and flavor are uniform. Then divide each half again to end up with four balls: two plain and two raspberry-colored. Roughly shape each into a square or rectangle and wrap tightly in plastic. Chill for at least 30 minutes or even overnight to make rolling much easier.
Step 3: Roll each Dough Piece into Rectangles
Remove one dough piece, unwrap it, and sandwich it between two sheets of parchment or wax paper. Roll it out into a 6×12 inch rectangle. If the dough is too hard, let it soften just a bit—you want it pliable but not sticky. Flip the dough occasionally and smooth out any wrinkles in the parchment so those don’t leave marks. Stack these rolled sheets on a baking tray as you finish each one and pop the whole tray into the freezer for 15 minutes to firm up.
Step 4: Assemble the Pinwheels and Roll the Logs
Grab one plain and one raspberry rectangle from the freezer. Peel back the top parchment paper on both, then carefully flip the raspberry dough on top of the plain dough—vanilla stays on bottom for this log. After peeling away the remaining paper on the top, trim the edges to line up perfectly. Then, starting from the long edge, roll tightly into a 12-inch log, peeling the bottom parchment as you go. Repeat the process, but this time place the raspberry dough on the bottom so the swirl pattern varies—this little trick makes your cookies more visually exciting!
Step 5: Chill and Slice Your Cookie Logs
Wrap each log tightly in parchment or plastic and chill for at least 2 hours or overnight in the fridge (or freeze for up to a month). When ready, gently roll the chilled log on your counter to smooth out any flat spots, then slice into 1/4- to 1/2-inch thick cookies. Place them about an inch apart on a parchment-lined sheet and bake until the edges are just lightly golden—about 10 minutes. Moving slow and steady here yields beautiful, intact pinwheel shapes every time.
Pro Tips for Making Holiday Pinwheel Cookies Recipe
- Even Thickness Matters: Roll all rectangles to the same thickness to ensure even baking and perfect spirals.
- Keep Dough Cold: Chilling at every stage helps the dough hold its shape and makes rolling and slicing easier.
- Use Sharp Knife or Dental Floss: Slice the logs carefully with a sharp knife or unflavored dental floss to avoid squishing the cookies.
- Don’t Overbake: Cookies continue to firm up as they cool, so pull them from the oven as soon as edges start to brown lightly.
How to Serve Holiday Pinwheel Cookies Recipe

Garnishes
I usually keep these pinwheel cookies lovely and simple so their color and shape are the stars. But if I’m feeling extra festive, I sprinkle a few with a bit of colored sanding sugar just before baking or dust them lightly with powdered sugar after cooling. Either way, these little touches add a beautiful sparkle that makes them even more holiday-ready.
Side Dishes
Pinwheel cookies are perfect alongside a cup of hot cocoa or spiced coffee. I also love serving them with a cheese board during holiday gatherings—something about the sweetness paired with aged cheese is magical! Fresh fruit slices and a warm mulled cider complete the cozy vibe.
Creative Ways to Present
For holiday cookie swaps or gifts, I stack these cookies in a clear cellophane bag tied with a festive ribbon. Another fun way I found was slicing the logs thinner and arranging the pinwheels on a circular platter in a spiral pattern for a stunning centerpiece. Presentation really amps up the “wow” factor and shows off your effort beautifully.
Make Ahead and Storage
Storing Leftovers
Once baked and completely cooled, store your pinwheel cookies in an airtight container at room temperature. I’ve found they stay fresh and soft for up to 3 days. If you want to keep them longer, layering parchment paper between stacks prevents sticking and preserves that perfect shape.
Freezing
I love freezing the rolled logs of dough! Wrapped tightly in plastic and parchment, they hold beautifully in the freezer for up to a month. When you want fresh cookies, just slice and bake directly from frozen—adding a minute or two to the baking time. It’s my favorite way to have fresh-baked holidays magic on demand without the hassle.
Reheating
If you have leftovers and want to refresh their just-baked softness, pop them in a preheated oven at 300°F for about 3-5 minutes. Avoid microwaving as it tends to make them chewy or soggy. This quick reheat brings back that fresh-baked feel I absolutely adore.
FAQs
-
Can I make the dough without food coloring?
Absolutely! The food coloring is purely for that classic festive look. Your cookies will still taste amazing and have a lovely raspberry flavor even without the color.
-
What if I don’t have raspberry extract?
If you don’t have raspberry extract, you can substitute with almond, vanilla, or even a touch of lemon extract to add a different but delicious flavor twist.
-
How thick should I slice the cookie logs?
Slicing them between 1/4 to 1/2 inch thick works best to keep the pinwheel visible and the cookies sturdy enough to hold their shape during baking.
-
Can I bake all the cookies at once?
I recommend baking them in batches to avoid overcrowding the oven and ensure even heat circulation. This keeps the edges from browning too quickly and preserves that tender texture.
Final Thoughts
This Holiday Pinwheel Cookies Recipe holds a special place in my heart because it’s one of those recipes that turns baking into an adventure. The way your kitchen fills with that buttery, raspberry scent is downright magical. Whether you share these with loved ones or savor them by yourself with a warm drink, they never fail to bring a smile. Give this recipe a try—you’ll enjoy the bright colors, wonderful aroma, and perfect cookie texture just as much as I do. Happy baking, friend!
Print
Holiday Pinwheel Cookies Recipe
- Prep Time: 30 min
- Cook Time: 10 min
- Total Time: 4 hr 40 min
- Yield: About 48 cookies (approximately 4 dozen) 1x
- Category: Dessert
- Method: Baking
- Cuisine: American
Description
These festive Holiday Pinwheel Cookies feature a delightful swirl of vanilla and raspberry-flavored doughs, rolled into eye-catching spirals. Perfect for the holidays, these buttery, tender cookies combine a subtle raspberry extract and vibrant food coloring that make each bite as beautiful as it is delicious. Easy to prepare ahead and slice-and-bake, they make a charming addition to any cookie tray or gift box.
Ingredients
Basic Dough
- 1 1/4 cup (250 g) white granulated sugar
- 1 cup (225 g or 2 sticks) unsalted butter, at room temperature
- 1 teaspoon vanilla extract
- 1/2 teaspoon baking powder
- 1/2 teaspoon salt
- 1 large egg
- 3 cups (420 g) all-purpose flour
Colored Dough
- 1/2 teaspoon liquid red food coloring
- 1/2 teaspoon raspberry extract
Instructions
- Mix the Basic Dough: Place the sugar, butter, vanilla extract, baking powder, and salt in the bowl of a stand mixer fitted with a paddle attachment. Beat on medium speed for about 2 minutes until the mixture is creamy, lighter in color, and sticks to the bowl sides.
- Add Egg: Scrape the bowl sides, add the egg, and mix until fully incorporated.
- Add Flour: On low speed, mix in the flour until the dough is uniform and no streaks of flour remain.
- Divide and Color Dough: Turn dough out onto a clean surface and divide in half. Set one half aside plain. Return the other half to the bowl, add red food coloring and raspberry extract, and mix until evenly colored. Divide each half again so you have four dough balls—two plain and two raspberry.
- Shape and Chill Dough: Roughly shape each ball into a square or rectangle. Wrap each tightly in plastic wrap and chill for at least 30 minutes or up to 24 hours to firm the dough.
- Roll Dough Sheets: Remove one dough piece, unwrap, and place on wax or parchment paper. Cover with another sheet and roll into a 6×12 inch rectangle, flipping occasionally to prevent sticking. Fix any wrinkles by reapplying parchment paper as needed. Transfer rolled dough, still sandwiched between papers, to a baking sheet. Repeat with all dough pieces, stacking sheets on the baking sheet.
- Freeze Layers: Place the baking sheet in the freezer for 15 minutes until firm but not frozen solid.
- Assemble Log – Vanilla Bottom: Remove one vanilla and one raspberry dough sheet. Peel the top parchment off each. Flip the raspberry dough onto the vanilla dough so vanilla is on bottom; peel away remaining paper. Trim edges to align perfectly. Roll dough from the long edge into a 12-inch log, removing parchment as you roll.
- Assemble Log – Raspberry Bottom: Repeat the sandwich and rolling but place raspberry dough on the bottom so raspberry is on the outside when rolled.
- Chill Dough Logs: Wrap each log tightly in parchment or plastic wrap and chill in the fridge for at least 2 hours or overnight. Optionally freeze for up to a month.
- Slice and Bake: Preheat oven to 350°F (175°C). Line a baking sheet with parchment paper or a silicone mat. Remove dough logs from fridge, gently roll on the counter to smooth edges, and slice into 1/4- to 1/2-inch thick slices. Place cookies 1 inch apart on the baking sheet.
- Bake and Cool: Bake for about 10 minutes or until edges are slightly browned. Transfer baked cookies to a wire rack to cool completely. Repeat with remaining slices.
- Store: Store cooled cookies in an airtight container for up to 3 days.
Notes
- Make vibrant festive pinwheel cookies by rolling together two differently colored doughs.
- Freeze the rolled dough logs for up to one month for convenient slice-and-bake cookies anytime.
- If the dough is too hard to roll immediately after chilling, allow it to soften slightly at room temperature to ease rolling.
- Rolling between parchment paper prevents sticking and keeps dough smooth without additional flour.
- Ensure dough logs are well chilled before slicing to maintain clean, neat pinwheel shapes.
Nutrition
- Serving Size: 1 cookie
- Calories: 88 kcal
- Sugar: 5 g
- Sodium: 29 mg
- Fat: 4 g
- Saturated Fat: 2 g
- Unsaturated Fat: 0 g
- Trans Fat: 0 g
- Carbohydrates: 12 g
- Fiber: 0 g
- Protein: 1 g
- Cholesterol: 14 mg


