

If you’re looking to wow your friends and family with a spooky yet scrumptious dessert, you’ve got to try this Graveyard Brownies Recipe. It’s not just your average brownie – it’s a fun, festive twist that turns a simple sweet into a Halloween centerpiece. I absolutely love how these brownies come together with crunchy tombstone cookies, chocolate “dirt,” and adorable candy pumpkins. Trust me, once you see how cute and delicious these are, you’ll want to make them again and again.
Why You’ll Love This Recipe
- Simple & Quick: Uses a brownie box mix to save time while still delivering incredible taste.
- Fun Presentation: Tombstone cookies and candy pumpkins transform it into an eye-catching Halloween treat.
- Kid-Friendly: Little ones love helping decorate and will devour these spooky sweets.
- Perfect for Parties: Makes about 12 servings, great for sharing with a crowd.

Ingredients You’ll Need
I keep the ingredient list super straightforward here because part of the charm is how easy this Graveyard Brownies Recipe is. You’ll find that these key ingredients come together to create layers of flavor and texture that are worth every bite!
- Brownie mix: Pick your favorite brand—this is your brownie base, so choose one you love.
- Rectangular cookies: I usually use Milano cookies because their shape makes perfect tombstones.
- Black gel or chocolate icing: For writing “RIP” on each cookie – a fun way to add character.
- Crushed chocolate sandwich cookies: Creates the look and texture of “dirt” around the tombstones.
- Candy pumpkins: These little guys add a pop of color and festive vibe to your graveyard.
Variations
I love tweaking this recipe depending on who I’m serving. You can totally make it your own — after all, the fun is in the details!
- Gluten-Free Version: Try a gluten-free brownie mix and swap out cookies for gluten-free options—my friends with sensitivities were thrilled when I did this!
- Extra Gooey: Stir in a handful of chocolate chips into the brownie batter before baking for extra melty goodness.
- Spiced Up: Add a pinch of cinnamon or pumpkin pie spice to the brownie mix to bring a subtle autumnal twist.
- Mini Graveyard Brownies: Use a mini muffin pan instead of a baking pan for bite-sized spooky treats – perfect for parties or kids.
How to Make Graveyard Brownies Recipe
Step 1: Prepare and Bake the Brownies
Start by following the instructions on your brownie mix box—mix the batter and pour it into a greased baking pan. I usually use an 8×8 pan for this recipe because it fits about 12 brownies nicely. Bake as directed, but here’s my trick: Pull them out a few minutes before the timer if you want them extra fudgy (they’ll keep cooking as they cool). Let them cool completely before moving on — this helps everything set up and makes decorating less messy.
Step 2: Decorate Your Tombstones
While the brownies cool, grab your rectangular cookies. Use the black gel or chocolate icing to write “RIP” or any spooky message on each cookie. This part is so fun — I like to let kids join in because they get creative with the lettering. Let the icing dry a bit so it won’t smudge when you place the cookies on the brownies.
Step 3: Assemble the Graveyard
Once brownies are cool and cut, press one decorated cookie firmly but gently into the top of each brownie piece — these are your tombstones! Then, sprinkle crushed chocolate sandwich cookies around each tombstone to create “dirt.” Finally, scatter candy pumpkins to add that unmistakable Halloween punch. I love how layering the elements makes the scene come alive.
Pro Tips for Making Graveyard Brownies Recipe
- Use Room Temperature Brownies: Cold brownies can crack when you insert cookies, so giving them time to warm slightly makes assembly easier.
- Choose Sturdy Cookies: Milano cookies work great because they hold up well and have a nice length for writing.
- Don’t Overdo the “Dirt”: Sprinkle a light layer of crushed cookies so it looks natural without overwhelming the brownies.
- Prep Decorations Ahead: Writing on cookies can dry while brownies bake, saving you time at the end.
How to Serve Graveyard Brownies Recipe
Garnishes
I typically keep garnish simple — those candy pumpkins are both cute and tasty. Sometimes I add a light dusting of powdered sugar for a ghostly “fog” effect, which I think makes the scene extra spooky and pretty. Another fun idea I tried once was edible glitter on the “dirt” for a little shimmer, and everyone was impressed!
Side Dishes
Since this Graveyard Brownies Recipe is a sweet star, I like pairing it with simple sides like vanilla ice cream or a scoop of whipped cream to balance the chocolate richness. Hot apple cider or a cup of strong coffee also pairs beautifully, especially if you’re serving on a chilly fall afternoon. It’s all about cozy vibes and complementary flavors.
Creative Ways to Present
For Halloween parties, I like setting these brownies on a dark serving platter lined with artificial moss or autumn leaves to amp up the graveyard vibe. Another time, I created multiple “graveyards” on a giant cookie sheet by spacing out brownies and adding plastic skeleton hands reaching up—super fun conversation starter. Presentation really makes this dessert pop!
Make Ahead and Storage
Storing Leftovers
I usually store leftover Graveyard Brownies in an airtight container at room temperature for up to 3 days. The cookies stay crisp and the brownies maintain that perfect fudgy texture. If your kitchen is very warm, you might want to pop them in the fridge, but remember that can make brownies a bit firmer.
Freezing
I’ve frozen these brownies (without the cookie tombstones or candy pumpkins) before, wrapped tightly in plastic wrap and aluminum foil. They freeze beautifully and thaw in a few hours for speedy dessert emergencies. When you’re ready to serve, just decorate freshly with cookies and candy pumpkins for best texture and presentation.
Reheating
If you want warm brownies, briefly microwave one on a plate for 10-15 seconds—but I’d recommend removing the cookie tombstone first so it doesn’t get soggy or melt the icing. The warm brownie paired with a cool candy pumpkin is just dreamy.
FAQs
-
Can I use homemade brownies instead of a box mix for the Graveyard Brownies Recipe?
Absolutely! Homemade brownies work just as well and add a personal touch. Just make sure they’re fully cooled and firm enough to hold the cookie tombstones. I find fudgier brownies give the best texture for this dessert.
-
What other cookies can I use if I don’t have Milano cookies?
Any rectangular or oval cookie that’s firm enough to stand up works great. Other popular options are ladyfingers or rectangular shortbread cookies. Just pick one sturdy enough to write on and stand as tombstones.
-
How long do decorated Graveyard Brownies last?
When stored in an airtight container at room temperature, they’re best enjoyed within 3 days to keep the cookies crisp and brownies moist. Beyond that, the cookies may soften or the brownies dry out.
-
Can I make this recipe vegan or dairy-free?
Yes! Look for vegan or dairy-free brownie mixes, use dairy-free cookies, and swap any icing for vegan-friendly versions. It’s a fun project and tastes just as delicious once you get the hang of substitutions.
Final Thoughts
This Graveyard Brownies Recipe holds a special place in my heart because it combines ease, fun, and flavor in one spooky package. Whether you’re making it for Halloween, a themed party, or just because you’re craving some playful chocolate goodness, it never disappoints. I hope you’ll give it a try soon—you’ll enjoy the smiles it brings as much as the delicious bites. Happy baking and haunting!
Print
Graveyard Brownies Recipe
- Prep Time: 15 minutes
- Cook Time: 30 minutes
- Total Time: 45 minutes
- Yield: 12 brownies 1x
- Category: Dessert
- Method: Baking
- Cuisine: American
Description
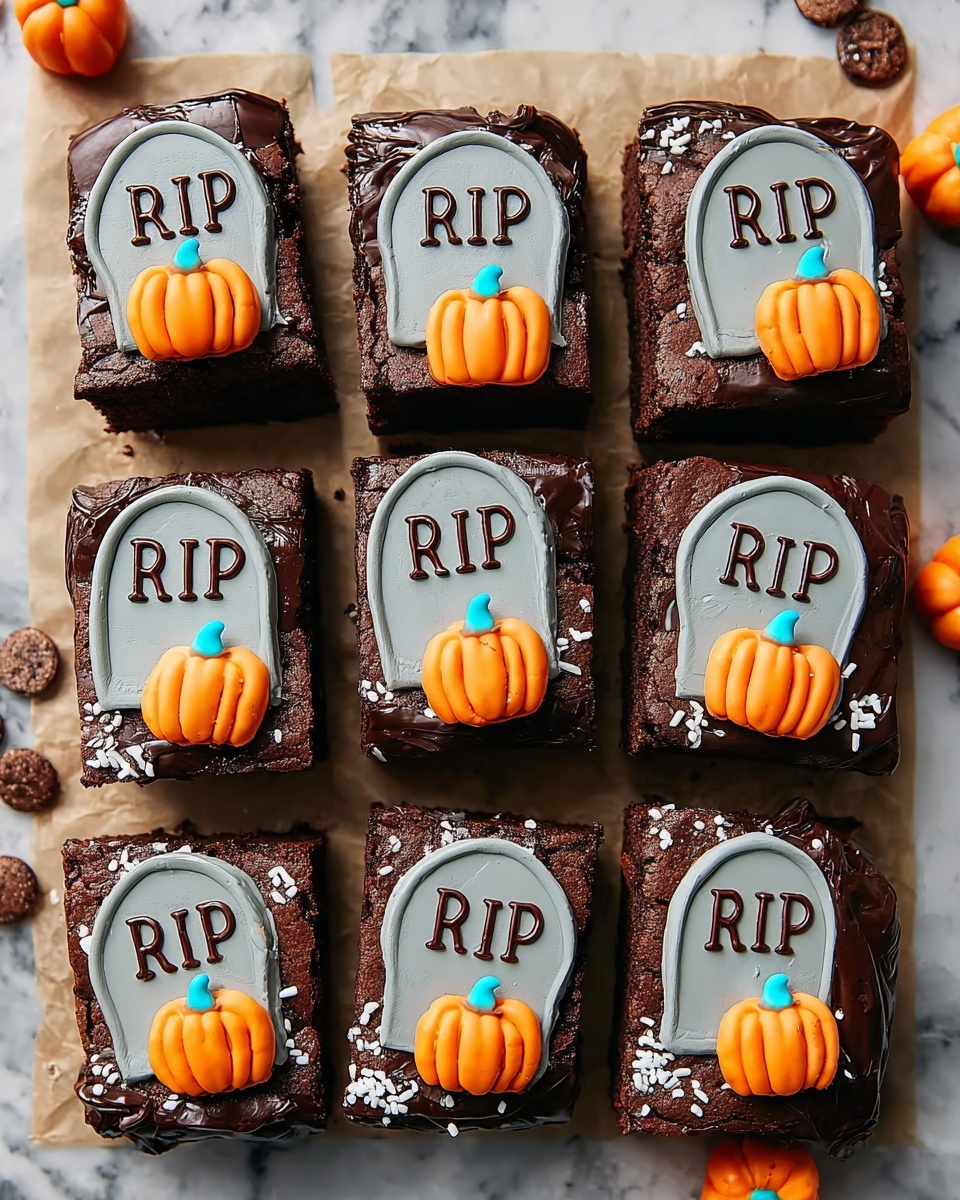
Create a spooky and fun dessert with these Graveyard Brownies, perfect for Halloween or any themed party. Soft, rich brownies are topped with cookie tombstones decorated with “RIP” and surrounded by crushed chocolate cookies as dirt, finished with candy pumpkins for a festive touch.
Ingredients
Brownie Base
- 1 box brownie mix (plus ingredients listed on the box, typically eggs, oil, and water)
Decorations
- 12 rectangular cookies (such as Milano)
- Black gel or chocolate icing for writing
- Crushed chocolate sandwich cookies for “dirt”
- Candy pumpkins for decoration
Instructions
- Prepare Brownie Mix: Follow the instructions on the brownie mix box, mixing the required ingredients such as eggs, oil, and water. Pour the batter into a greased baking pan to prevent sticking.
- Bake Brownies: Bake the brownies according to the package directions until a toothpick inserted comes out almost clean. Allow the brownies to cool completely to ensure clean cuts and stable decoration.
- Cut Brownies: Once cooled, cut the brownies into 12 equal squares, one for each tombstone and decoration.
- Decorate Tombstone Cookies: Use black gel or chocolate icing to write “RIP” on each rectangular cookie, designing them to look like tombstones for the graveyard scene.
- Assemble Graveyard: Press each decorated cookie vertically into the top center of each brownie square to represent tombstones.
- Add Dirt and Pumpkins: Sprinkle crushed chocolate sandwich cookies around the base of the tombstones to simulate dirt, and place candy pumpkins around as spooky accents to complete the graveyard theme.
Notes
- You can use homemade brownie batter instead of boxed mix if preferred.
- For sturdier tombstones, chill the decorated cookies before placing on brownies.
- Crushed sandwich cookies work best when finely ground to look like soil.
- Try different cookie shapes or other Halloween-themed candy for unique designs.
Nutrition
- Serving Size: 1 brownie with decoration
- Calories: 320
- Sugar: 25g
- Sodium: 210mg
- Fat: 15g
- Saturated Fat: 3.5g
- Unsaturated Fat: 9g
- Trans Fat: 0g
- Carbohydrates: 42g
- Fiber: 2g
- Protein: 3g
- Cholesterol: 30mg

Your email address will not be published. Required fields are marked *