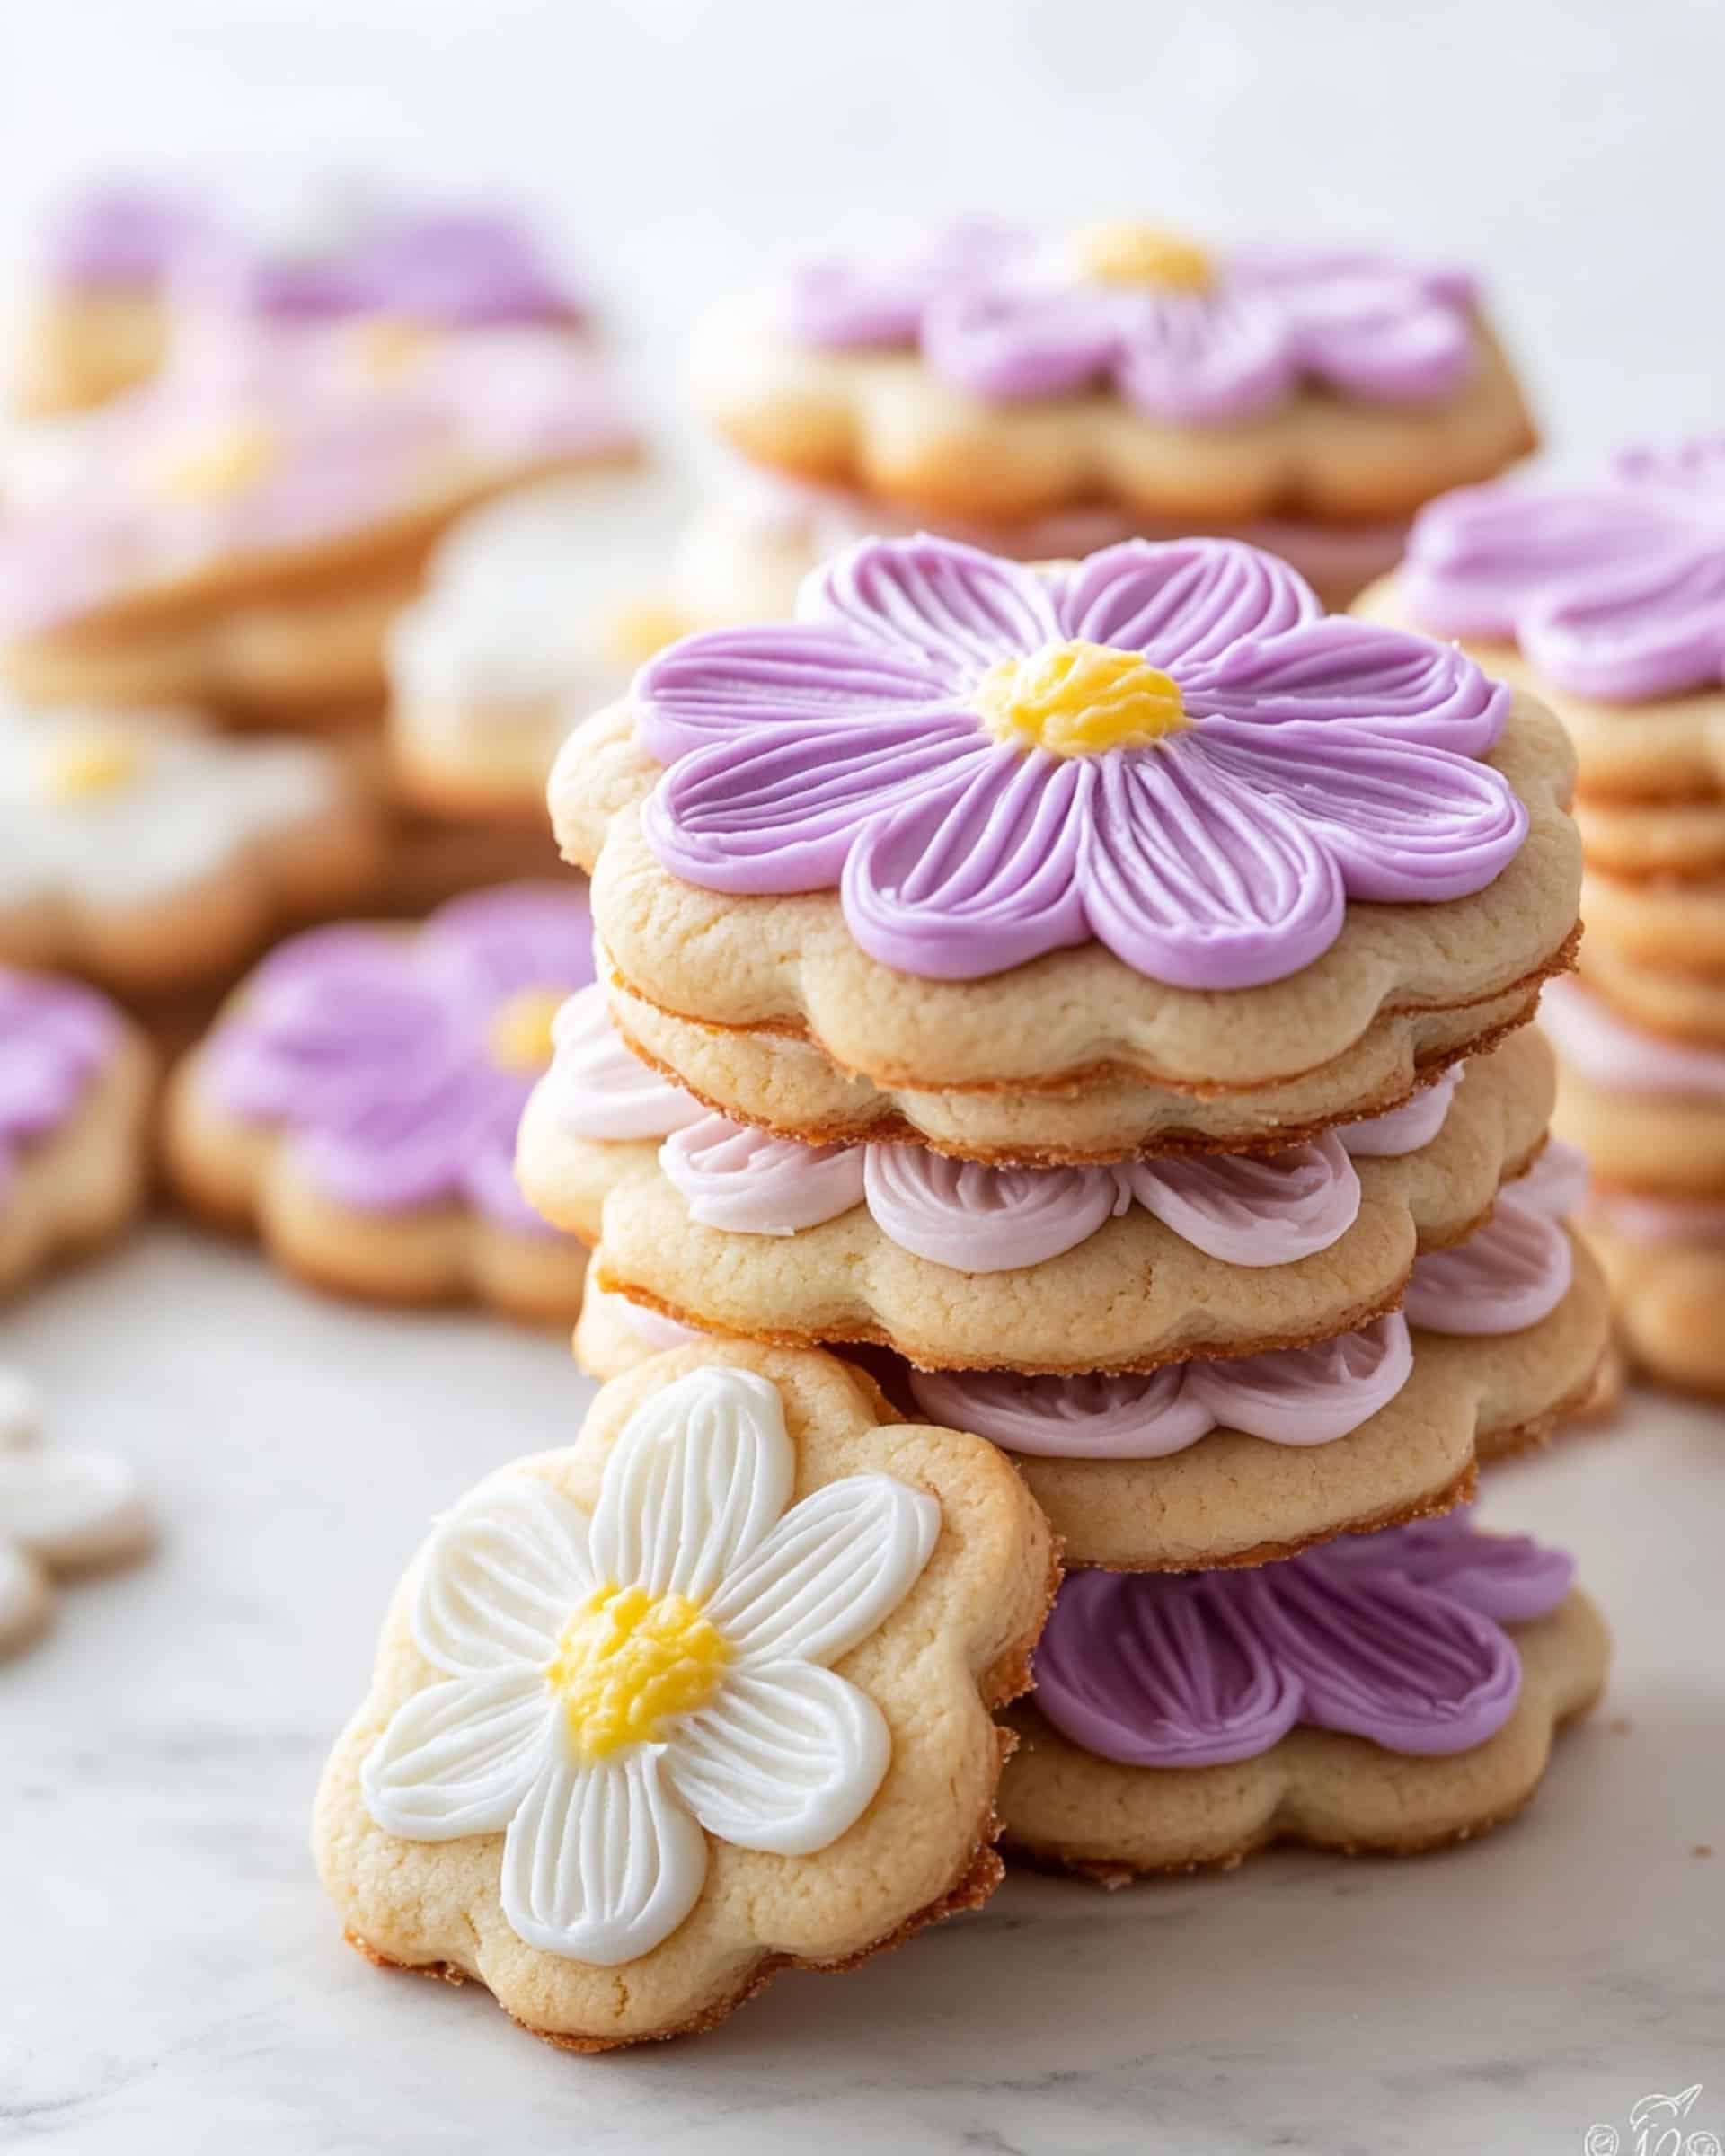
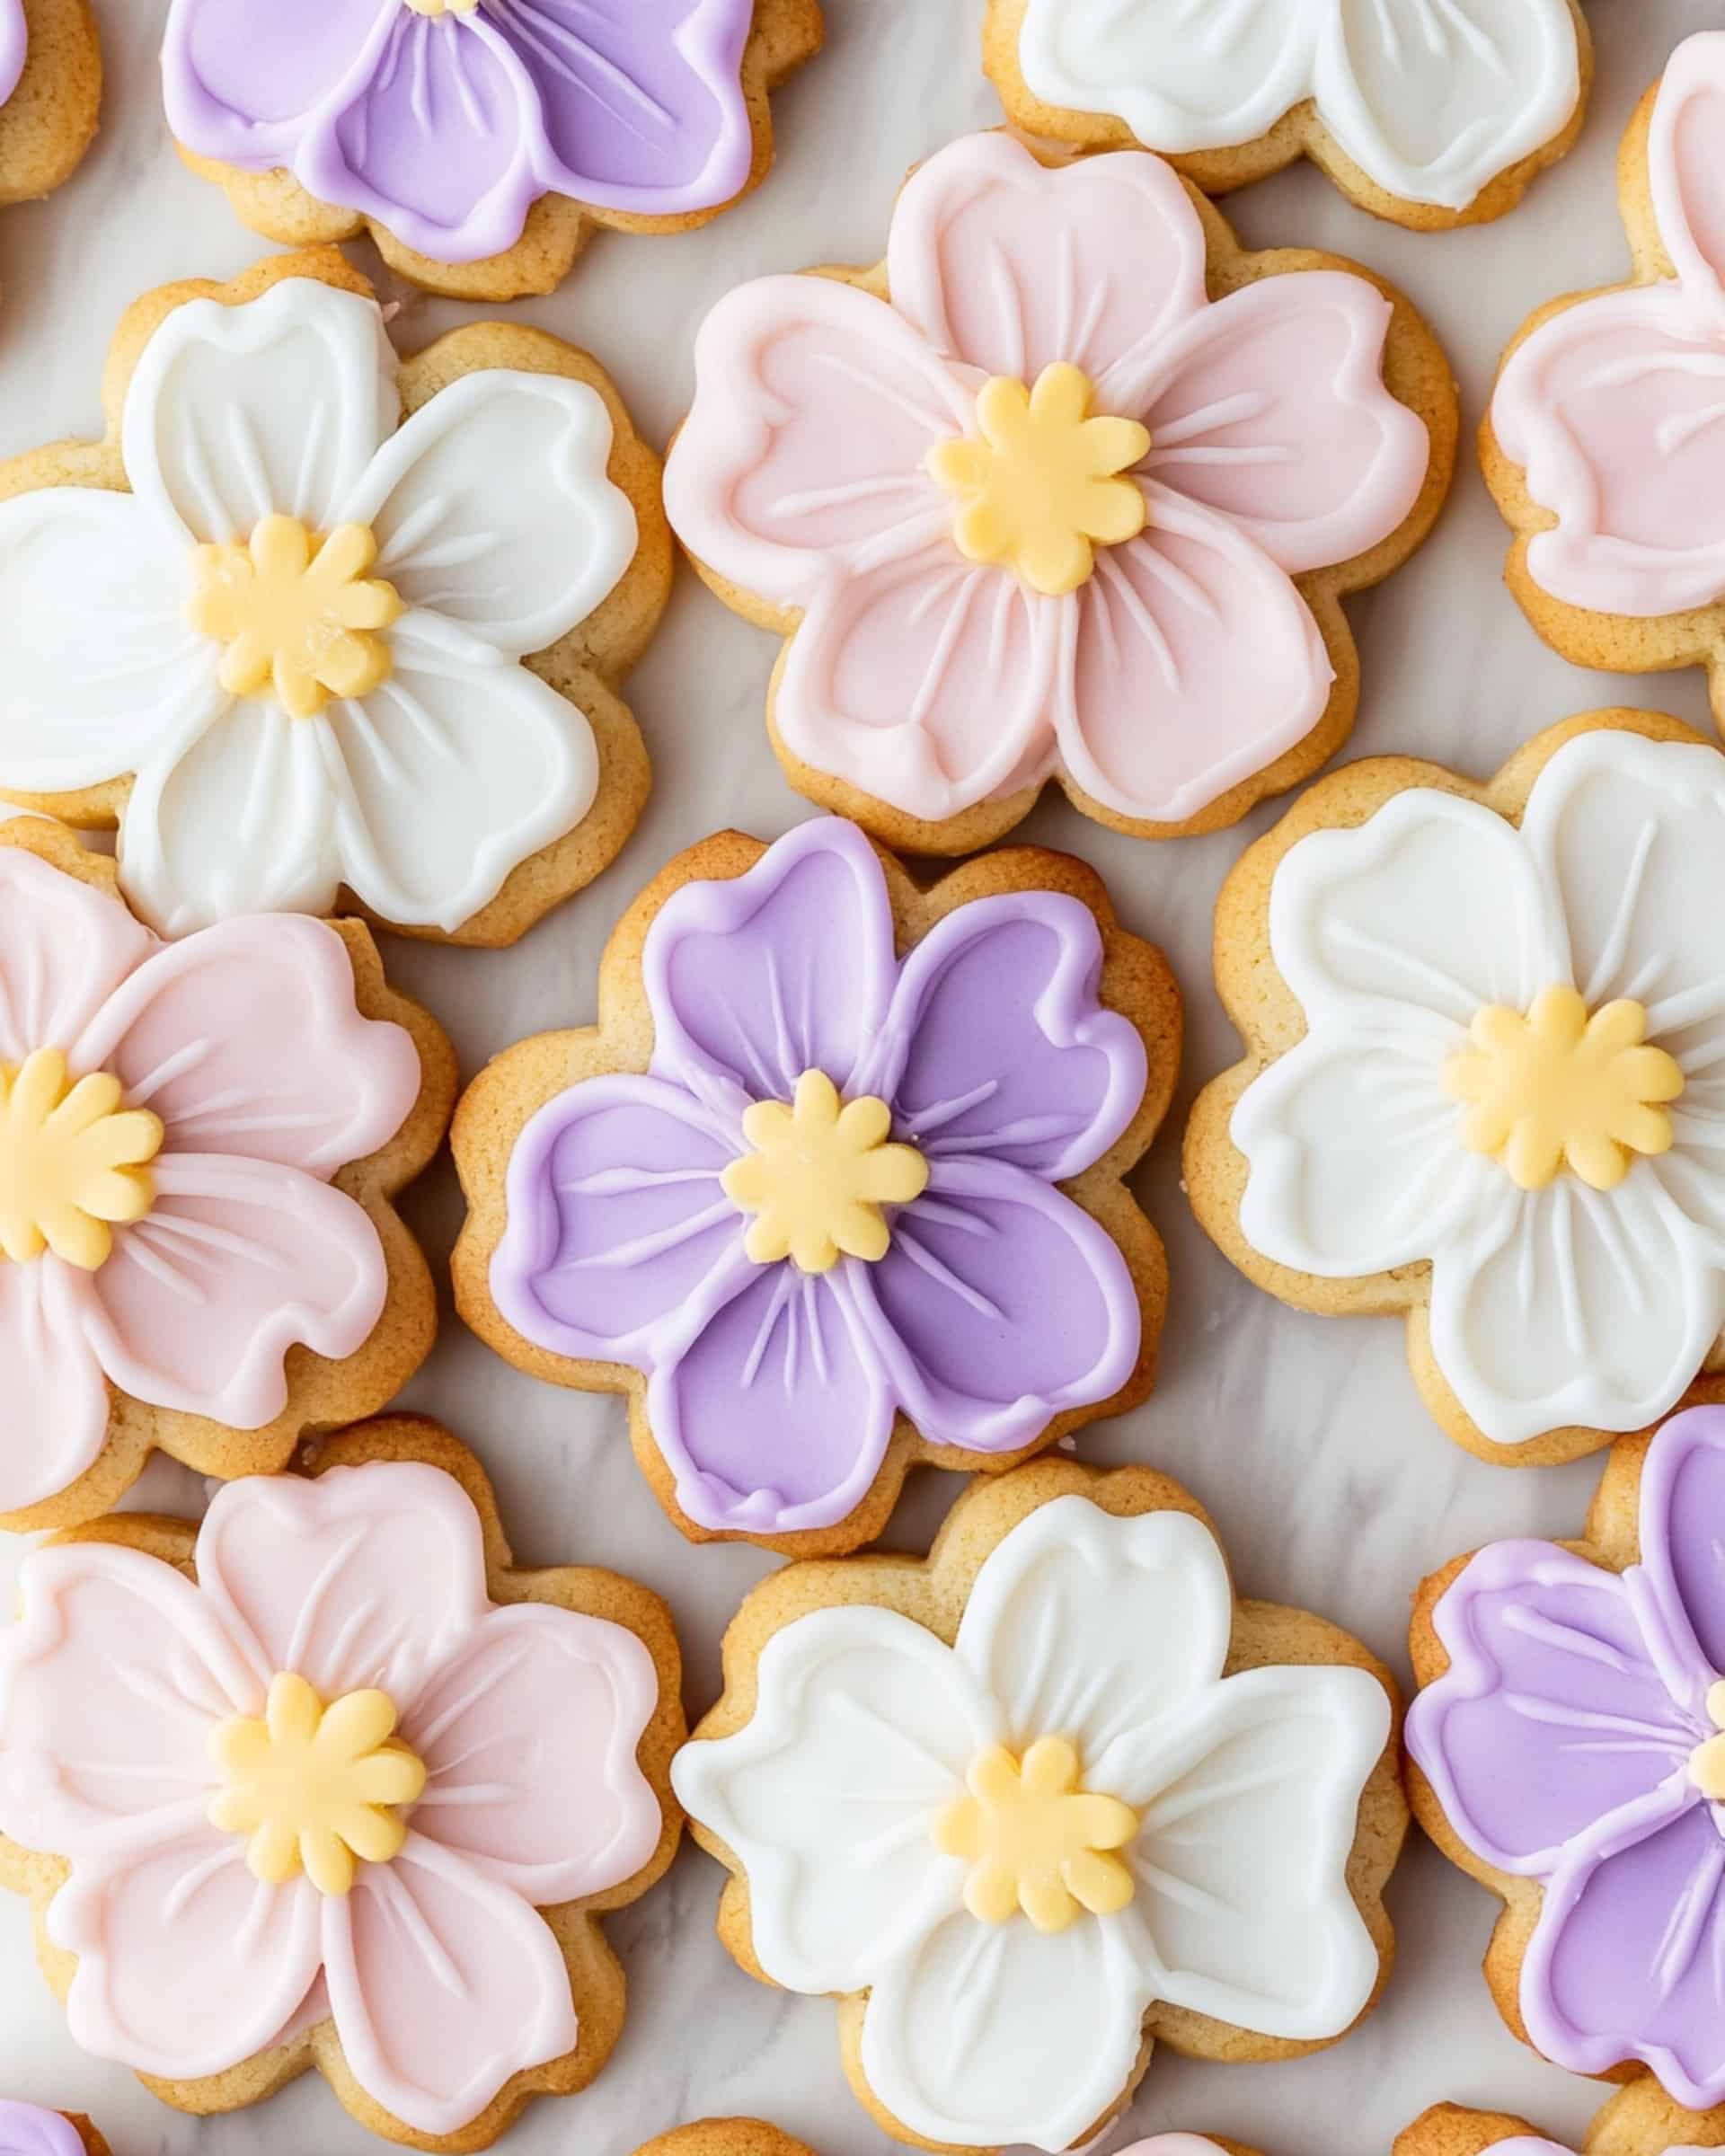
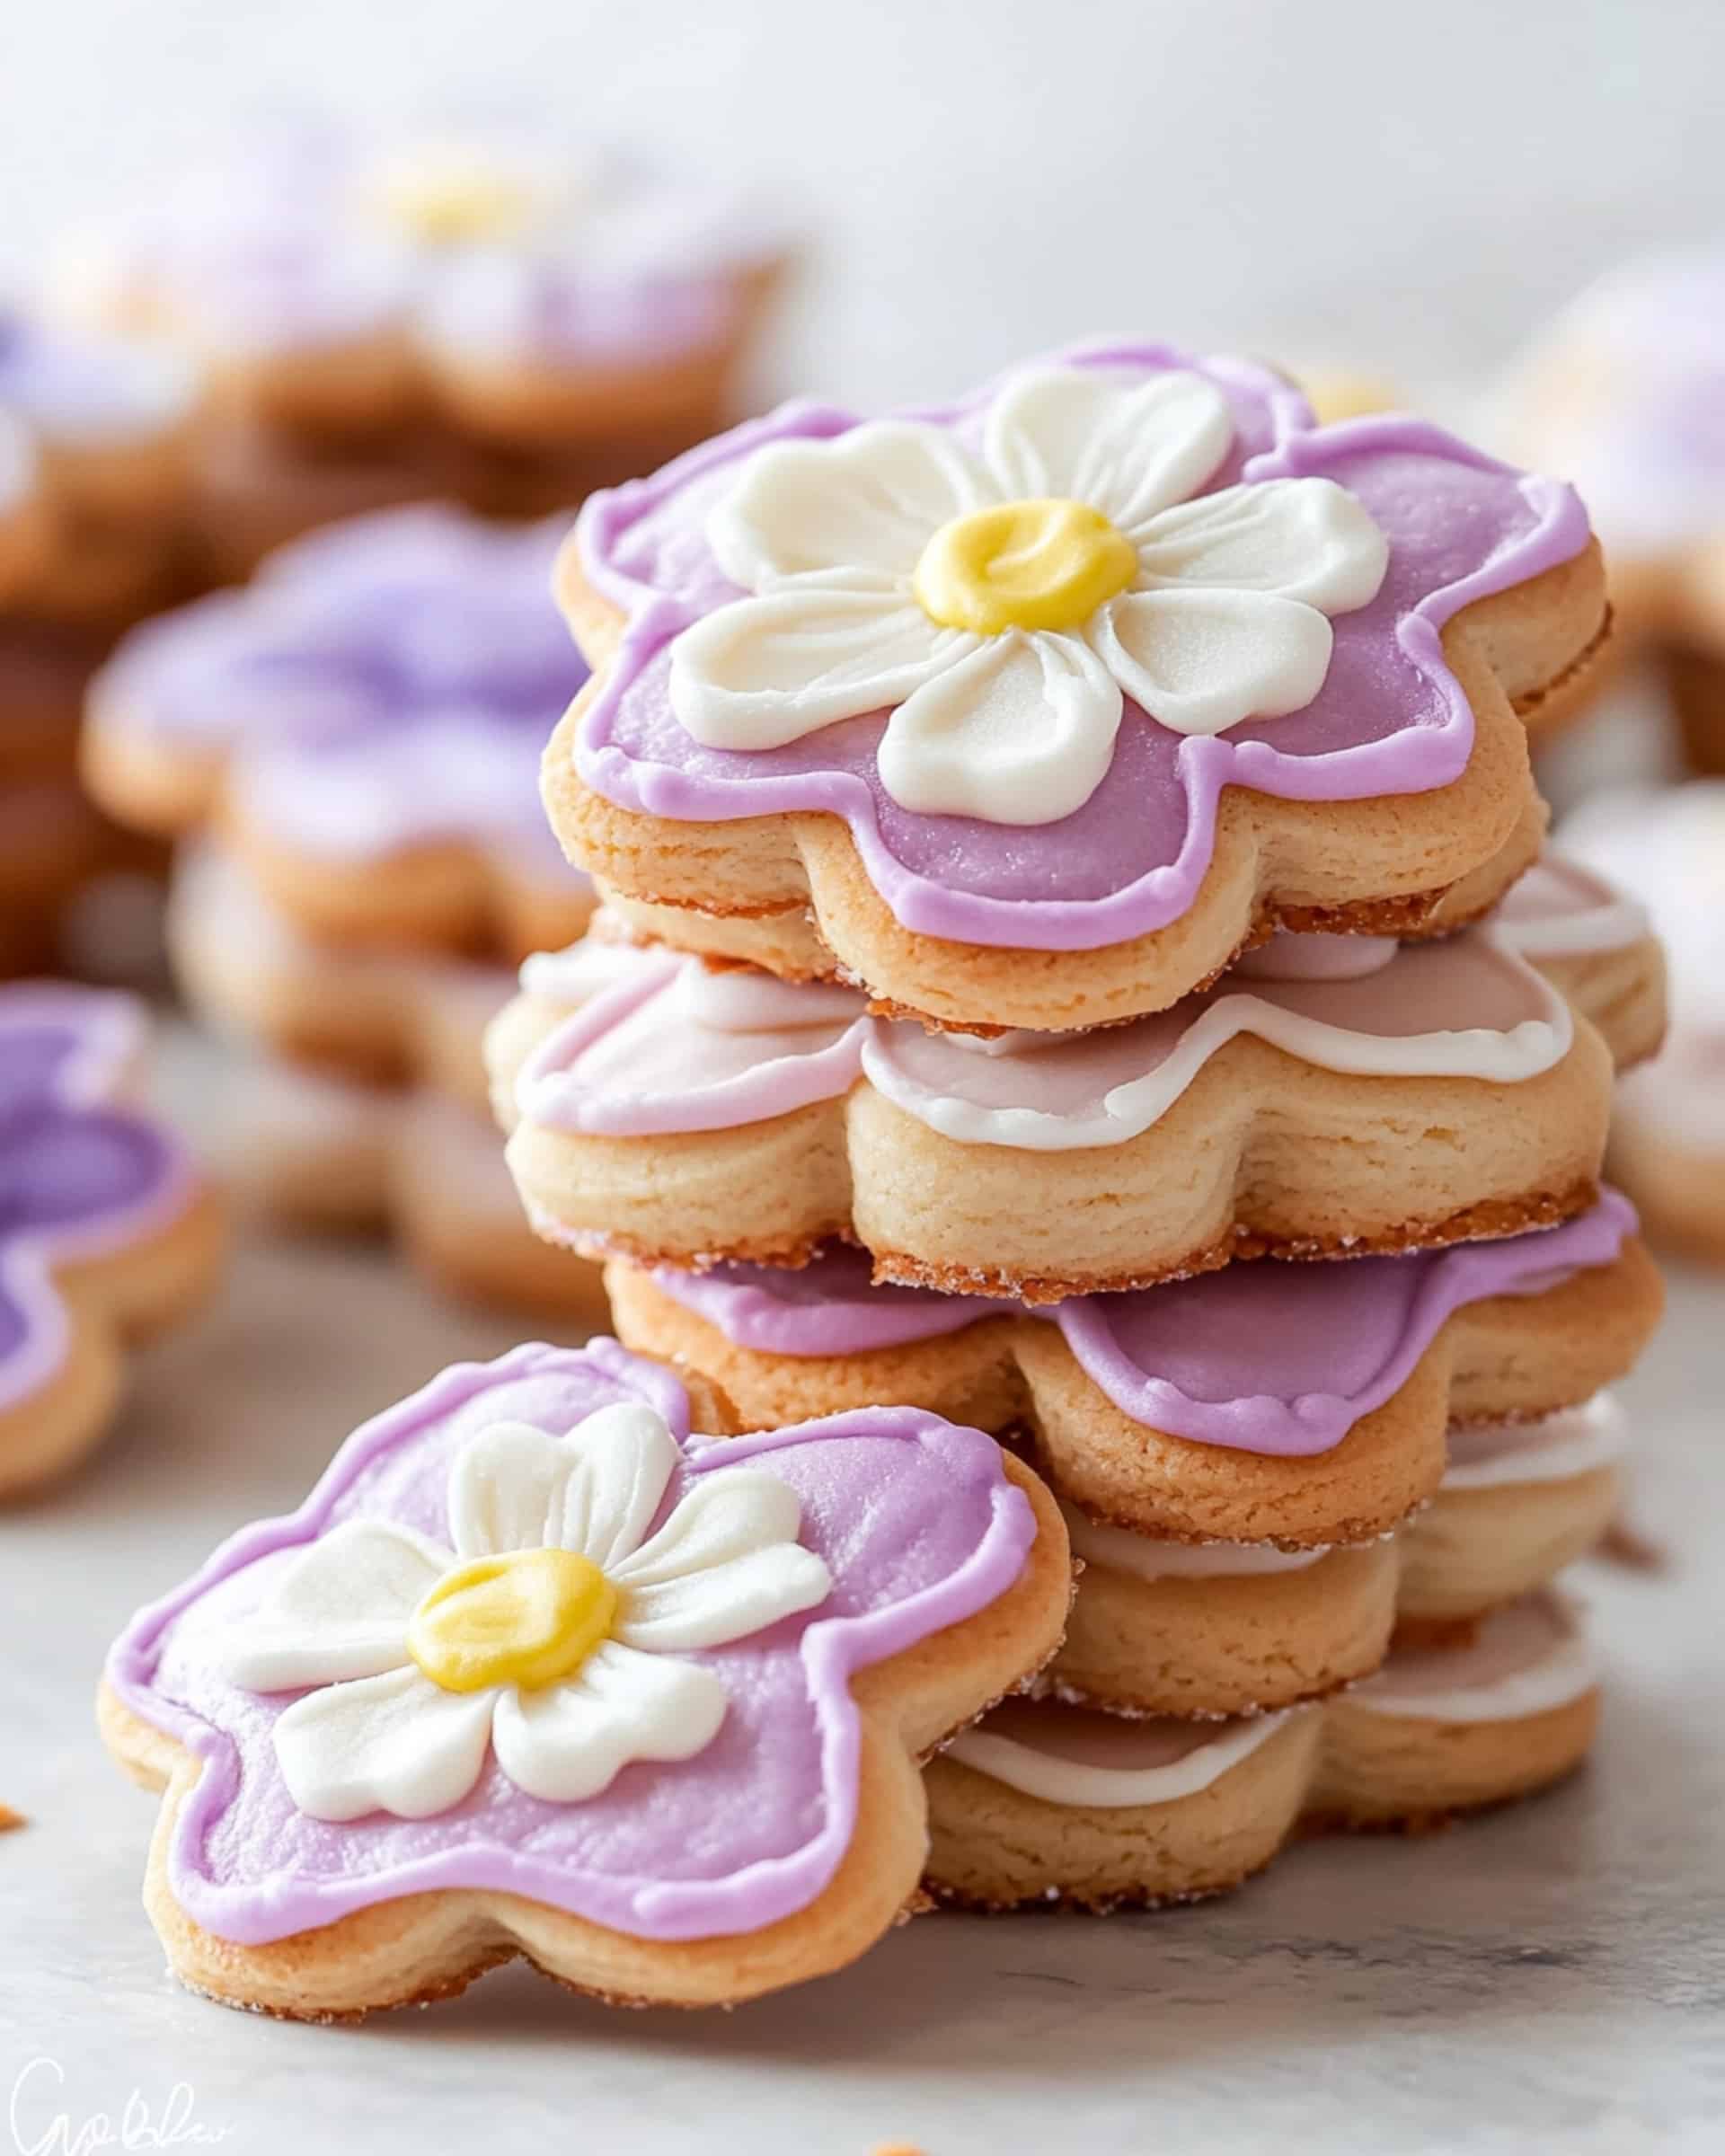
These delightful Flower Cookies are a perfect blend of buttery sweetness and artistic expression. With a soft sugar cookie base and colorful buttercream petals, they’re not just cookies—they’re edible art that will brighten any table! The beautiful floral design might look complicated, but I promise it’s actually quite simple with the right technique.
Why You’ll Love This Recipe
- Stunning Visual Appeal: These cookies look absolutely spectacular with their vibrant, petal-like frosting design—perfect for spring celebrations, garden parties, or anytime you want to impress!
- Customizable: Choose whatever colors speak to you—make realistic flower shades or go wild with rainbow petals. Your cookies, your rules!
- Great Activity: Decorating these cookies is genuinely fun and surprisingly therapeutic. It’s a wonderful activity to do with kids or friends for a baking day.
- Make-Ahead Friendly: The components can be prepared in advance, making these doable even with a busy schedule.
Ingredients You’ll Need
- Sugar Cookie Dough: This forms the perfect canvas for your flower designs—it’s sturdy enough to hold the frosting but still deliciously soft when you bite into it.
- Buttercream Frosting: The star of the show! Creates the gorgeous, soft-looking petals and holds its shape beautifully.
- Gel Food Coloring: The secret to vibrant colors without thinning your frosting. Liquid food coloring just doesn’t give the same intensity and can mess with your frosting consistency.
- Flower Cookie Cutter: Essential for creating your flower shapes—different sizes and petal shapes will give you variety in your cookie garden.
Variations
Different Flower Styles
Try daisies, roses, or sunflowers by adjusting your piping technique and color choices.
Flavor Twists
Add a drop of lemon, almond, or vanilla extract to your buttercream for subtly flavored petals.
Cookie Base Options
Swap the sugar cookie base for chocolate cookies to create a dramatic contrast with brightly colored frosting.
Finishing Touches
Sprinkle the centers with colored sugar, edible glitter, or tiny sugar pearls for extra dimension.
How to Make Flower Cookies
Step 1: Prepare the Cookie Base
Make your sugar cookie dough according to recipe directions. Roll it out to a thickness between ¼-½ inch—thinner cookies will be crispier, thicker ones softer. Cut out flower shapes and bake until just set but not browned. Allow them to cool completely before decorating.
Step 2: Prepare the Buttercream
Mix up a batch of buttercream frosting. Divide it into separate bowls and add gel food coloring to each—think pinks, purples, yellows, blues, whatever colors you want for your flower petals. Mix thoroughly until the color is evenly distributed.
Step 3: Set Up Your Piping Bags
Place each colored buttercream into a piping bag fitted with a #104 petal tip. If you only have one tip, you’ll need to work with one color at a time.
Step 4: Pipe and Shape the Petals
Pipe a substantial dot of buttercream at the base of each petal on your flower cookie. The flat side of the petal tip should be facing up, with the pointed end toward the center of the flower.
Step 5: Create the Petal Effect
Take a small spatula or the back of a teaspoon and gently spread the frosting from the outer edge of the petal toward the center of the flower. This creates that realistic, soft petal look. Repeat for all petals on each cookie.
Step 6: Add the Flower Centers
Finish by piping a dot of contrasting buttercream (yellow works beautifully) in the center of each flower. You can use a round tip for this or simply snip the end off a small piping bag.
Step 7: Set the Frosting
Allow the decorated cookies to sit undisturbed until the buttercream firms up enough to make them smudge-proof. This can take a few hours at room temperature.
Pro Tips for Making the Recipe
- Even Thickness: Roll your cookie dough between two sheets of parchment paper for consistent thickness.
- Chill Before Baking: Pop your cut-out cookies in the refrigerator for 10 minutes before baking to help them hold their shape.
- Practice Piping: If you’re new to piping, practice your petal technique on parchment paper first before moving to the actual cookies.
- Consistency Matters: Your buttercream should be soft enough to spread smoothly but firm enough to hold its shape. If it’s too stiff, add a few drops of milk; if too soft, add more powdered sugar.
- Work in Batches: Decorate a few cookies at a time rather than piping all the dots first, as the buttercream may start to crust if left too long before spreading.
How to Serve

Special Occasions
These cookies make stunning additions to baby showers, bridal teas, garden parties, or Mother’s Day celebrations.
Gift Packaging
Stack them carefully in pretty boxes lined with parchment paper for a thoughtful homemade gift.
Display Ideas
Arrange on a tiered stand for a “bouquet” effect at your dessert table—this always draws gasps of admiration!
Make Ahead and Storage
Storing Decorated Cookies
Once the buttercream has set, store decorated cookies in a single layer in an airtight container at room temperature for 3-4 days.
Freezing
Place cookies in a single layer on a baking sheet until frosting is frozen solid (about 2 hours), then stack between layers of parchment paper in an airtight container. They’ll keep beautifully for up to 3 months.
Thawing
Thaw frozen cookies in their container at room temperature for several hours without removing the lid (this prevents condensation from forming on the frosting).
FAQs
Can I make these cookies ahead for a party?
Absolutely! You can make the cookie base up to a week ahead and store in an airtight container. You can even freeze undecorated cookies for up to 3 months. For the freshest presentation, I recommend decorating them 1-2 days before your event.
My buttercream isn’t holding its shape when piping. What went wrong?
Temperature is likely the culprit. If your kitchen is warm or your butter was too soft when making the frosting, your buttercream will be too loose. Chill the frosting for 10-15 minutes, then remix before piping again. Conversely, if it’s too stiff, let it warm slightly or add a few drops of milk.
Can I use royal icing instead of buttercream?
While you can use royal icing, the technique and final look will be different. Buttercream creates soft, dimensional petals, while royal icing will give you a flatter, smoother finish. Both are beautiful, just different styles!
How do I transport these cookies without ruining the decoration?
Once the buttercream has fully set (preferably overnight), place cookies in a single layer in a shallow container. If you need to stack them, place parchment paper between layers and don’t stack more than two high. Keep the container flat during transport and avoid hot temperatures.
Final Thoughts
These Flower Cookies aren’t just desserts—they’re edible art that brings joy with every bite. The combination of buttery cookie and velvety buttercream creates a perfect canvas for your creativity. Don’t worry if your first few flowers aren’t perfect—each one will get better as you practice! The best part? Even the “imperfect” ones will be delicious and appreciated. So gather your supplies, set aside a little time for creativity, and watch as your cookie garden blooms before your eyes!
Print
Flower Cookies Recipe
- Prep Time: 20 minutes
- Cook Time: 9 minutes
- Total Time: 49 minutes
- Yield: 36 4-inch cookies 1x
- Category: Desserts
- Method: Baking
- Cuisine: American
Description
These flower cookies are delightful treats that are as fun to make as they are to eat. Made with soft sugar cookies as the base and a luscious buttercream frosting, they’re perfect for celebrating any occasion or just to bring some joy to your day. With vibrant colors and elegant flower shapes, these cookies are sure to impress family and friends. Whether you’re a baking beginner or a seasoned pro, the step-by-step instructions will guide you to create these edible works of art with ease.
Ingredients
For the Cookies
- 1 batch Sugar Cookie Recipe, softened
For the Frosting
- 1 batch Buttercream Frosting for Cookies
- Gel food coloring
Instructions
- Prepare the Cookie Dough
Make a batch of sugar cookie dough and roll it out to ½ – ¼ inch thickness. Using a flower-shaped cookie cutter, cut out flower shapes. Arrange the cookies on a baking sheet, bake them, and let them cool completely before decorating. - Make the Frosting
Prepare your buttercream frosting and divide it between small bowls. Add gel food coloring to each bowl and mix thoroughly to achieve your desired colors. Transfer each colored buttercream into piping bags fitted with a #104 petal tip. - Pipe the Petals
On each cookie, pipe a large dot of buttercream onto each flower petal. If you only have one piping tip, use one color at a time before switching to another color. - Spread the Frosting
Using a small spatula, gently spread the frosting from the outer edge of each petal towards the center. Repeat this process for all petals until the flower design is complete. - Add the Center Dot
Pipe a dot of buttercream in the center of each flower. Yellow buttercream works beautifully for the flower centers, but feel free to get creative. - Allow the Frosting to Set
Let the decorated cookies sit until the buttercream frosting has set and hardened enough to become smudge-proof. This step is essential for both presentation and handling of the cookies.
Notes
- Room Temperature Ingredients: Use room temperature butter and eggs for a smoother cookie dough and better texture.
- Gel Food Coloring: Opt for gel food coloring to achieve bold, vibrant hues without altering the consistency of the buttercream.
- Storage Tips: Undecorated cookies remain fresh for up to one week, so you can prepare the cookies in advance and decorate later.
- Freezing Options: To freeze, store cookies in an airtight container, layering parchment or wax paper between cookies. Both decorated and undecorated cookies can be frozen for up to three months.
Nutrition
- Serving Size: 1 cookie
- Calories: 150
- Sugar: 12g
- Sodium: 50mg
- Fat: 7g
- Saturated Fat: 4g
- Unsaturated Fat: 3g
- Trans Fat: 0g
- Carbohydrates: 20g
- Fiber: 0g
- Protein: 1g
- Cholesterol: 20mg


Your email address will not be published. Required fields are marked *