

If you’re anything like me, there’s something downright magical about a warm slice of homemade apple pie. Today, I’m sharing my Classic Apple Pie Recipe that’s not only the definition of comfort food but also surprisingly easy to pull off. Whether you’re baking for a holiday, a family dinner, or just because, this apple pie’s flaky crust and cinnamon-spiced filling will have everyone asking for seconds.
Why You’ll Love This Recipe
- Perfectly Flaky Crust: The double crust recipe creates a tender, buttery base you’ll be proud to slice into.
- Simple, Flavorful Filling: With just cinnamon, sugar, and butter, the apples shine bright and fresh.
- Lattice Top for Charm: The woven crust isn’t just beautiful—it helps steam escape, keeping your filling just right.
- Perfect for Every Occasion: From Thanksgiving dinner to a weeknight treat, this pie fits every mood and table.

Ingredients You’ll Need
Using the right ingredients is key to mastering this Classic Apple Pie Recipe. Fresh Granny Smith apples bring a perfect balance of tartness, and real butter makes all the difference in a flaky crust.
- Granny Smith Apples: These tart apples hold their shape well during baking and offer a perfect zingy contrast to the sweetness.
- Cinnamon: Just the right amount adds warmth without overpowering the apples’ natural flavor.
- Unsalted Butter: Using unsalted butter allows you to control the salt level and adds richness to your pie crust and filling.
- All-Purpose Flour: Essential for the crust and for thickening the filling into that luscious texture you want.
- Granulated Sugar: Sweetens the pie filling without masking the apples’ vibrant taste.
- Water: Used in the filling to help create that silky sauce and in the egg wash for a glossy crust.
- Egg: An egg wash helps your lattice crust achieve that gorgeous golden brown finish.
- Double Pie Crust Recipe: Making the crust from scratch ensures the flakiest, most flavorful result. You can use a trusted homemade or store-bought crust if you’re in a pinch.
Variations
I love that this Classic Apple Pie Recipe acts like a blank canvas. Over the years, I’ve tried all kinds of tweaks — some subtle, some bold — and each brings something fun to the table. Feel free to make it your own!
- Add Nuts or Raisins: For a little extra texture, tossing in chopped walnuts or golden raisins before baking always makes my family smile.
- Use Brown Sugar Instead of Granulated: This gives a deeper caramel note to the filling that feels so cozy in cooler months.
- Gluten-Free Crust: I once experimented with a gluten-free pie crust for a friend, and it worked great without losing that buttery, flaky feel.
- Spice it Up: Some folks like a pinch of nutmeg or allspice to enrich the cinnamon — I say go for it if you crave a spicier pie!
How to Make Classic Apple Pie Recipe
Step 1: Prepare Your Pie Crust and Preheat
I always start by making my double pie crust and chilling it as directed — this step is key to getting a flaky crust that doesn’t shrink or get soggy. Once your crust is resting in the fridge, preheat your oven to 425˚F; that high initial temperature gets your crust golden and crisp right from the start.
Step 2: Create the Buttery Apple Filling Sauce
Next, melt some unsalted butter in a saucepan over medium heat, then whisk in flour to help thicken your sauce. Once that’s cooked for a minute, pour in water and sugar and bring the mixture to a boil. Lower the heat and let it simmer until everything thickens, stirring often — this mix will coat your apples perfectly and soak into them while baking without making it runny.
Step 3: Prepare the Apples
While your sauce cooks, peel, core, and slice your Granny Smith apples thinly — I like about 7 cups to get that balanced filling. Toss them around in a bowl with cinnamon, then pour your warm sauce over the top and give it a nice stir. The apples will soak up that cinnamon-sugar goodness and stay tender yet firm after baking.
Step 4: Roll Out and Fill Your Pie
Flour your work surface lightly and roll the bottom crust into a 12-inch circle, then carefully transfer it to your 9-inch pie plate by wrapping it around your rolling pin. Pour in the apple filling, mounding it slightly in the middle but carefully keeping the edges clean — this helps the top crust seal beautifully.
Step 5: Make the Lattice and Egg Wash
Roll out the second crust to about 11 inches and cut into 10 even strips using a pizza cutter. Creating the lattice might sound fiddly, but trust me, it’s worth it — weaving the strips allows steam to escape and gives your pie that classic bakery look. Once done, whisk an egg with water and brush it over the crust to get a shiny, golden finish.
Step 6: Bake with Patience
Bake the pie at 425˚F for 15 minutes to set the crust, then lower the oven to 350˚F and bake for an additional 45 minutes. You’ll know it’s ready when the apples are soft and the juices bubble through the lattice vents — this bubbling is your sign that everything inside is perfectly cooked. Let the pie rest at room temperature for at least an hour before cutting; this helps the filling thicken so every slice stays beautiful.
Pro Tips for Making Classic Apple Pie Recipe
- Keep Your Butter Cold: When making the crust, cold butter pieces create pockets that crisp up beautifully during baking.
- Don’t Overfill: I learned the hard way that an overloaded pie can bubble over in the oven—keeping the filling level just right avoids messy spills.
- Use a Pizza Cutter for Lattice Strips: It makes cutting neat, even strips quick and easy—save yourself a ton of time!
- Rest Before Slicing: Letting the pie cool for an hour really helps the filling set, so your slices hold together perfectly.
How to Serve Classic Apple Pie Recipe
Garnishes
I’m a sucker for a scoop of vanilla ice cream on warm apple pie—that contrast of cold cream melting into the sweet filling? Absolutely heavenly. Sometimes I sprinkle a little extra cinnamon or drizzle caramel sauce on top to fancy it up when guests are over.
Side Dishes
If you’re serving this pie as part of a bigger meal, I love pairing it with a simple cup of hot coffee or even a sharp cheddar cheese plate to complement all the sweetness—trust me, it’s a combo you’ll want to try.
Creative Ways to Present
For holidays, I’ve turned this pie into mini hand pies using the same filling and crust — perfect for parties or gifting. Another fun trick is adding leaf-shaped crust cutouts on top of the lattice for an autumn vibe that wows everyone without extra effort.
Make Ahead and Storage
Storing Leftovers
I like to keep leftover slices covered tightly in the fridge — the pie stays fresh for up to 3 days. Pro tip: let it come to room temp or warm it slightly before enjoying to soften the crust and revive those cozy apple flavors.
Freezing
This Classic Apple Pie Recipe freezes beautifully! Wrap the whole baked pie securely in plastic wrap and a foil layer, then freeze for up to 2 months. When you’re ready to eat it, I thaw it overnight in the fridge and then warm it in the oven to get that fresh-baked feeling back.
Reheating
To reheat, I pop slices in a preheated oven at 350˚F for about 10-15 minutes. This helps crisp up the crust again without drying out the filling—it’s way better than microwaving, which can make crust soggy.
FAQs
-
Can I use other types of apples in this Classic Apple Pie Recipe?
Absolutely! Granny Smith apples are my go-to for tartness and holding their shape, but you can mix in Fuji, Honeycrisp, or Braeburn for added sweetness and texture. Just be mindful that sweeter apples might reduce the sugar you need to add.
-
Do I have to make the pie crust from scratch?
Not at all! While homemade crust makes the pie extra special, using a quality store-bought double crust works fine and saves time without sacrificing too much on flavor or texture.
-
How do I prevent my crust from getting soggy?
One trick I’ve learned is to keep the edges clean when filling your pie and bake it at a higher temperature at first to “set” the crust. Using a lattice top instead of a solid crust also allows steam to escape, which helps avoid sogginess.
-
Can I make this pie ahead of time?
You sure can! You can assemble the pie up to a day in advance and keep it refrigerated. Just cover it with plastic wrap and bake as directed when you’re ready. This is great for meal prepping or holiday hosting.
Final Thoughts
This Classic Apple Pie Recipe holds a special place in my heart because it hits that perfect balance of sweet and tart, rich and flaky—and it’s one of those recipes that feels like a warm hug on a plate. I encourage you to give it a try, not just for its delicious flavors but for the smiles it’ll bring when shared with family and friends. Trust me, once you’ve nailed this recipe, you’ll want to keep it in your baking rotation for life.
Print
Classic Apple Pie Recipe
- Prep Time: 30 minutes
- Cook Time: 60 minutes
- Total Time: 150 minutes
- Yield: 8 servings 1x
- Category: Dessert
- Method: Baking
- Cuisine: American
Description
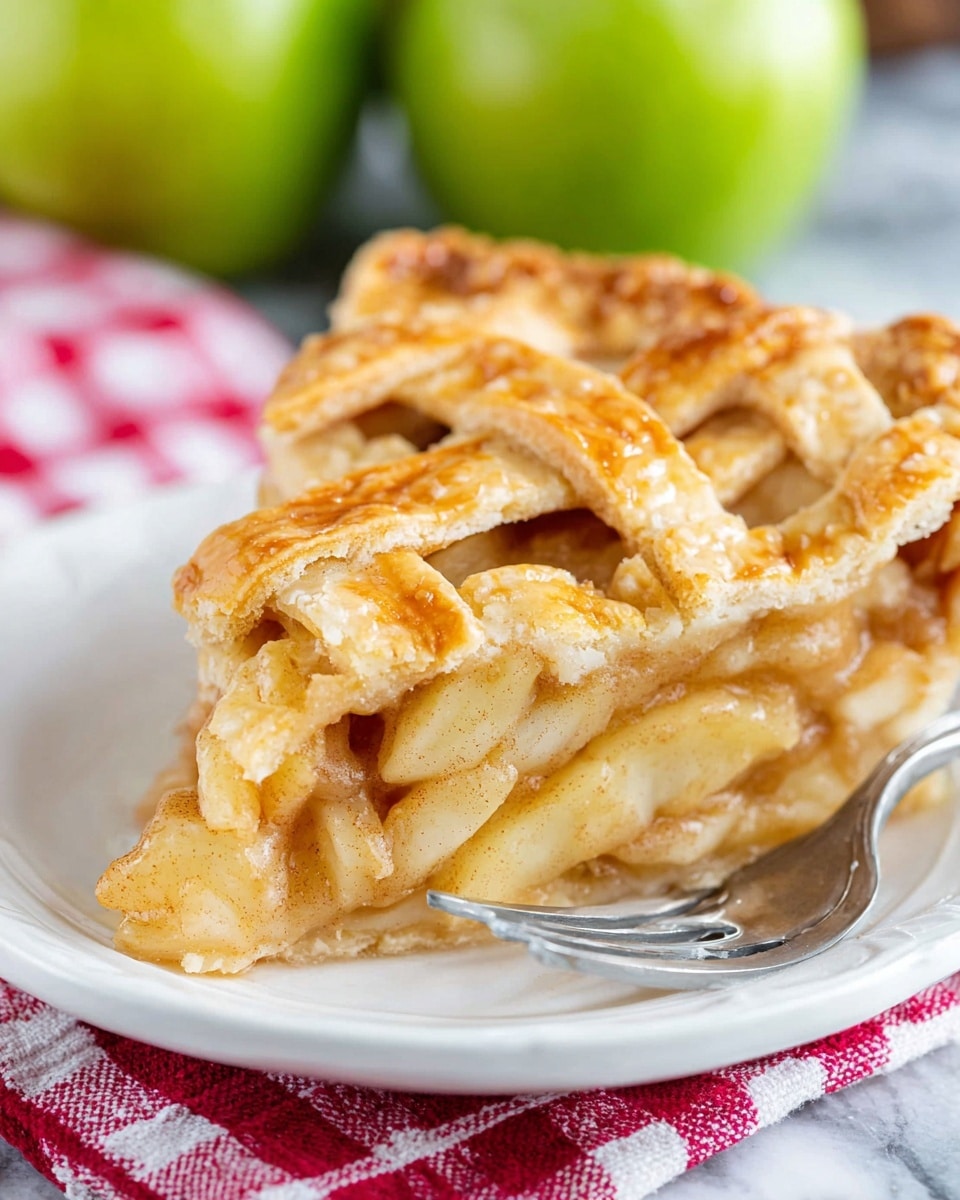
This classic apple pie recipe features a flaky double pie crust filled with tender, cinnamon-spiced Granny Smith apples simmered in a buttery sugar sauce. Perfectly baked with a beautiful lattice crust top, this dessert is ideal for Thanksgiving or any comforting occasion, especially when served warm with vanilla ice cream.
Ingredients
Pie Crust
- 1 recipe for double pie crust
Apple Filling
- 2 1/4 lbs Granny Smith Apples (peeled, cored; about 6–7 apples or 7 cups thinly sliced)
- 1 1/2 tsp cinnamon
- 8 Tbsp unsalted butter
- 3 Tbsp all-purpose flour
- 1/4 cup water
- 1 cup granulated sugar
Egg Wash
- 1 egg
- 1 Tbsp water
Instructions
- Prepare Pie Crust: Make the double pie crust recipe according to instructions and chill it while preparing the filling.
- Preheat Oven: Set the oven temperature to 425˚F (218˚C).
- Make Filling Sauce: In a medium saucepan over medium heat, melt 8 Tbsp unsalted butter. Whisk in 3 Tbsp flour and simmer for 1 minute, whisking constantly. Gradually whisk in 1/4 cup water and 1 cup sugar and bring the mixture to a boil. Reduce heat and simmer for 3 minutes, whisking frequently, then remove from heat.
- Prepare Apples: Peel, core, and thinly slice approximately 7 cups of apples. Place in a large bowl and sprinkle with 1 1/2 tsp cinnamon. Toss to evenly coat the apples with cinnamon.
- Combine Apples and Sauce: Pour the hot sugar-butter sauce over the sliced apples and stir gently to coat all slices with the mixture.
- Roll Bottom Crust and Assemble: Lightly flour your work surface, then roll out the bottom pie crust to a 12-inch diameter circle. Carefully wrap it around a rolling pin and transfer it to a 9-inch pie plate. Add the apple mixture, mounding slightly in the center but keeping filling away from edges to ensure sealing.
- Make Lattice Top Crust: Roll the second pie crust to an 11-inch round. Using a pizza cutter, cut the dough into 10 evenly thick strips. Arrange the strips over the filling in a woven lattice pattern for a classic look.
- Apply Egg Wash: Beat together 1 egg and 1 Tbsp water. Brush this egg wash evenly over the lattice crust to promote browning and shine during baking.
- Bake Pie: Place the pie in the center of the oven and bake at 425˚F for 15 minutes. Then reduce oven temperature to 350˚F (177˚C) and continue baking for 45 more minutes or until the apples are tender and the filling is bubbling through the lattice vents for at least 5 minutes.
- Cool Before Serving: Remove the pie from the oven and let it rest at room temperature for 1 hour before slicing and serving. This allows the filling to set properly.
Notes
- This classic apple pie is a Thanksgiving favorite that everyone should try at least once.
- The flaky crust combined with the smooth cinnamon apple filling makes an unforgettable dessert experience.
- Serve warm with a scoop of vanilla ice cream to enhance the flavors and create a comforting treat.
- Ensure not to get filling on the edges of the crust to achieve a perfect seal for baking.
- The lattice crust not only looks beautiful but allows steam to escape, preventing sogginess.
Nutrition
- Serving Size: 1 slice (1/8 pie)
- Calories: 380 kcal
- Sugar: 38.25 g
- Sodium: 98 mg
- Fat: 17.7 g
- Saturated Fat: 9.1 g
- Unsaturated Fat: 7.9 g
- Trans Fat: 0 g
- Carbohydrates: 55.4 g
- Fiber: 3.9 g
- Protein: 2.75 g
- Cholesterol: 51 mg

Your email address will not be published. Required fields are marked *