

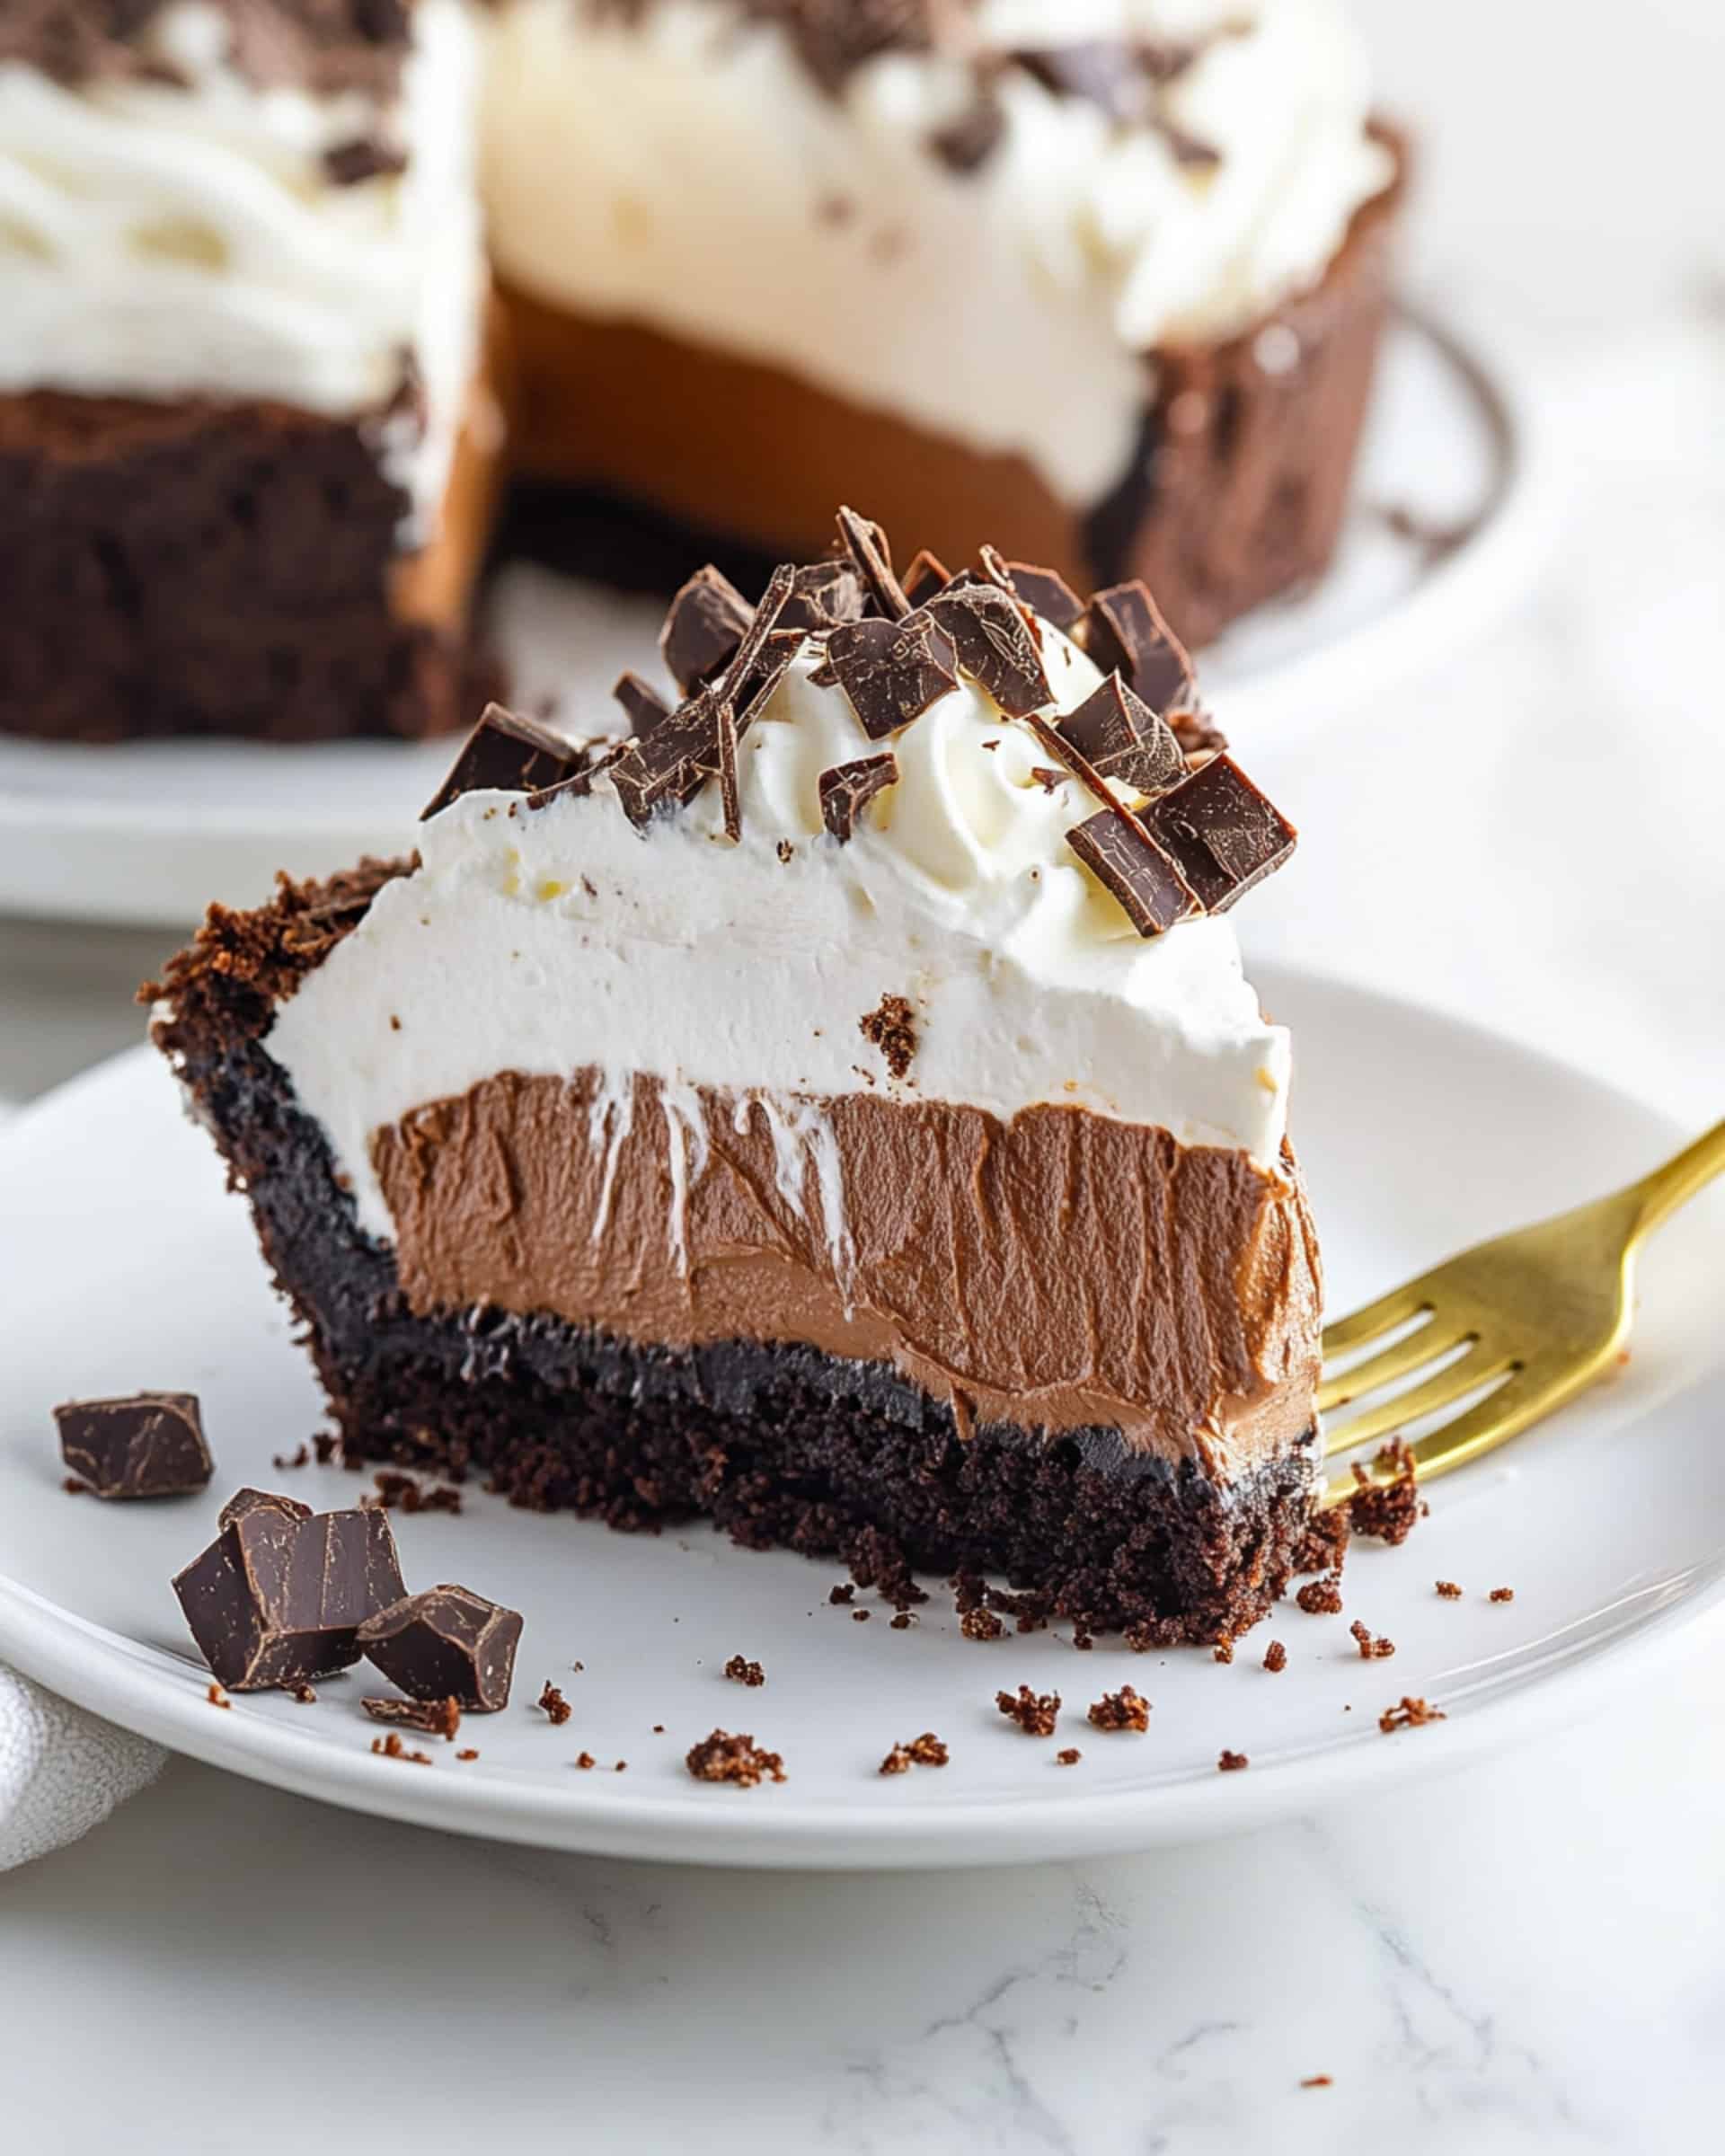
If you’re searching for a dessert that’s both decadent and effortless, Chocolate Mousse Pie will instantly win your heart! Imagine smooth, silky chocolate mousse nestled inside a crisp Oreo crust and crowned with clouds of whipped cream and chocolate shavings. It sounds fancy, but surprise: this pie is incredibly simple and comes together quicker than you’d imagine. Perfect for a fast yet impressive treat on a weeknight or when you want to wow friends without spending all day in the kitchen.
Why You’ll Love This Recipe
- Unbelievably Easy: No complicated steps or special equipment—just basic pantry staples and about 20 minutes of hands-on effort (the hardest part is waiting while it chills).
- Decadent Chocolate Flavor: The combination of semi-sweet and bittersweet chocolate creates a mousse that’s sumptuous, deeply chocolatey, and not too sweet—for true chocolate lovers!
- Crowd-Pleaser: The Oreo crust, fluffy mousse, and creamy topping check all the boxes, making this pie a hit no matter the crowd or occasion.
- Make-Ahead Friendly: It needs to chill, so it’s perfect for prepping in advance—less stress at dinnertime or before a gathering.

Ingredients You’ll Need
- Salted Butter: Adds richness and a subtle salty edge, which balances the chocolate.
- Semi-Sweet Chocolate Chips: The base for that classic, sweet chocolate flavor.
- Bittersweet Chocolate Chips: Intensifies the chocolate experience and keeps the mousse from tasting overly sweet.
- Mini Marshmallows: The secret weapon for a stable, ultra-creamy mousse—these melt down beautifully, creating a foolproof base.
- Whole Milk: Loosens the mixture just enough for the perfect mousse texture.
- Vanilla Extract: A splash for warmth and depth—it brings out the chocolate’s best!
- Heavy Whipping Cream: For both folding into the mousse and creating a dreamy topping. Chilled cream whips better!
- Oreo Pie Crust: Crunchy, chocolatey, and ready-made for major convenience—who can resist Oreos?
- Granulated Sugar: Just a touch, whisked into the topping to sweeten and lighten.
- Chocolate Shavings: For garnish, and honestly, for that extra touch of indulgence. Grate a bar of chocolate or use a peeler for beautiful curls.
Variations
- Cookie Crust Swap: Swap the Oreo crust for a graham cracker or shortbread crust for a twist on texture and flavor.
- Flavored Cream: Whip a little orange or peppermint extract into the cream topping if you’re feeling adventurous.
- Nutty Crunch: Sprinkle toasted hazelnuts or almonds between the mousse and whipped cream layers.
- Dark Chocolate Lovers: Use entirely bittersweet chocolate chips for a bold, rich chocolate punch.
- Coffee Kick: Stir a teaspoon of instant espresso powder into the warm chocolate mixture for mocha vibes.
How to Make Chocolate Mousse Pie
Step 1: Melt the Chocolate Base
Grab a large saucepan and combine salted butter, semi-sweet and bittersweet chocolate chips, mini marshmallows, and whole milk. Warm gently over low heat, stirring until everything melts together into a unified, glossy mix. Once it’s smooth, stir in the vanilla extract. Let this mixture cool for about one hour—just enough so it’s no longer hot, which keeps your whipped cream fluffy later.
Step 2: Whip the Cream
While the chocolate mixture cools, add heavy whipping cream to a large bowl. Whip with an electric mixer until stiff peaks form—it should hold its shape and look luscious.
Step 3: Fold and Fill
Gently fold the whipped cream into the cooled chocolate mixture. This is what turns that thick chocolate base into ethereal mousse—take your time and keep the movement gentle to maintain as much airiness as possible.
Step 4: Assemble the Pie
Spoon the finished mousse into an Oreo crust. Smooth the top, cover, and transfer to the fridge. Chill for at least three hours (overnight works great if making ahead).
Step 5: Top and Garnish
Once fully chilled, whip more heavy cream with a little sugar until it’s luxuriously stiff. Pile this cloud of cream on top and scatter with chocolate shavings.
Step 6: Serve
Slice, serve, and prepare for “how did you make this?!” compliments.
Pro Tips for Making the Recipe
- Chill Your Cream and Bowl: Cold cream and a chilled mixing bowl will help your whipped cream reach stiff peaks fast and hold shape longer.
- Gentle Folding Matters: Patience pays off here—fold the whipped cream slowly into the chocolate, using a wide spatula and sweeping motions.
- Let It Set: Don’t rush the chilling time; the mousse texture develops as it rests.
- Slice with a Warm Knife: For cleaner slices, dip your knife in hot water and wipe it between each cut.
- Customize Toppings: Add berries or caramel drizzle for extra flair.
How to Serve
Chocolate Mousse Pie shines on its own, but you can take it up a notch by serving with:
- A handful of fresh berries or a berry sauce on the side—strawberries and raspberries especially complement rich chocolate flavors.
- A piping hot espresso or cup of coffee, which cuts through the creaminess.
- A dusting of cocoa powder or a sprinkle of crushed Oreos for extra visual appeal.
- If you like a salty finish, a few flakes of sea salt on top truly make the chocolate sing.
Make Ahead and Storage
Storing Leftovers
Cover leftover pie tightly with plastic wrap or aluminum foil and refrigerate for up to four days. The crust will stay crisp and the mousse remains silky.
Freezing
This pie freezes beautifully! Once set, tightly wrap the whole pie or individual slices and freeze for up to two months. Thaw in the fridge before serving.
Reheating
No reheating needed for this cool, creamy dessert. Simply let frozen slices defrost in the fridge until perfectly chilled.
FAQs
Can I use regular-sized marshmallows instead of mini?
Absolutely—the only difference is that larger marshmallows may take a little longer to melt down. Just make sure they’re fully melted and incorporated into the chocolate mixture.
Can I make this pie in advance?
Yes! In fact, Chocolate Mousse Pie is even better when made a day ahead. The flavors meld and the mousse firms up perfectly in the fridge.
What if I don’t have an electric mixer for whipping cream?
You can whip cream by hand using a whisk and some perseverance (and maybe a second set of arms!), but a hand mixer makes it easy. For an ultra-fast shortcut, very cold cream and a chilled bowl do help.
Can the pie be made gluten free?
Yes—simply use a gluten-free chocolate cookie crust or make your own with gluten-free chocolate cookies and melted butter.
Final Thoughts
If you’re ready for a dessert that’s pure bliss in every bite yet won’t monopolize your time, Chocolate Mousse Pie is calling your name. It’s rich, creamy, and so inviting—plus, you can customize it however you like. Don’t hesitate to make it your own and share this treat; it’s sure to become a repeat request at any table. Try it once, and you might never look at chocolate pie the same way again!
Print
Chocolate Mousse Pie Recipe
- Prep Time: 5 minutes
- Cook Time: 10 minutes
- Total Time: 3 hours 15 minutes
- Yield: 10 slices 1x
- Category: Desserts
- Method: No-cook
- Cuisine: American
- Diet: Vegetarian
Description
This decadent Chocolate Mousse Pie features a creamy, airy chocolate mousse filling made with a blend of chocolate chips, marshmallows, and whipped cream, all nestled in a crisp Oreo crust. Finished with a cloud of sweetened whipped cream and chocolate shavings, it’s the ultimate indulgence for chocolate lovers and perfect for any celebration.
Ingredients
Chocolate Mousse
- 2 Tbsp salted butter, diced
- 1 cup semi-sweet chocolate chips
- 1/2 cup bittersweet chocolate chips
- 2 cups mini marshmallows
- 1/3 cup whole milk
- 1 tsp vanilla extract
- 1 3/4 cups heavy whipping cream
Crust
- 1 Oreo pie crust
Toppings
- 1 cup (235ml) heavy cream
- 2 Tbsp (25g) granulated sugar
- Chocolate shavings, for garnish
Instructions
- Melt the Chocolate Base: In a large saucepan over low heat, combine the butter, whole milk, semi-sweet chocolate chips, bittersweet chocolate chips, and mini marshmallows. Stir continuously until the marshmallows are fully melted and the mixture is smooth and creamy. Remove from heat, stir in the vanilla extract, and allow the mixture to cool for 1 hour at room temperature.
- Prepare the Whipped Cream: Add 1 3/4 cups heavy whipping cream to a large mixing bowl. Using an electric mixer, whip the cream until stiff peaks form, being careful not to overwhip.
- Fold Cream into Chocolate: Gently fold the whipped cream into the cooled chocolate mixture. Use a spatula to combine until the mixture becomes light, fluffy and uniform in color. Avoid overmixing to maintain the mousse’s airy texture.
- Fill the Pie Crust: Pour the finished chocolate mousse into the prepared Oreo pie crust. Use a spatula to spread the mousse evenly in the crust.
- Chill the Pie: Transfer the pie to the refrigerator and chill for at least 3 hours to allow the mousse to set firmly.
- Make Whipped Cream Topping: In a clean mixing bowl, combine 1 cup heavy cream with the granulated sugar. Whip until stiff peaks form, ensuring the mixture is smooth and holds its shape.
- Garnish and Serve: Spread the sweetened whipped cream over the chilled mousse pie. Garnish generously with chocolate shavings. Chill until ready to serve and slice before serving.
Notes
- For a richer flavor, use high-quality chocolate chips.
- Chilling the pie overnight yields a firmer texture.
- Add a pinch of espresso powder to enhance the chocolate flavor.
- Oreo crust can be homemade or store-bought for convenience.
Nutrition
- Serving Size: 1 slice
- Calories: 430
- Sugar: 29g
- Sodium: 210mg
- Fat: 30g
- Saturated Fat: 18g
- Unsaturated Fat: 10g
- Trans Fat: 0g
- Carbohydrates: 38g
- Fiber: 2g
- Protein: 4g
- Cholesterol: 72mg

Your email address will not be published. Required fields are marked *