
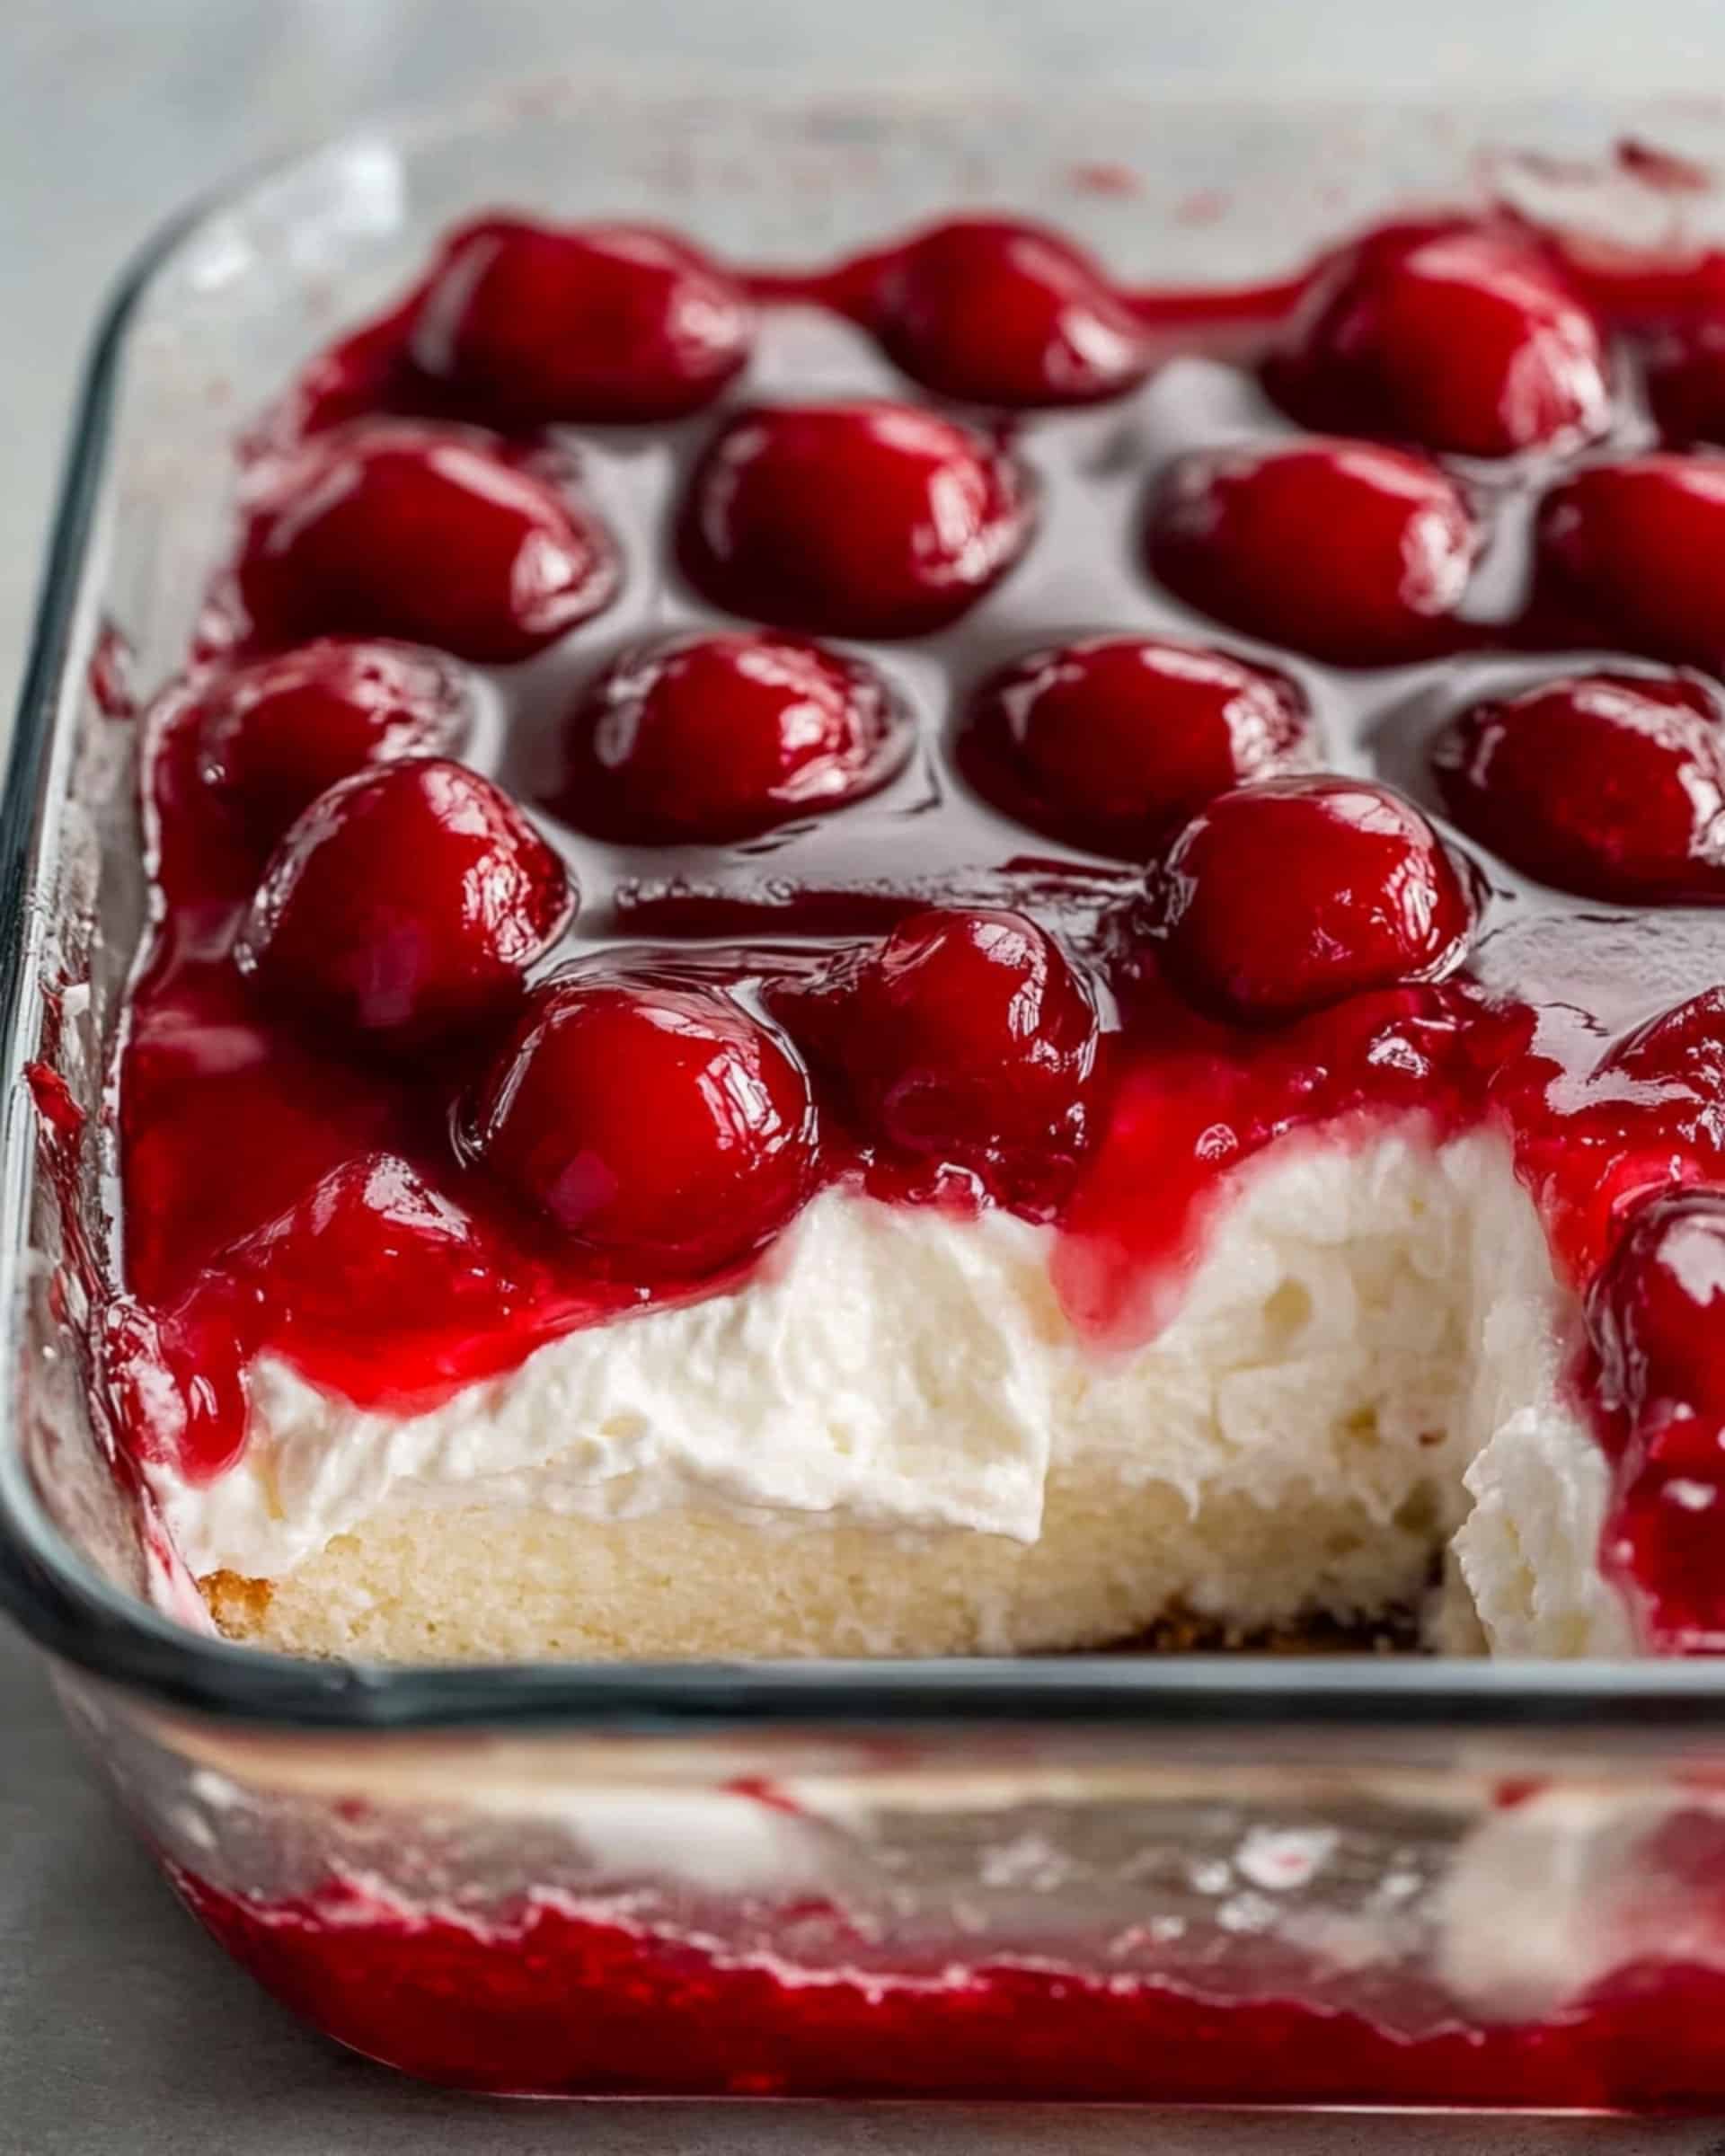
If you’re searching for a show-stopping yet outrageously easy dessert, Cherries in the Snow is about to become your best-kept secret. Creamy, dreamy layers of sweetened cream cheese, pillowy whipped topping, and juicy cherry pie filling cascade over tender pieces of angel food cake, making every bite pure bliss. In just 20 minutes, you’ll have a beautiful no-bake treat that’s light, luscious, and impossible to resist—a perfect dessert for busy weeknights, holidays, or whenever you need a touch of sweetness without breaking a sweat.
Why You’ll Love This Recipe
- Effortlessly Impressive: All the “wow” factor with none of the stress—this comes together quickly, but looks and tastes like you spent hours.
- No-Bake Wonder: Not a single minute spent near a hot oven. It’s a total game changer, especially on hot days or hectic evenings.
- Heavenly Texture: The soft clouds of whipped cream, silky cheesecake layer, and juicy cherries combine for a melt-in-your-mouth experience.
- Flexible & Forgiving: Adaptable to your favorite fruits, easy to make ahead, and just as delicious when made with simple pantry ingredients.
- Family & Potluck Favorite: This is one of those desserts that gets people asking for the recipe before they’ve even finished their first slice.

Ingredients You’ll Need
- Cream Cheese
For tang and creaminess—make sure it’s at room temperature for the smoothest texture. - Powdered Sugar
Sweetens the cream cheese and blends in easily to create a silky filling. - Milk
Helps smooth out the cream cheese—use 2% for perfect consistency, but whole milk or even non-dairy can work in a pinch. - Cool Whip Whipped Topping
Brings that trademark fluffy, light texture—completely fuss-free compared to making fresh whipped cream. - Angel Food Cake
Pre-baked cake adds lightness and soaks up the creamy goodness. Leftover homemade or store-bought both work well. - Cherry Pie Filling
The finishing touch—sweet, vibrant, and glossy. Cherry is classic, but you can use any flavor you love or have on hand.
Tip: For a little extra flair, a sprinkle of toasted almonds or a grating of dark chocolate on top makes this dessert even more dazzling.
Variations
Switch things up whenever you like!
- Berry Blast: Swap out cherry pie filling for blueberry, strawberry, or mixed berry varieties.
- Lemon Lush: Use lemon curd or lemon pie filling for a tart, refreshing twist.
- Chocolate Lovers: Add a layer of mini chocolate chips between the cake and cream cheese blend, or drizzle chocolate sauce on top.
- Nutty Affair: Sprinkle chopped toasted pecans or sliced almonds for added crunch and flavor.
Feel free to mix and match toppings—a handful of fresh berries or a few mint leaves also look beautiful.
How to Make Cherries in the Snow Dessert
Step 1: Whip Up the Creamy Base
Start by whipping the softened cream cheese and powdered sugar together in a large bowl. Use a hand mixer for best results—it’ll take just a minute or two until the mixture is smooth and fluffy.
Step 2: Incorporate the Milk
Pour in half of the milk and mix until smooth, followed by the rest of the milk. This keeps the filling silky without lumps.
Step 3: Fold in the Whipped Topping
Gently fold in the thawed Cool Whip, using a spatula to keep things nice and airy. Go slowly here—the lighter, the better!
Step 4: Add Cake Pieces
Tear or cut the angel food cake into bite-sized pieces and fold them into the creamy mixture until every bit is coated. Don’t overmix; you want to keep the cake’s airy texture.
Step 5: Assemble and Top
Transfer the mixture to a 9×13” glass baking pan and smooth it out evenly. Then, carefully spoon the cherry pie filling across the top, creating a luscious, ruby-red finish.
Step 6: Chill and Serve
Cover and refrigerate until ready to serve—at least an hour for best flavor and texture. It’s even better if you can let it sit longer!
Pro Tips for Making the Recipe
- Soften the Cream Cheese Fully: Let cream cheese come to room temperature for easy mixing and a lump-free filling.
- Gentle Folding is Key: When adding Cool Whip and cake pieces, fold gently to preserve the fluffy, cloud-like texture.
- Chill for Maximum Flavor: Giving the dessert time in the fridge allows the flavors to meld and the texture to set properly.
- Presentation Matters: Use a glass dish for the prettiest presentation—those gorgeous layers deserve to be seen.
How to Serve
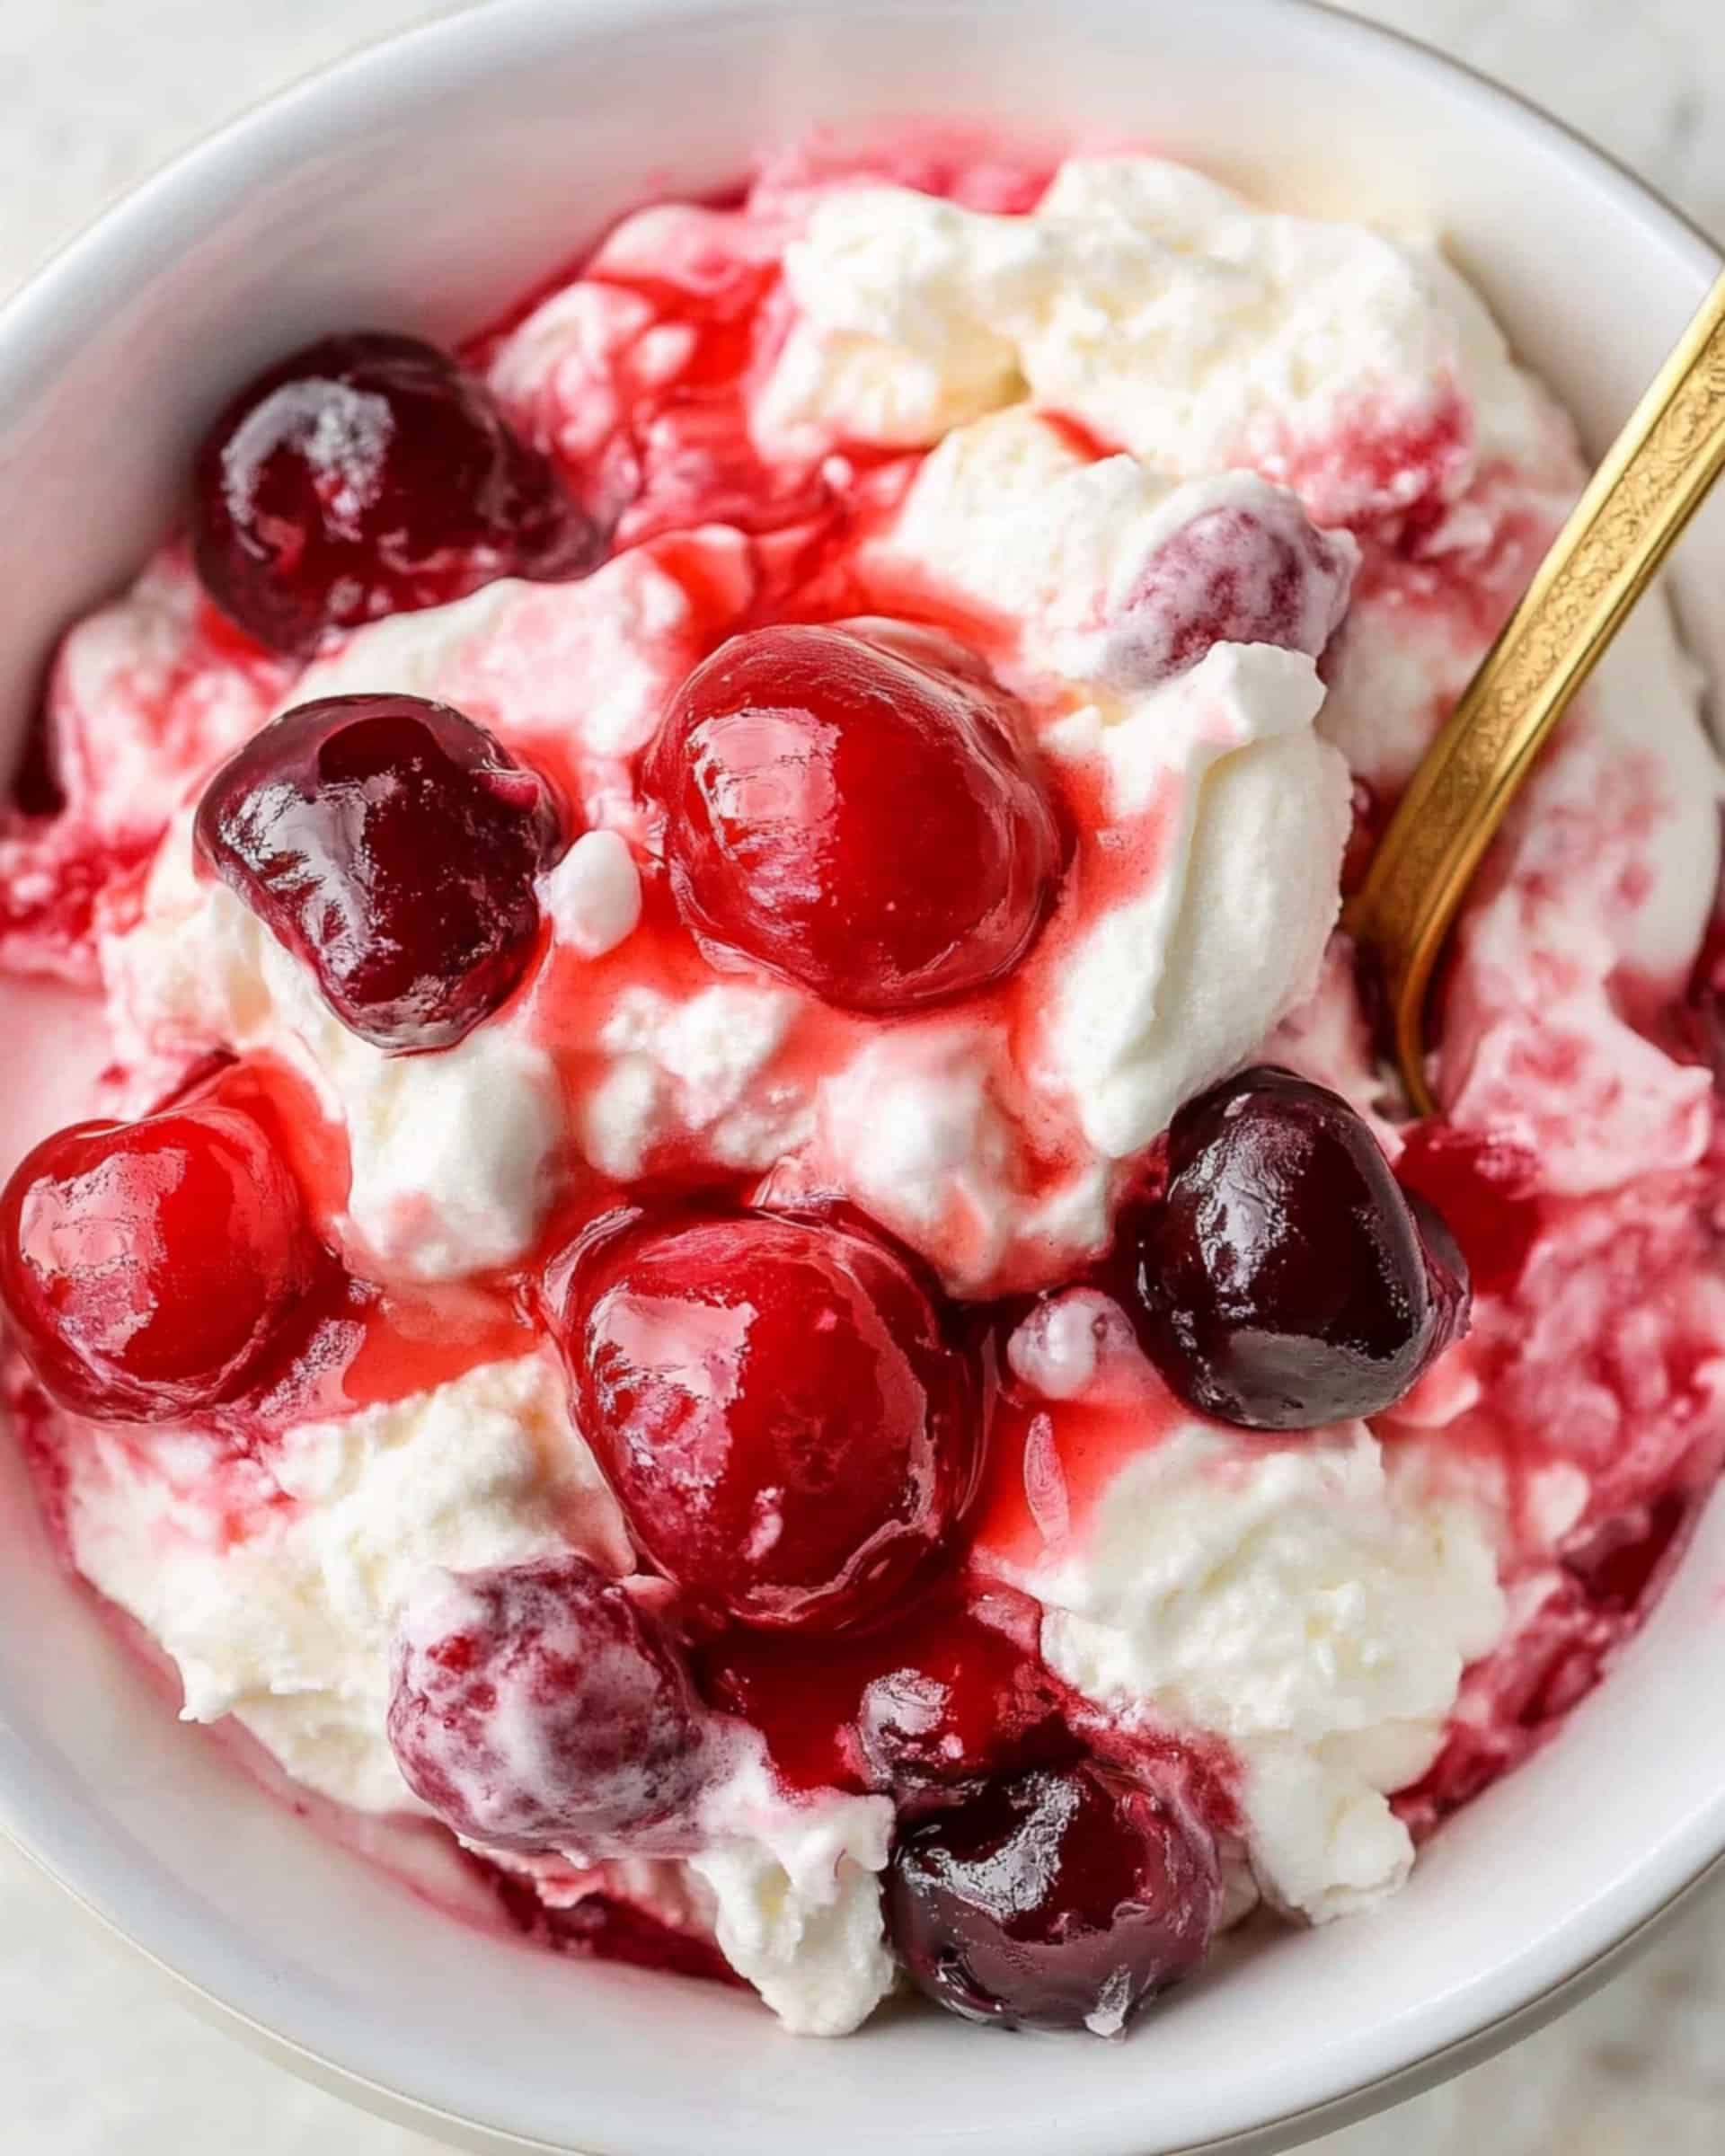
This dessert shines brightest when served cold, straight from the fridge. For elegant plating, spoon individual portions into clear glasses or bowls so everyone can admire the layers. It pairs beautifully with a cup of coffee, tea, or even a crisp glass of Moscato. A simple dusting of powdered sugar or a shaving of chocolate makes each serving extra special.
Make Ahead and Storage
Storing Leftovers
Cherries in the Snow will stay fresh in an airtight container in the refrigerator for up to four days. The flavors just get better as they mingle!
Freezing
While the dessert can technically be frozen, the texture of angel food cake and whipped topping may change once thawed. It’s best enjoyed fresh, but for leftovers, freezing in airtight, individual servings works in a pinch.
Reheating
No reheating needed—this dessert is meant to be enjoyed cold! If it’s been sitting out for a while, pop it back in the fridge to firm up before serving.
FAQs
Can I make Cherries in the Snow ahead of time?
Absolutely! It’s even better when made several hours (or the night) before serving. The chilling time lets the flavors marry, plus it makes party prep a breeze.
Can I use homemade whipped cream instead of Cool Whip?
You can, but keep in mind that Cool Whip gives a more stable texture, especially if you’re making the dessert in advance. Homemade whipped cream works for same-day serving—just whip it to soft peaks.
Is it possible to use a different kind of cake?
Definitely! Pound cake, sponge cake, vanilla loaf, or even ladyfingers work beautifully. The overall texture will change, but it’ll still be delicious.
What if I don’t have cherry pie filling?
No worries. Any pie filling—blueberry, strawberry, apple—or even stewed fresh fruit can stand in. Try layering with fresh berries for a lighter, summer version.
Final Thoughts
Cherries in the Snow is the kind of no-fuss, always-devoured dessert everyone needs in their back pocket. No baking, no elaborate techniques—just simple, satisfying layers that look gorgeous and taste even better. Don’t hesitate to make it your own with different toppings or flavors, and enjoy the confident, sweet finish to any meal. Give this a try on your next busy night—you might just find yourself making it on repeat!
Print
Cherries in the Snow Dessert Recipe
- Prep Time: 20 minutes
- Cook Time: 0 minutes
- Total Time: 20 minutes
- Yield: 15 servings 1x
- Category: Desserts
- Method: No-cook
- Cuisine: American
- Diet: Vegetarian
Description
Cherries in the Snow Dessert is a light and fluffy no-bake treat featuring angel food cake layered with a sweetened cream cheese and Cool Whip mixture, finished with a luscious cherry pie topping. It’s quick, requires minimal ingredients, and is perfect for feeding a crowd at any gathering.
Ingredients
Cream Cheese Mixture
- 8 ounces cream cheese, room temperature
- 1/2 cup powdered sugar
- 1/2 cup 2% milk, divided
Filling and Base
- 12 ounces Cool Whip whipped topping, thawed
- 1 (9-inch) pre-baked angel food cake
Topping
- 2 cans (21 ounces each) cherry pie filling
Instructions
- Make the Cream Cheese Base: In a large bowl, use a hand mixer to whip the cream cheese and powdered sugar together until smooth and creamy. Mix in 1/4 cup of milk, then add the remaining 1/4 cup milk and blend again until the mixture is smooth and well-combined.
- Fold in the Whipped Topping: Gently fold the thawed Cool Whip into the cream cheese mixture using a spatula. Be careful not to overmix to retain the light and fluffy texture.
- Add Cake Pieces: Break the pre-baked angel food cake into small bite-sized pieces. Add these pieces into the cream cheese and Cool Whip mixture, folding gently until all cake pieces are coated evenly.
- Assemble the Dessert: Spoon the cake mixture into a 9×13-inch glass baking pan. Spread it out evenly in the pan to form a uniform layer.
- Top with Cherries: Evenly spread the cherry pie filling over the cake mixture, ensuring the whole surface is covered with the luscious cherry topping.
- Chill and Serve: Cover the dessert and refrigerate until chilled, at least 2 hours or until ready to serve. Slice and enjoy directly from the pan.
Notes
- Store leftovers in an airtight container in the refrigerator for up to 4 days.
- The calories shown are based on the dessert being cut into 15 pieces, with 1 serving being 1 slice.
- Use homemade angel food cake if preferred for a richer flavor.
- Allowing the dessert to chill longer helps the flavors meld together.
- Nutritional values are estimates and can vary depending on brands used.
Nutrition
- Serving Size: 1 slice (1/15th of pan)
- Calories: 220
- Sugar: 26g
- Sodium: 180mg
- Fat: 6g
- Saturated Fat: 4g
- Unsaturated Fat: 2g
- Trans Fat: 0g
- Carbohydrates: 38g
- Fiber: 1g
- Protein: 3g
- Cholesterol: 15mg

Your email address will not be published. Required fields are marked *