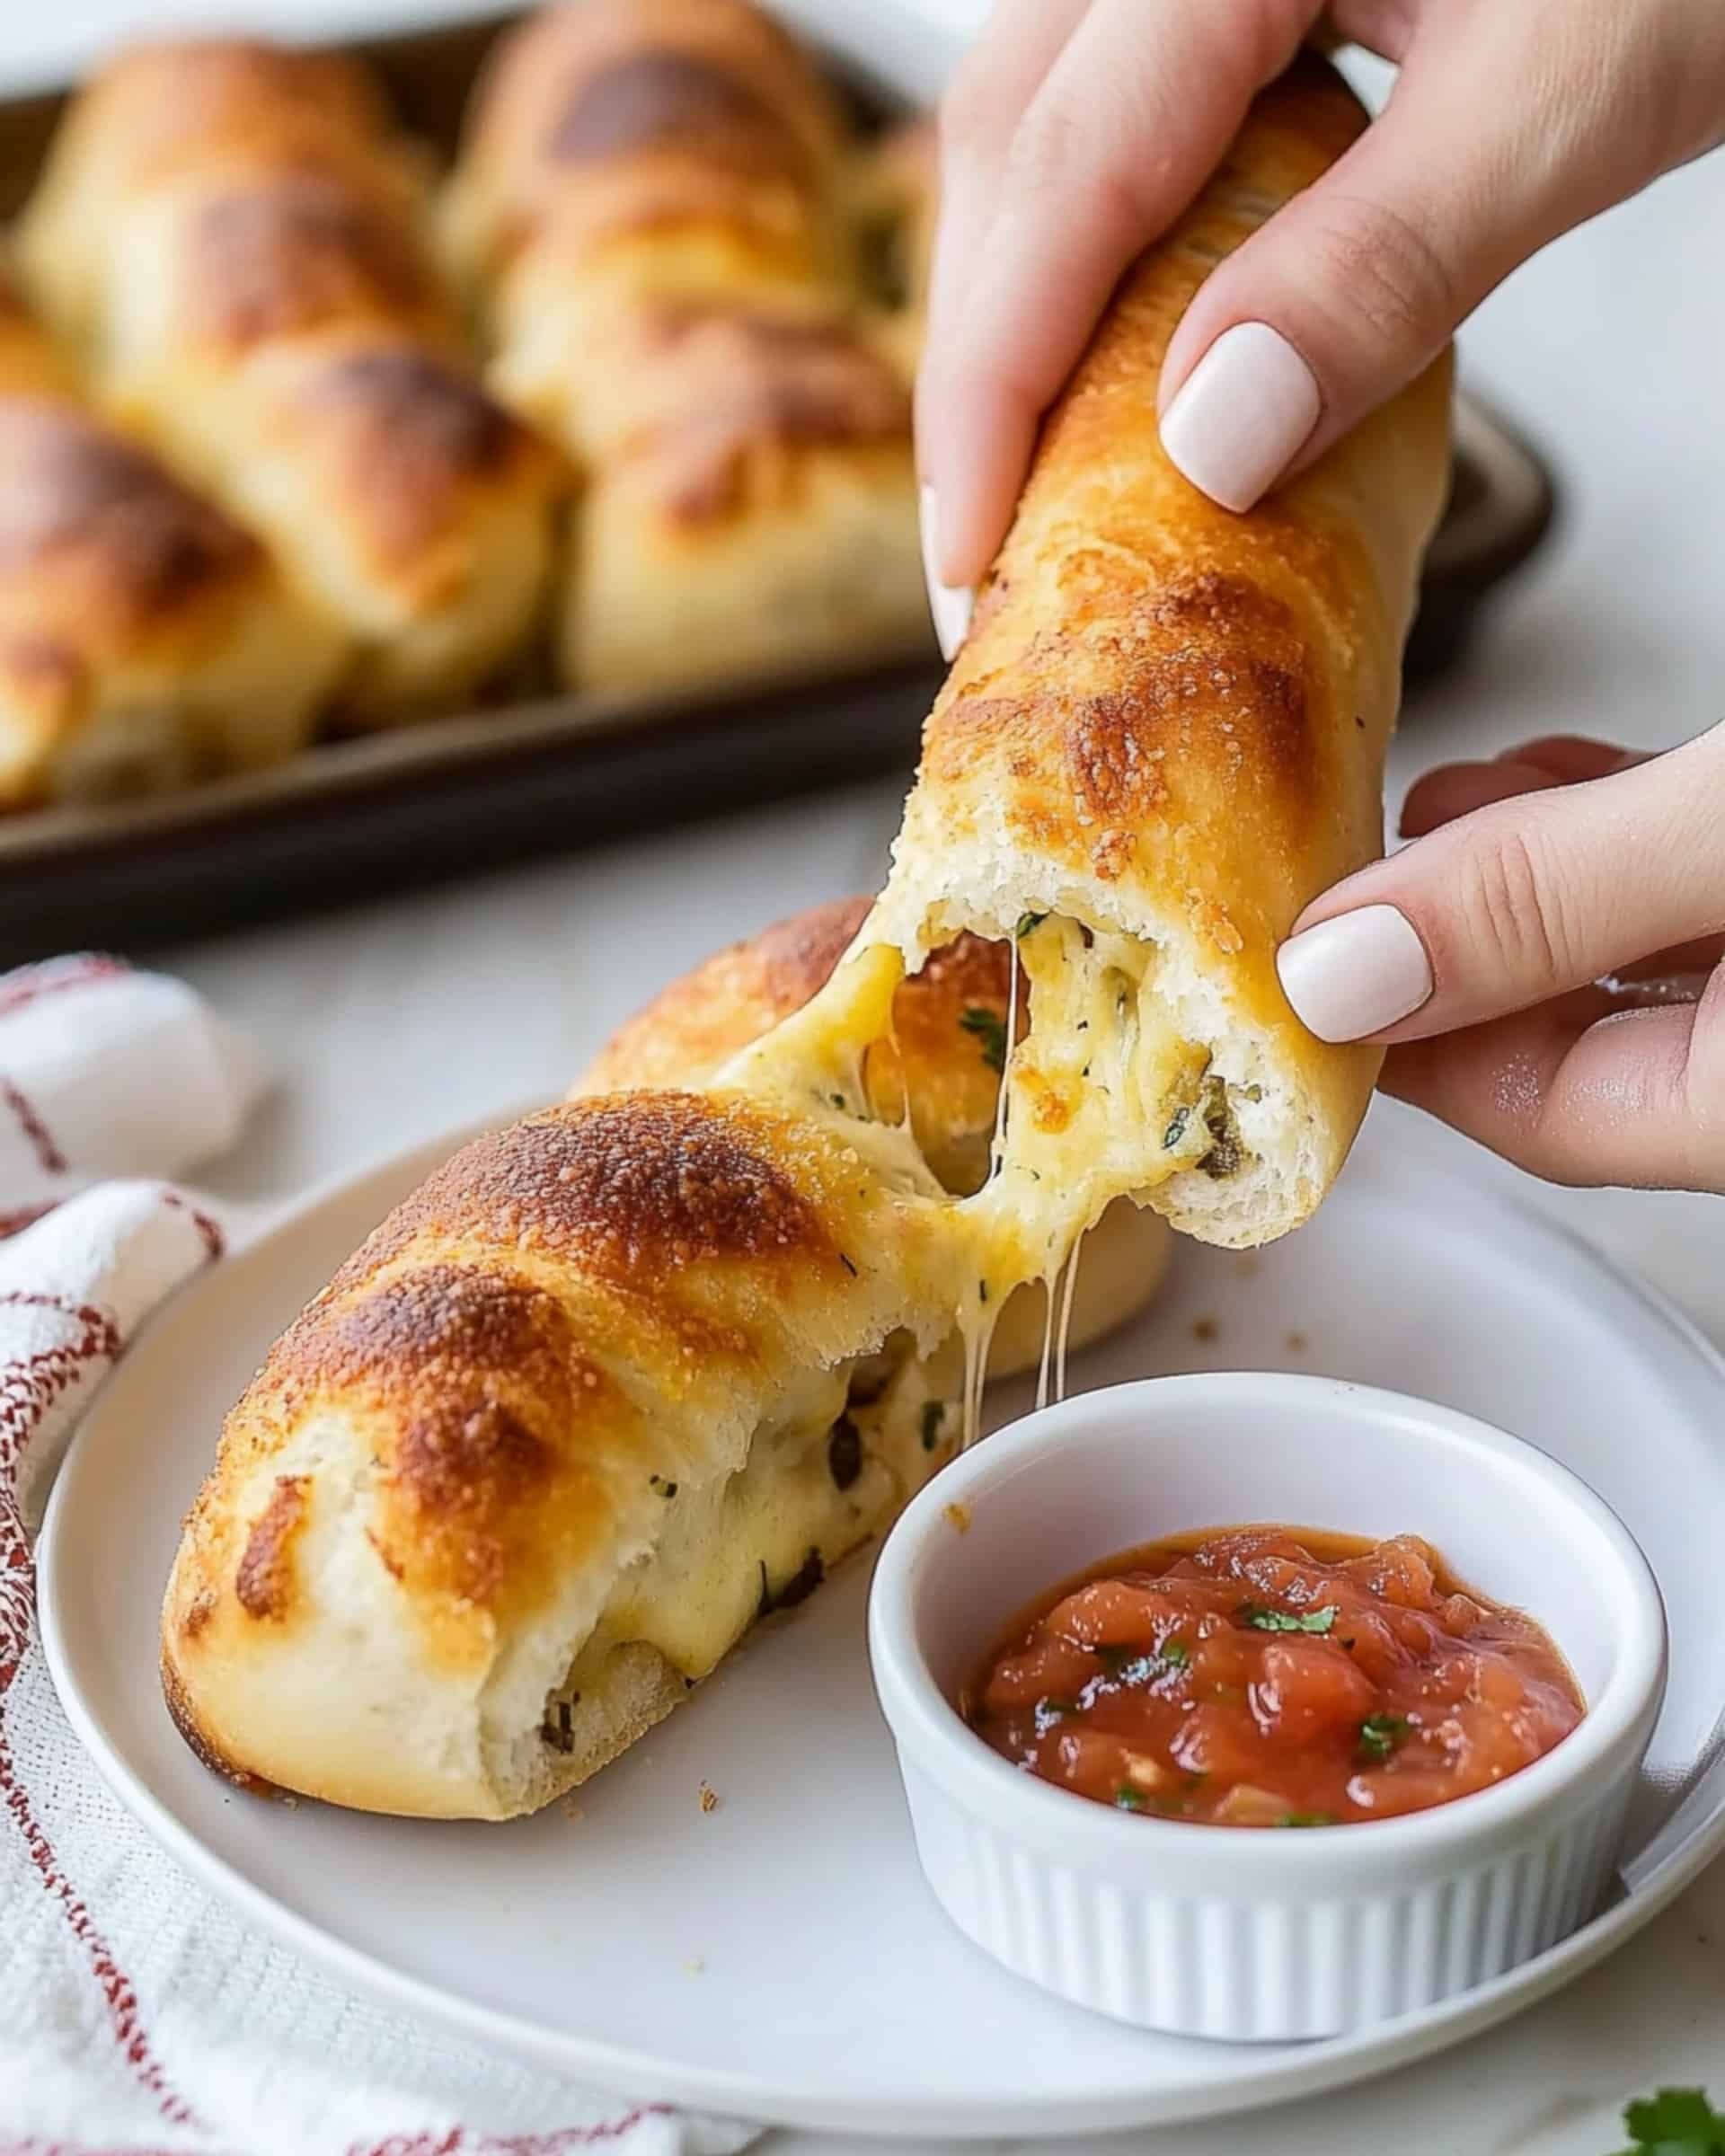
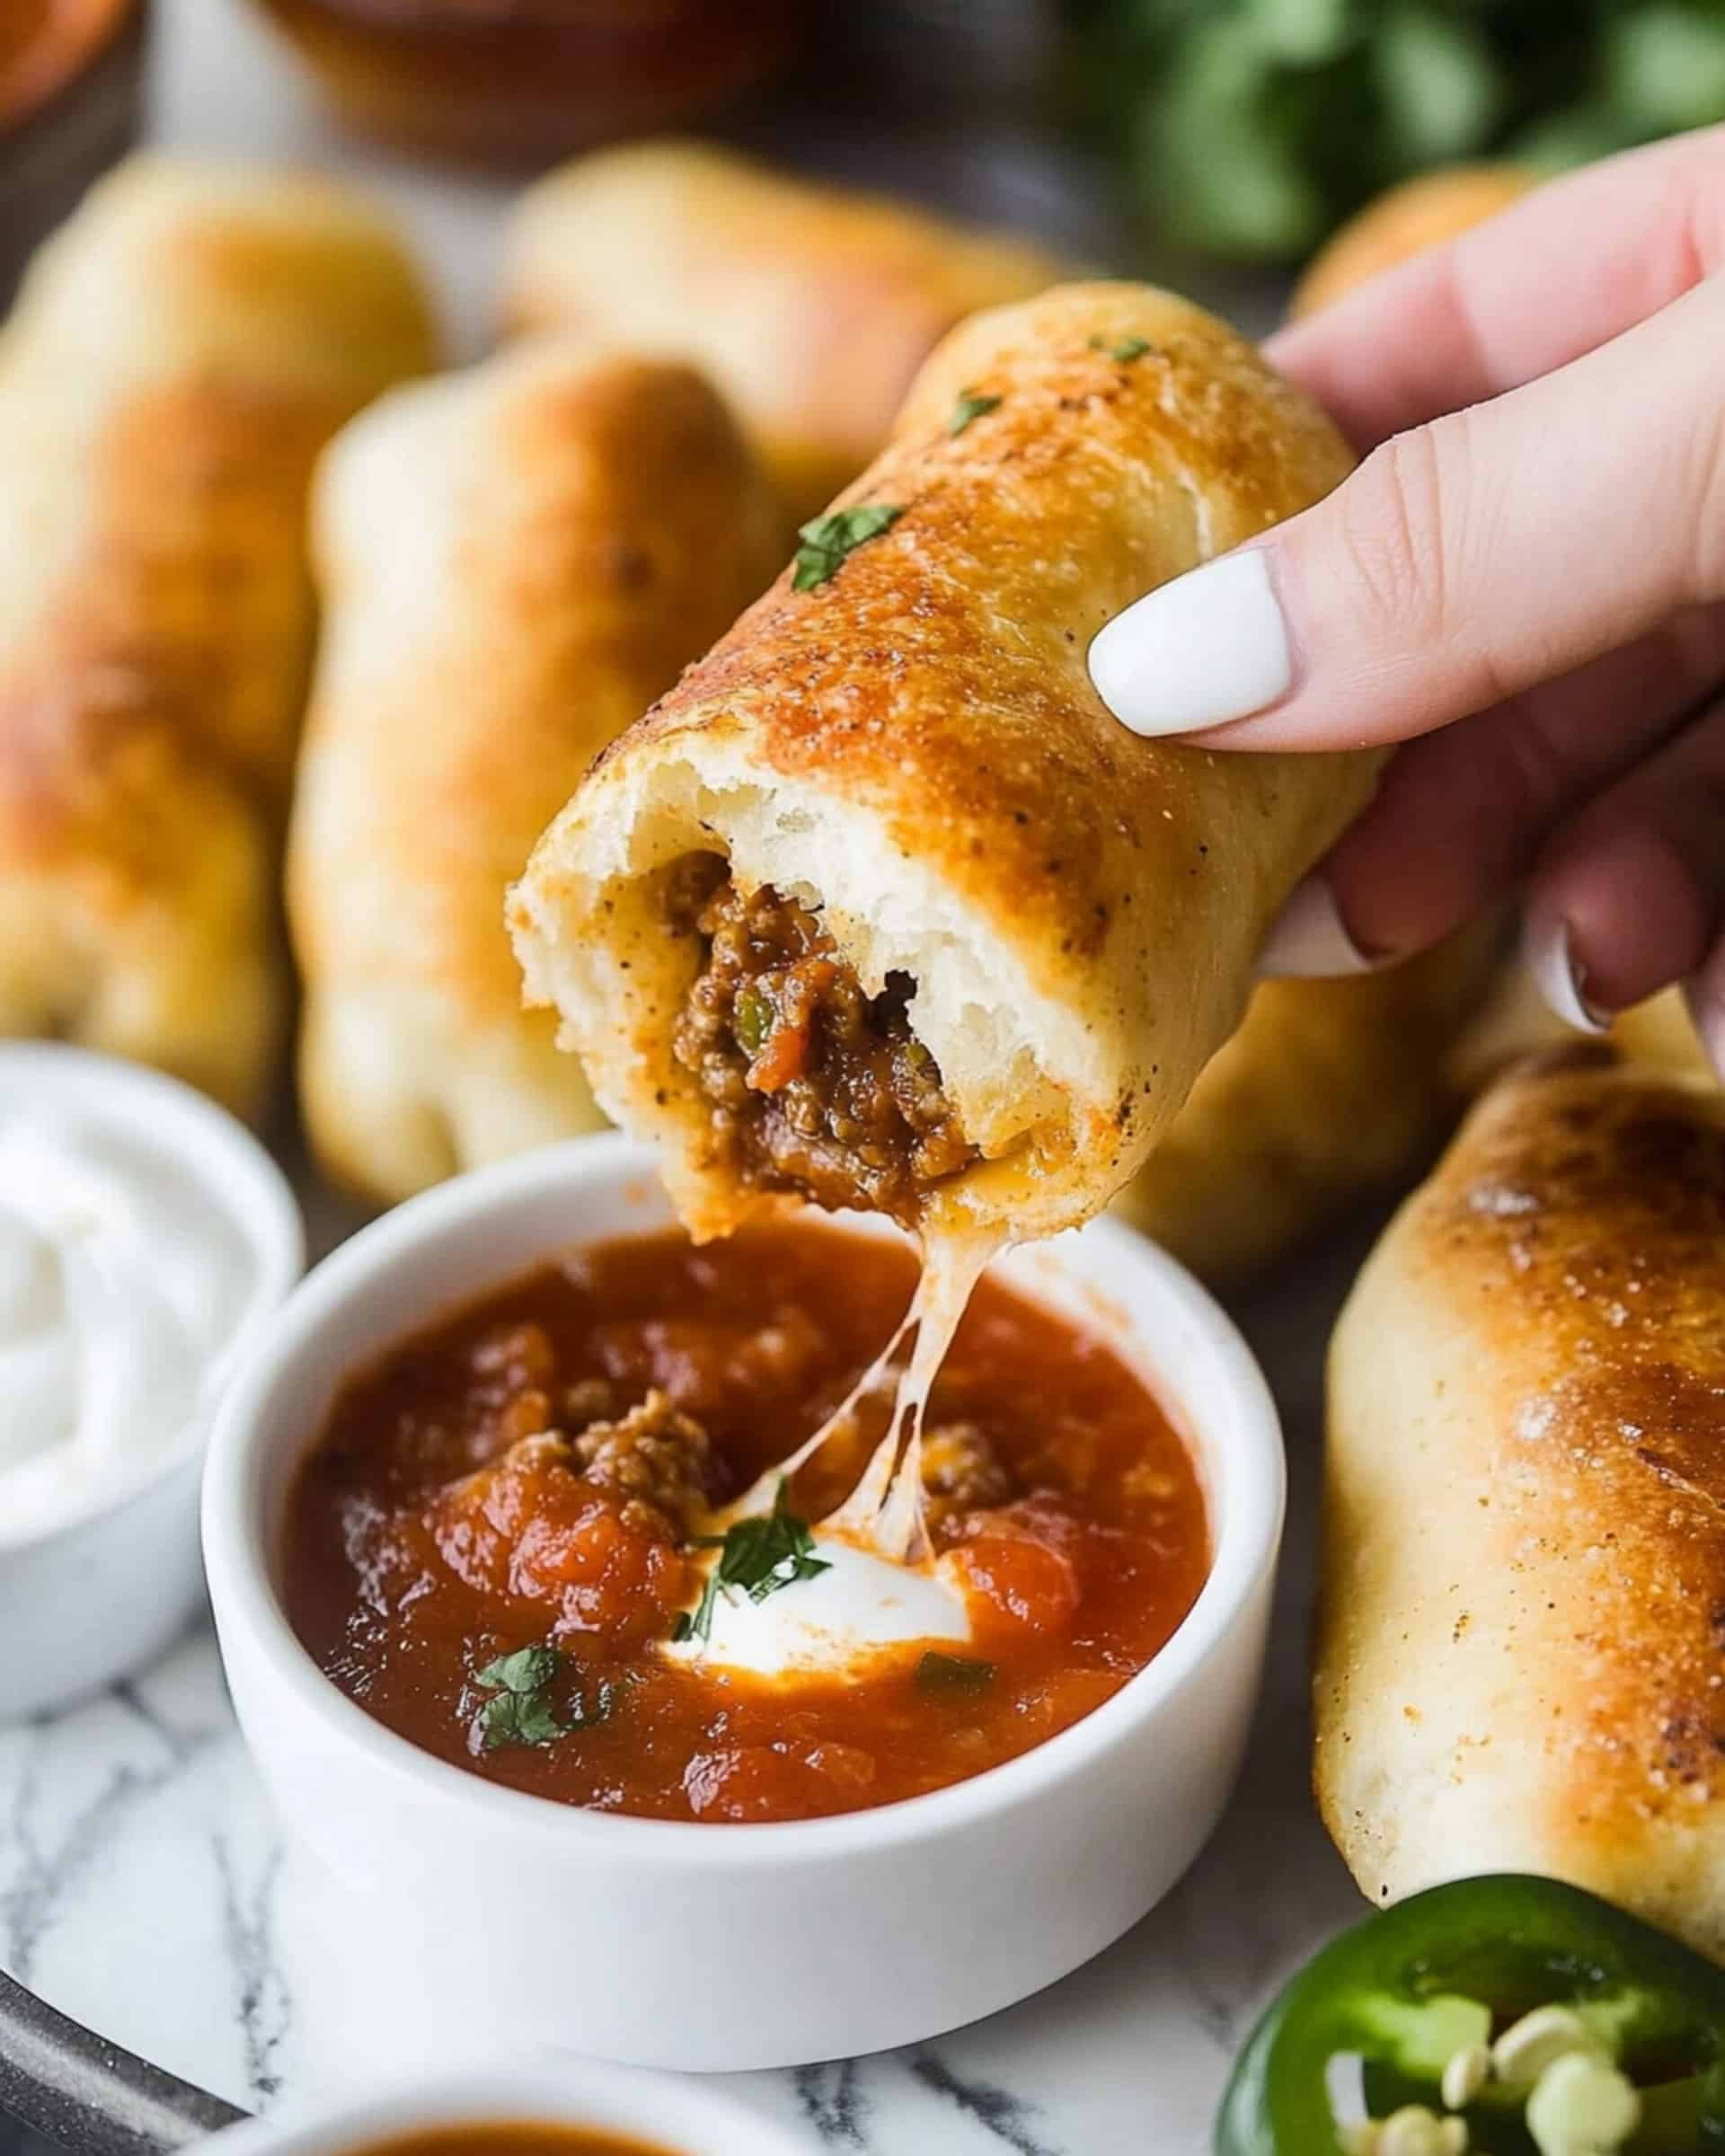
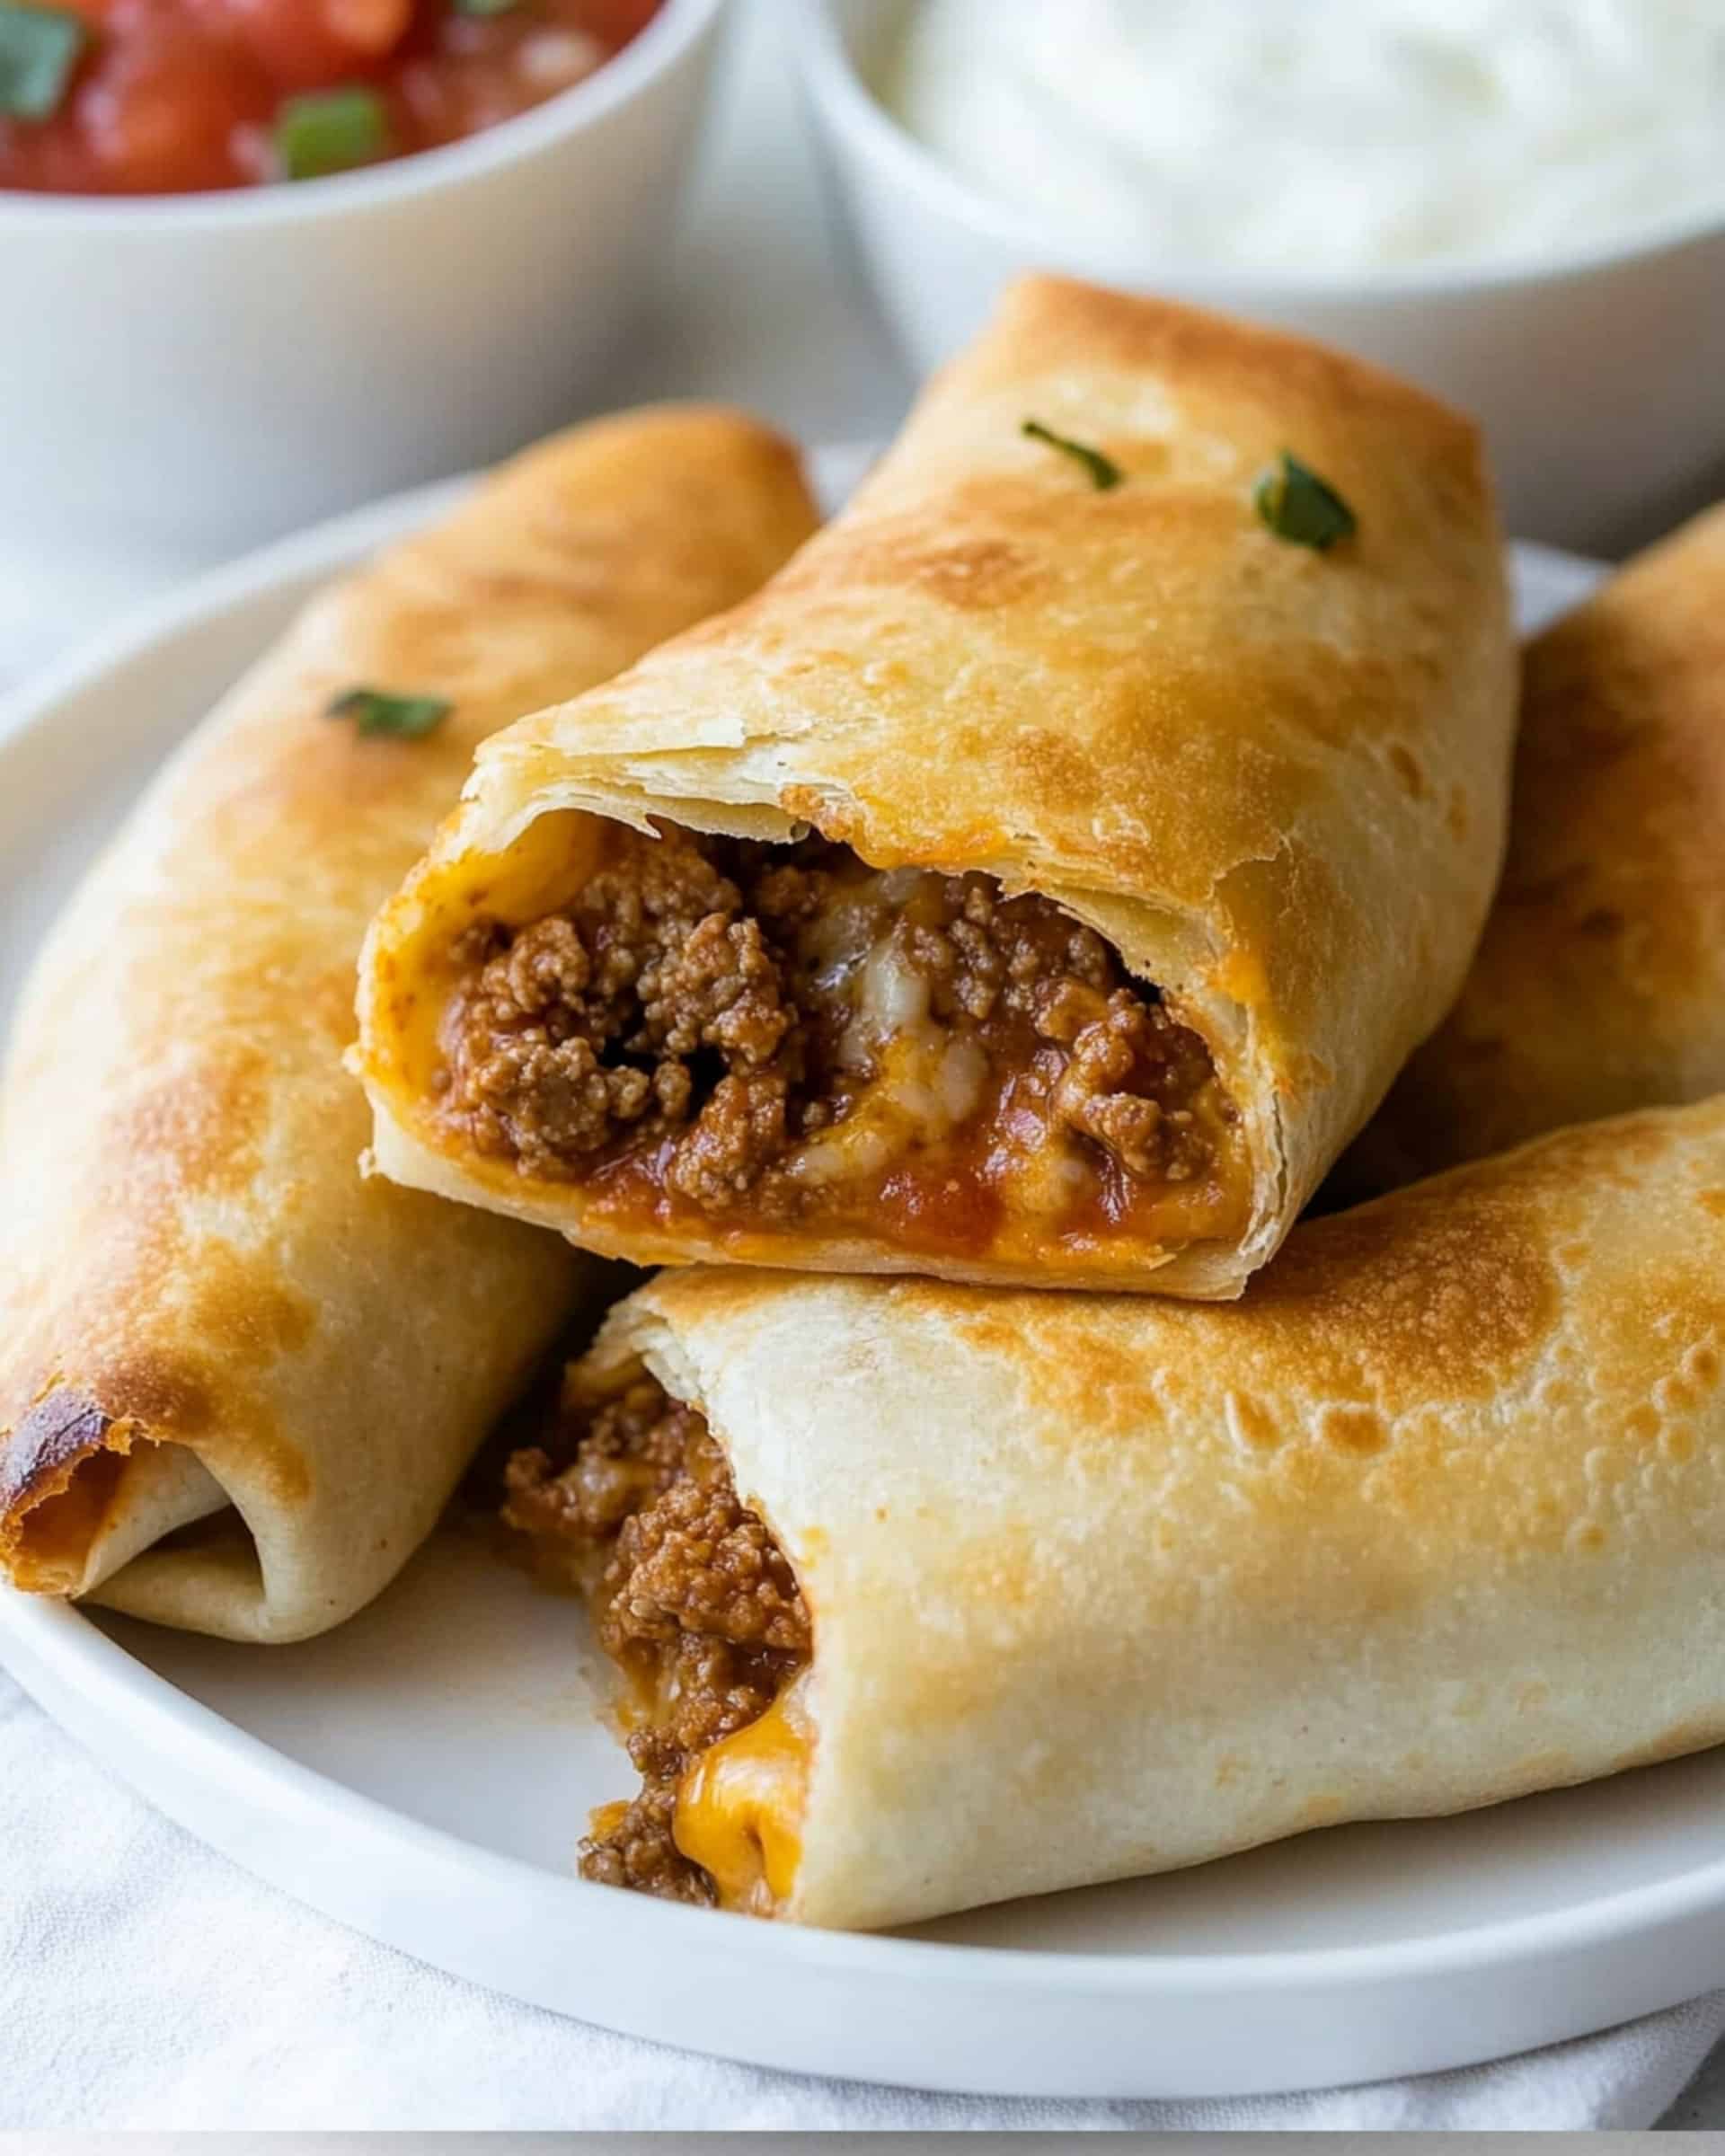
This mouthwatering Cheesy Taco Sticks recipe combines everything you love about tacos with the fun, handheld convenience of a pizza stick. In just 22 minutes, you’ll transform simple ingredients into a crowd-pleasing meal or appetizer that’s absolutely irresistible. The melty cheese, seasoned taco meat, and golden, buttery crust create a flavor explosion that will have everyone reaching for seconds!
Why You’ll Love This Recipe
- Super Quick: From start to finish in just 22 minutes – perfect for those hectic weeknights when you need dinner on the table fast.
- Kid-Friendly: These handheld taco sticks are a hit with children and adults alike. No plates required!
- Versatile: Works brilliantly as an appetizer for game day, a quick lunch, or a casual dinner paired with a salad.
- Customizable: Easy to adapt with different fillings, cheeses, or dipping sauces depending on what your family loves.
Ingredients You’ll Need
- Ground Beef: The protein base that gets loaded with taco flavors. Choose lean ground beef for less grease.
- Taco Seasoning: Provides that unmistakable taco flavor profile. Store-bought saves time, but homemade gives you control over spice levels and salt.
- Pillsbury Pizza Dough: The convenient wrapper that turns into a golden, crispy shell. The refrigerated tube makes this recipe so simple.
- Cheese Sticks: Colby jack and cheddar create that perfect, melty, stretchy cheese pull. They’re pre-portioned for easy assembly.
- Butter: Creates a gorgeous, golden crust when baked and carries the garlic flavor across the surface.
- Garlic Powder: Adds a savory depth to the buttery topping that complements the taco flavors inside.
- Dried Parsley: Provides a pop of color and subtle herbaceous note to balance the richness.
Variations
Protein Swaps
Substitute ground turkey, chicken, or even plant-based crumbles for a lighter option. Shredded chicken or beef works wonderfully too!
Cheese Choices
Try pepper jack for a spicy kick, mozzarella for extra stretchiness, or a Mexican cheese blend for authentic flavor.
Veggie Additions
Mix some finely diced bell peppers, onions, or corn into your taco meat for added nutrition and flavor.
Breakfast Version
Use scrambled eggs, breakfast sausage, and cheese for a morning variation that will start your day right.
How to Make Cheesy Taco Sticks
Step 1: Prepare Your Workspace
Preheat your oven to 425°F and spray a large baking sheet with non-stick spray. Having everything ready makes assembly much smoother.
Step 2: Cook the Taco Meat
Brown the ground beef in a skillet, breaking it into small crumbles as it cooks. Drain off any excess fat, then mix in the taco seasoning directly (no water needed). Allow the meat to cool to room temperature before assembly.
Step 3: Prepare the Dough
Unroll the pizza dough flat on a clean surface. Cut it in half lengthwise, then make 4 cuts across to create 10 equal rectangles. These will become your taco stick wrappers.
Step 4: Assemble Your Sticks
Place a tablespoon of taco meat in the center of each dough rectangle. Top with half a cheese stick, then carefully roll up the dough, making sure to seal all edges and seams tightly.
Step 5: Add the Garlic Butter Topping
Mix melted butter with garlic powder and dried parsley in a small bowl. Brush this flavorful mixture generously over the tops of your assembled taco sticks.
Step 6: Bake to Golden Perfection
Bake for 10-12 minutes until the tops are beautifully golden brown and the cheese inside has melted. Let cool slightly before serving to avoid cheese burns!
Pro Tips for Making the Recipe
- Seal Those Edges: Really pinch and seal all seams of the dough to prevent cheese from leaking out during baking.
- Don’t Overfill: About a tablespoon of meat is perfect – too much and they’ll be hard to seal.
- Cool the Meat: Letting the taco meat cool before assembly prevents the dough from getting soggy or partially cooking before baking.
- Even Sizing: Try to cut your dough pieces as evenly as possible for consistent baking.
- Cheese Stick Hack: Cutting the cheese sticks lengthwise instead of just halving them can help distribute cheese more evenly.
How to Serve

These Cheesy Taco Sticks are incredibly versatile when it comes to serving options:
Dipping Sauces
Serve with salsa, sour cream, guacamole, or nacho cheese sauce for classic taco accompaniments.
Complete the Meal
Pair with a simple side salad, Mexican rice, or refried beans for a complete dinner.
Party Presentation
Arrange on a platter with small bowls of various dipping sauces for a crowd-pleasing appetizer at your next gathering.
Make Ahead and Storage
Storing Leftovers
Keep leftover Cheesy Taco Sticks in an airtight container in the refrigerator for up to 3 days. The flavors actually meld nicely overnight!
Freezing
These freeze beautifully! Arrange fully cooled taco sticks on a baking sheet, freeze until solid, then transfer to a freezer bag. They’ll keep for up to 3 months.
Reheating
For best results, reheat in a 350°F oven for 10 minutes to restore crispiness. Microwave for 30-45 seconds if you’re in a hurry, but the texture won’t be quite as good.
FAQs
Can I prepare these ahead of time and bake later?
You can assemble the taco sticks up to 24 hours ahead and keep them covered in the refrigerator. Apply the butter mixture just before baking. You may need to add 1-2 minutes to the baking time if cooking from cold.
What can I do with the leftover taco meat?
Leftover taco meat is kitchen gold! Use it for quick nachos, taco salads, stuffed peppers, or freeze in portion-sized bags for future taco nights or another batch of these sticks.
Can I make these without meat for a vegetarian option?
Absolutely! Replace the meat with refried beans, black beans, or a meat substitute. Add extra seasoning to your beans for maximum flavor impact.
My cheese is leaking out during baking. What am I doing wrong?
This usually happens when the seams aren’t fully sealed. Make sure to pinch all edges firmly and consider using a fork to crimp the edges, similar to a pie crust technique.
Final Thoughts
These Cheesy Taco Sticks transform taco night into something special – they’re portable, dippable, and completely irresistible. Whether you’re feeding picky kids, hosting friends for the big game, or just craving something different for dinner, this recipe delivers maximum flavor with minimal effort. The combination of seasoned meat, melty cheese, and buttery garlic crust creates a taste sensation that will have everyone asking for the recipe. Give them a try tonight and watch them disappear!
Print
Cheesy Taco Sticks Recipe
- Prep Time: 10 minutes
- Cook Time: 12 minutes
- Total Time: 22 minutes
- Yield: 10 sticks 1x
- Category: Snacks
- Method: Baking
- Cuisine: Mexican-inspired
- Diet: Halal
Description
Cheesy Taco Sticks are a quick and crowd-pleasing snack or appetizer made with pizza dough, seasoned beef, cheese sticks, and a flavorful buttery topping. These golden-baked sticks are filled with well-seasoned taco meat and gooey melted cheese, perfect for dipping or enjoying as a handheld main course. Ideal for parties, game days, or family dinners.
Ingredients
-
For the Filling
- 1 lb. ground beef
- 1 packet taco seasoning mix (or homemade taco seasoning)
-
For the Dough & Cheese
- 1 tube Pillsbury Pizza Dough
- 5 colby jack and cheddar cheese sticks, halved (10 pieces)
-
For the Topping
- 4 tbsp butter, melted
- 1 tsp garlic powder
- 1 tsp dried parsley
Instructions
- Preheat the Oven: Set your oven to 425°F (220°C) and allow it to fully preheat while you prepare the other ingredients. This ensures even baking and a golden finish.
- Prepare the Baking Sheet: Lightly coat a large baking sheet with non-stick spray to prevent sticking. Set aside for later use.
- Cook the Ground Beef: In a skillet over medium heat, add the ground beef and cook, breaking it up with a wooden spoon until fully browned and crumbled. Once cooked, drain any excess fat from the skillet and return it to the stovetop.
- Season the Taco Meat: Add the taco seasoning mix (without water) to the cooked beef. Stir until the meat is well coated with the seasoning, then remove from heat and allow to cool to room temperature to avoid overheating the dough.
- Prepare the Dough: Roll out the Pillsbury pizza dough on a flat surface until it’s even and flat. Cut the dough in half lengthwise and then make four additional cuts crosswise to create 10 equal rectangles.
- Fill and Roll the Taco Sticks: Place about 1 tablespoon of the seasoned taco meat in the center of each dough rectangle. Top each with a halved cheese stick, then carefully roll up each rectangle around the filling, pinching all seams together to seal completely.
- Prepare the Butter Topping: In a small bowl, mix together the melted butter, garlic powder, and dried parsley. Brush this mixture generously over the tops of the prepared taco sticks for extra flavor and sheen.
- Bake: Arrange the taco sticks seam-side down on the prepared baking sheet. Bake in the preheated oven for 10–12 minutes, or until the tops are golden brown and the cheese is melted.
- Serve: Remove the taco sticks from the oven and let cool slightly before serving. Enjoy hot, optionally with your favorite taco toppings or dipping sauces.
Notes
- You can use leftover taco meat for this recipe, making it even quicker to prepare.
- If you prepare the full pound of ground beef, extra taco meat can be frozen for future use in tacos, nachos, or salads.
- Serve with salsa, sour cream, guacamole, or your favorite taco toppings for added flavor.
- For a spicier version, add a pinch of chili flakes or use pepper jack cheese sticks.
Nutrition
- Serving Size: 1 stick
- Calories: 220
- Sugar: 2g
- Sodium: 520mg
- Fat: 12g
- Saturated Fat: 6g
- Unsaturated Fat: 5g
- Trans Fat: 0g
- Carbohydrates: 18g
- Fiber: 1g
- Protein: 11g
- Cholesterol: 40mg


Your email address will not be published. Required fields are marked *