

If you’re craving a comfort dinner that feels like a warm hug, you’ve got to try this Cheesy Chicken Enchiladas Recipe. Seriously, it’s one of those meals that’s both simple to put together and absolutely packed with flavor. Whether you’re feeding family or entertaining friends, this dish never disappoints and often disappears faster than I can set the table!
Why You’ll Love This Recipe
- Super Easy and Quick: You’ll have dinner ready in about 30 minutes, perfect for busy weeknights.
- Cheesy Goodness in Every Bite: The melty Mexican-blend cheese is what takes this from good to unforgettable.
- Customizable to Your Taste: You can easily swap tortillas, add your favorite toppings, or switch up the sauce to suit your mood.
- Family Favorite Every Time: Honestly, my family goes crazy for these enchiladas—no leftovers, ever!

Ingredients You’ll Need
The ingredients here are straightforward but work together like a dream to create that rich, cheesy, saucy enchilada magic. When shopping, I recommend picking a flavorful enchilada sauce and a good quality Mexican cheese blend—it really makes all the difference.
- Cooked shredded chicken: Using leftover rotisserie chicken is a lifesaver, but you can also poach chicken breasts.
- Easy enchilada sauce: Store-bought works well to keep things quick; just pick a brand you like.
- Corn or flour tortillas: Corn tortillas give a more authentic touch, but flour tortillas are softer and easier to roll.
- Mexican-blend cheese: A combination of cheddar, Monterey Jack, and queso quesadilla usually hits the spot.
- Salt and black pepper: Essential for seasoning the chicken filling to bring all flavors together.
- Optional toppings: Diced onions, cilantro, sour cream, shredded lettuce, and cotija cheese add extra freshness and creaminess.
Variations
I love how versatile this Cheesy Chicken Enchiladas Recipe is. Sometimes I like to throw in extra veggies or use different types of cheese depending on what I have around. Feel free to get creative—this recipe is really forgiving!
- Spicy Variation: Adding diced jalapeños or a splash of hot sauce to the shredded chicken takes it up a notch; my husband can’t get enough of that kick.
- Healthier Option: Swap regular cheese for a reduced-fat version and add sautéed peppers and onions for more fiber.
- Vegetarian Version: Replace chicken with black beans or roasted vegetables—this recipe still shines without meat.
- Make it Gluten-Free: Use corn tortillas and double-check your enchilada sauce for gluten-free labeling.
How to Make Cheesy Chicken Enchiladas Recipe
Step 1: Mix the Chicken Filling
Start by preheating your oven to 350ºF. In a big bowl, combine your shredded chicken with ¼ cup of the enchilada sauce, plus a good pinch of salt and black pepper. I always take a moment here to taste it—seasoning is key! Add more salt or pepper until it hits the perfect savory note for your palate.
Step 2: Warm and Soften the Tortillas
If you’re using corn tortillas, wrap them in a damp paper towel and microwave for about a minute, flipping halfway, so they’re pliable enough to roll without cracking. For flour tortillas, just microwave them on a plate similarly—it only takes a minute. This little trick prevents breakage and makes assembly so much easier.
Step 3: Assemble the Enchiladas
Spoon an even amount of your chicken mixture into each tortilla, then sprinkle some shredded cheese on top before rolling them up snugly. Place each enchilada seam side down in a baking dish—that way, they won’t unravel during baking. This step always reminds me to be generous with the cheese because, honestly, more cheese means happier taste buds.
Step 4: Top and Bake
Pour the remaining enchilada sauce evenly over the rolled-up tortillas, then shower the top with the rest of your shredded cheese. Pop the dish in the oven and bake for 20 minutes, or until the cheese is golden, bubbly, and irresistible. When that timer goes off, you’ll know your house smells amazing.
Pro Tips for Making Cheesy Chicken Enchiladas Recipe
- Keep Tortillas Moist: I learned that warming tortillas with a damp towel prevents cracks and keeps them tender when rolling.
- Season the Chicken Well: Don’t skip tasting the filling because a little extra salt and pepper make all the difference.
- Don’t Overfill Your Tortillas: It’s tempting to pack in tons of filling, but too much makes rolling tricky and can cause breaks.
- Use Plenty of Sauce and Cheese on Top: That bubbly, cheesy topping is what makes enchiladas so special—it’s worth the extra cheese, trust me!
How to Serve Cheesy Chicken Enchiladas Recipe
Garnishes
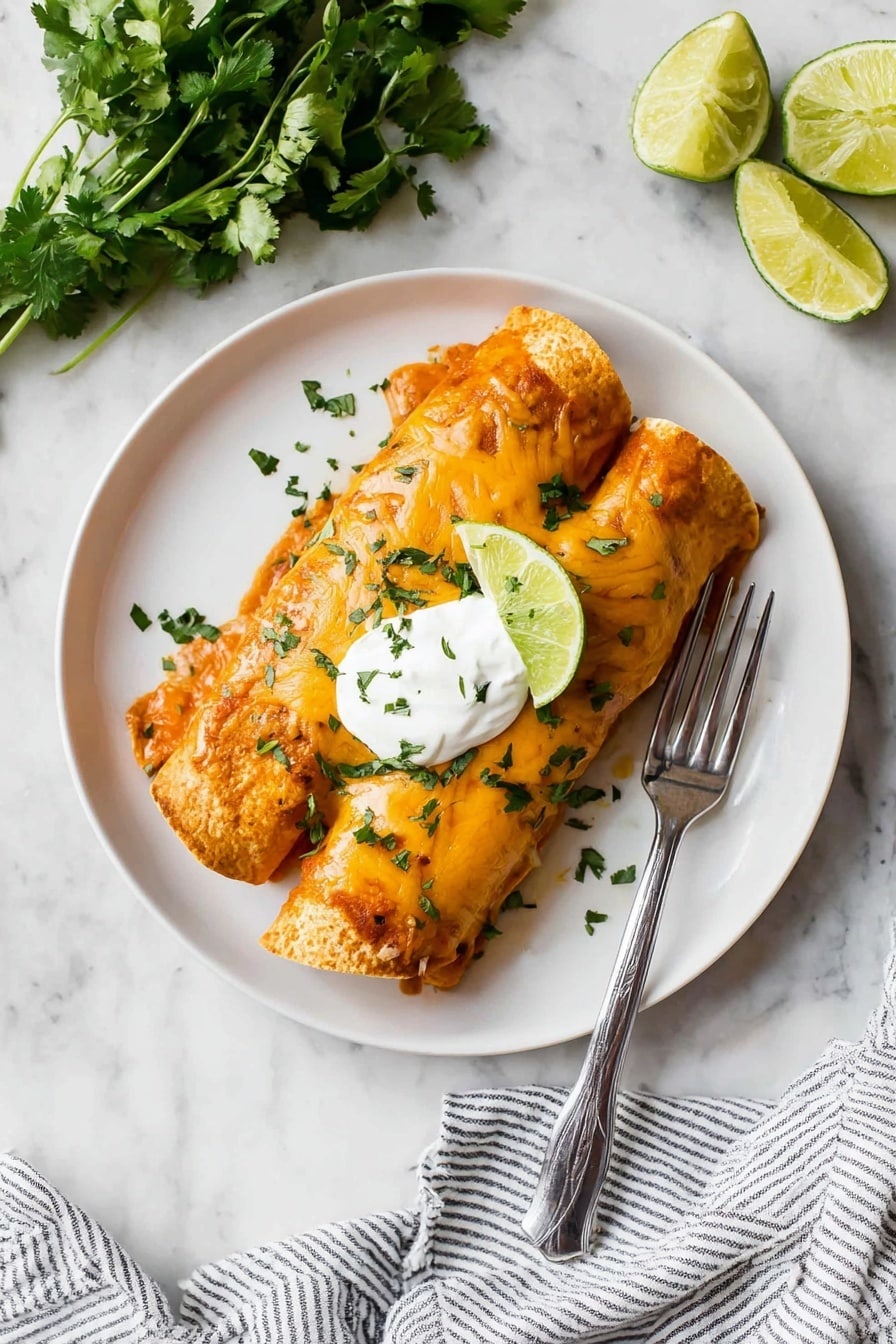
I always top my enchiladas with a handful of fresh cilantro, a little diced onion for crunch, and a dollop of sour cream to balance out the richness. Cotija cheese sprinkled on top adds a nice salty pop that’s just perfect. These simple touches take it from great to restaurant-worthy right at home.
Side Dishes
My go-to sides are a crisp salad with lime vinaigrette, Mexican rice, and some refried beans. When I want to keep it light, just a scoop of guacamole and chips on the side do the trick beautifully.
Creative Ways to Present
For special occasions, I like to bake individual enchiladas in small ramekins—they look adorable and make serving easier at a dinner party. Another fun idea is layering them like a casserole and slicing into thick squares for a hearty presentation. It’s a real crowd-pleaser!
Make Ahead and Storage
Storing Leftovers
Leftover enchiladas keep beautifully in an airtight container in the fridge for up to 3 days. I usually find that they taste even better the next day after the flavors have melded together. Just cover them well so they don’t dry out.
Freezing
I’ve frozen these before by assembling the enchiladas without baking them, covering tightly with foil, and popping them in the freezer. When ready to eat, I bake straight from frozen (adding extra baking time), and they come out remarkably fresh and cheesy.
Reheating
To reheat leftovers, I cover them loosely with foil and warm them in the oven at 350ºF until heated through, usually around 15 minutes. This prevents the cheese from getting rubbery, which can happen in the microwave.
FAQs
-
Can I make this Cheesy Chicken Enchiladas Recipe gluten-free?
Absolutely! Just use corn tortillas and make sure your enchilada sauce is labeled gluten-free. Most store-bought sauces are, but reading the label will give you peace of mind.
-
What’s the best cheese to use in these enchiladas?
I recommend a Mexican cheese blend that includes cheddar, Monterey Jack, and quesadilla cheese. It melts beautifully and adds a nice depth of flavor, but feel free to mix in mozzarella or your favorites.
-
Can I prepare these ahead of time?
Yes! You can assemble the enchiladas and refrigerate them for a few hours or even overnight before baking. This is great for busy days or when hosting to save time.
-
How do I prevent tortillas from cracking when rolling?
Warming them wrapped in a damp towel helps a lot, making them soft and flexible. This little trick has saved me countless times from a tortilla disaster.
Final Thoughts
I absolutely love how this Cheesy Chicken Enchiladas Recipe turns out every single time: gooey, flavorful, and downright comforting. It’s one of those recipes I keep coming back to because it’s so reliable and always a hit with everyone at the table. If you want a dinner that feels both indulgent and homemade without much fuss, I wholeheartedly recommend giving this recipe a go—you might even find it becomes your new favorite weeknight meal too!
Your email address will not be published. Required fields are marked *