
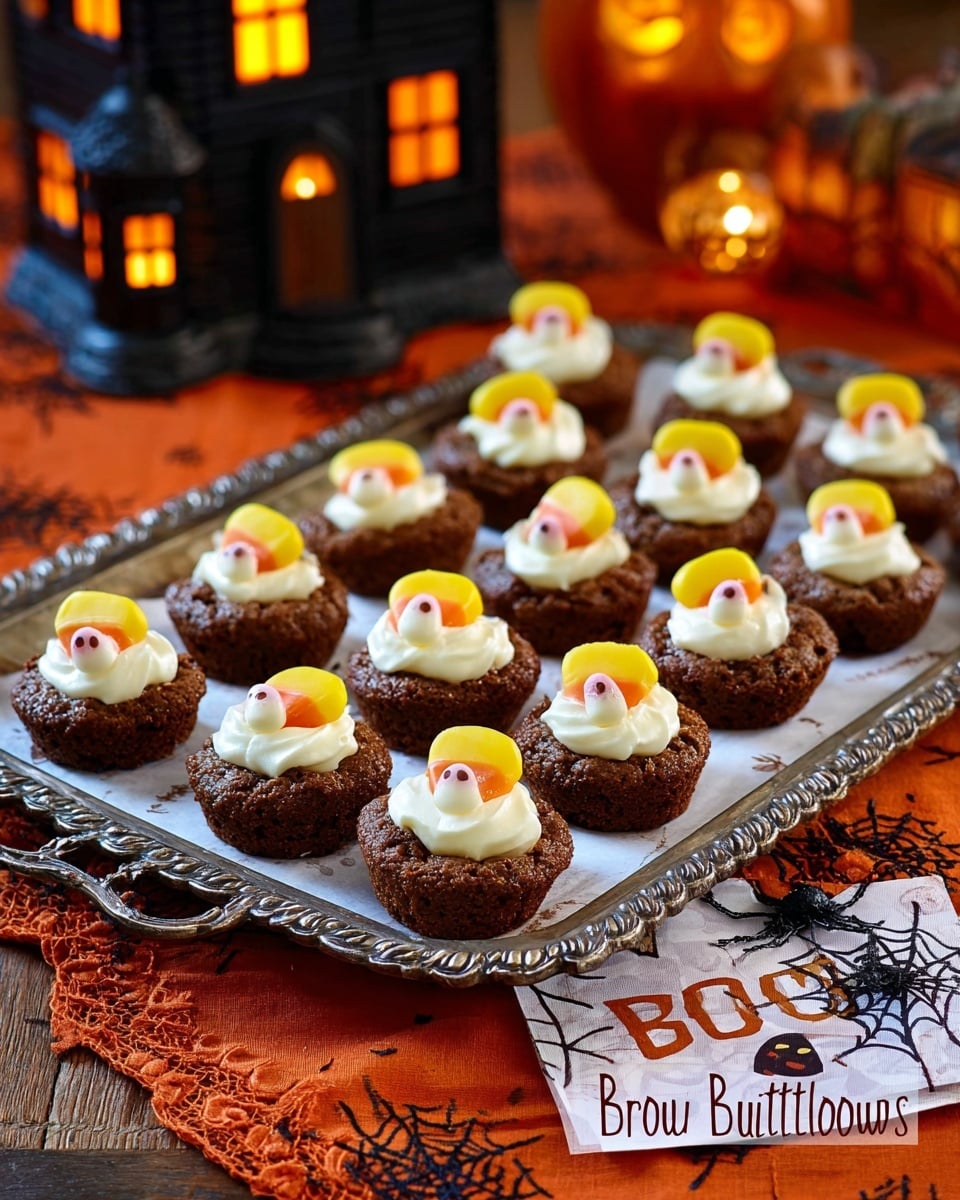
If you’re looking for an adorable, no-fuss treat that’ll wow your friends and family this fall, you’ve got to try my Boo-tiful Brownie Bites Recipe. These little guys come together in minutes, but their spooky charm and sweet taste are absolutely unforgettable. I promise, once you make these, you’ll see how fun and simple it can be to transform store-bought goodies into a Halloween masterpiece!
Why You’ll Love This Recipe
- Super Simple: You only need three ingredients, and no baking is required—hello, stress-free desserts!
- Perfect for Last-Minute Parties: When I first tried this, I had unexpected guests and whipped them up in under 10 minutes!
- Loved by Kids and Adults: My family goes crazy for these cute and spooky brownie bites every Halloween.
- Customizable and Fun: You can switch up edible decorations or frosting flavors to keep it fresh year after year.

Ingredients You’ll Need
The magic behind the Boo-tiful Brownie Bites Recipe comes from simple, carefully chosen ingredients that work together perfectly to deliver sweetness, texture, and that festive vibe. I usually pick fresh store-bought brownie bites and a smooth white frosting to mimic ghostly sheets—trust me, it’s the easiest way to nail this look!
- Store-bought round brownie bites: Choose fudgy, moist brownies; they hold frosting and toppings well without falling apart.
- White frosting: Classic vanilla works great—the smooth texture helps create that ghostly swirl, plus it sticks well to brownies.
- Edible Halloween ghosts: I used Wilton’s ghosts because they’re cute and taste pleasant—store-bought candy shapes save so much prep time!
Variations
One thing I love about the Boo-tiful Brownie Bites Recipe is how easy it is to customize! Depending on your mood or dietary needs, you can switch up the toppings and frosting to make these bites your own little canvas of Halloween fun.
- Chocolate Lovers’ Twist: Swap out white frosting for chocolate or peanut butter frosting—I tried this once, and it gave the brownies a richer, more decadent flavor.
- Allergy-Friendly Version: Use dairy-free frosting and gluten-free brownie bites to accommodate friends with allergies; the recipe stayed just as delicious for me when I made these for a gluten-intolerant friend.
- Seasonal Flair: Add orange or green sprinkles on top for a pop of Halloween color—I find this makes the treat even more festive.
- Extra Boo-tiful: Instead of ghosts, try mini candy pumpkins or edible eyes to switch up the spooky vibe.
How to Make Boo-tiful Brownie Bites Recipe
Step 1: Prep Your Frosting Pastry Bag
First things first, scoop your white frosting directly from the can into a quart-size ziplock bag—I discovered this trick when I wanted an easy “pastry bag” and didn’t have one handy. Once the frosting’s inside, squeeze it down to one corner and twist the top to keep the frosting from sneaking out the wrong end. Then, snip a tiny hole at the tip of that corner. Pro tip: I always pop the bag inside a tall drinking glass to support it while I get everything else ready. This keeps things neat and less messy!
Step 2: Arrange Your Brownie Bites
Take your yummy round brownie bites out of the packaging and lay them flat on a cookie sheet or serving platter. This makes them easy to frost and serve later. Having them all lined up helps keep your decorating rhythm going too—trust me, as soon as you pipe the first one, you’ll want a groove!
Step 3: Pipe the Ghostly Frosting
Now, the fun part! Using your frosting-filled ziplock bag, pipe onto each brownie bite in a circular motion—think cupcake frosting swirl, but more centered with a playful ghost shape in mind. This technique gives the frosting a soft, spooky look that everyone will love. If you feel you’re putting on too much, don’t worry—less is more, and the edible ghosts will cover most of the surface anyway.
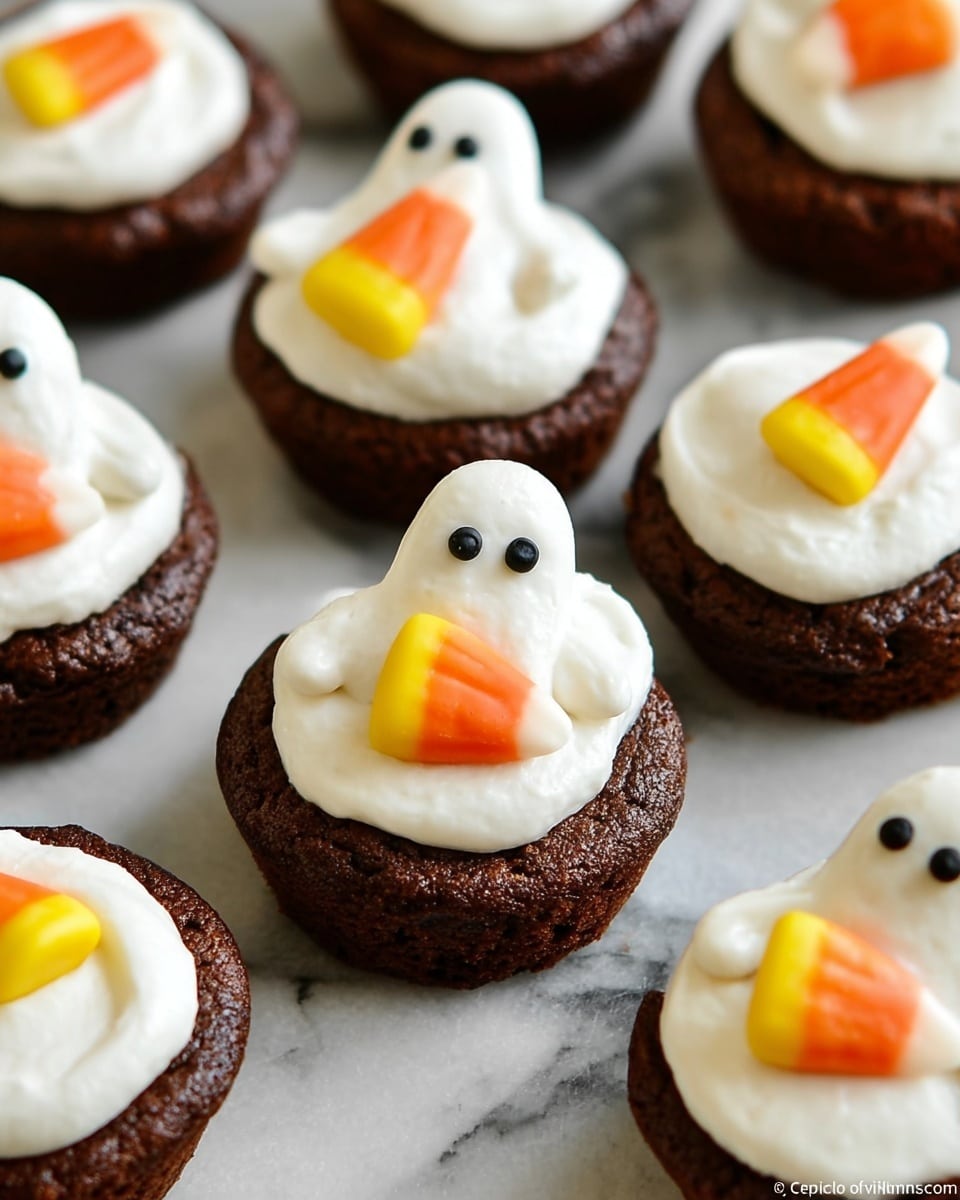
Step 4: Top with Edible Ghosts
Last but certainly not least, gently place one edible Halloween ghost on top of each frosted brownie bite. This instantly transforms your treats into festive little ghosts ready to delight at any party or trick-or-treat gathering. I like to press them slightly into the frosting so they stick well but still keep their shape.
Step 5: Serve and Enjoy!
These Boo-tiful Brownie Bites are best enjoyed fresh, and I love placing them right out on the table for guests to grab. They’re a guaranteed crowd-pleaser, especially with kids—my niece asked for seconds before the first batch disappeared!
Pro Tips for Making Boo-tiful Brownie Bites Recipe
- Use a Small Snip for Precision: Cutting too large a hole in your ziplock bag can flood your brownie bites with frosting—it’s easier to start small and enlarge as needed.
- Room Temp Frosting Works Best: If your frosting is too cold, it’s harder to pipe smoothly; take it out a bit early to warm and soften.
- Plating Prep Matters: I found that frosting the brownie bites on a cookie sheet lined with parchment paper makes cleanup a breeze.
- Keep Ghosts Dry Before Serving: Moisture can make edible ghosts lose their shape or color, so place them last minute and store in a cool, dry place.
How to Serve Boo-tiful Brownie Bites Recipe
Garnishes
I typically keep garnishes simple with these treats because their ghostly charm stands out on its own. But if I’m feeling festive, I love to sprinkle some orange or black sanding sugar around the platter—it adds a subtle sparkle and ties into Halloween colors without overpowering the bites.
Side Dishes
If you want to turn this into a full seasonal spread, pair these brownie bites with a warm cup of apple cider or a pumpkin spice latte. I’ve often served them alongside a simple fruit tray featuring sliced apples and clementines—something fresh to balance the sweetness.
Creative Ways to Present
For Halloween parties, I once arranged these brownie bites on a black tray shaped like a coffin—super simple but it got such a fun reaction! Another time, I placed them on tiered cake stands for a fancy dessert table look. You could also nestle them among faux cobwebs and plastic spiders for full spooky effect that kids adore.
Make Ahead and Storage
Storing Leftovers
If you happen to have leftovers (and honestly, sometimes I don’t!), keep them covered in an airtight container at room temperature for up to two days. This keeps the brownies moist and the frosting from drying out. Just avoid refrigeration if you want the frosting texture to stay perfect.
Freezing
I have frozen these before by placing the un-frosted brownie bites in a sealed bag, then frosting them fresh after thawing. The frosting doesn’t freeze well on the brownie, so this method keeps everything tasting fresh and gooey.
Reheating
I usually enjoy these brownie bites cold or at room temperature, but if you want to warm them slightly, pop them in the microwave for about 10 seconds—just enough to soften the brownie a little without melting the frosting.
FAQs
-
Can I make Boo-tiful Brownie Bites Recipe with homemade brownies?
Absolutely! Homemade brownies work wonderfully for this recipe, especially if you like them a bit fudgier or with your personal twist. Just make sure to cut them into small, round pieces similar in size to store-bought brownie bites for the best results.
-
What kind of frosting is best for Boo-tiful Brownie Bites?
I recommend classic vanilla or cream cheese frosting for a smooth, pipe-able texture. You want something that holds shape but is still soft enough to swirl easily—avoid super stiff or grainy frostings as they’re tricky to pipe neatly.
-
Can I prepare Boo-tiful Brownie Bites Recipe ahead of time?
You can prepare the brownie bites and frosting ahead, but I suggest adding the edible ghosts right before serving to keep them looking fresh. Store them covered at room temp and pipe frosting the day you plan to serve.
-
Where do you find the edible Halloween ghosts?
Many craft and baking supply stores carry edible Halloween decorations like Wilton’s ghosts. You can also order them online from baking specialty shops or Amazon. If unavailable, you can substitute with other small Halloween candies or even mini marshmallows decorated with edible markers.
Final Thoughts
I absolutely love how the Boo-tiful Brownie Bites Recipe turns simple ingredients into a show-stopping Halloween treat. When I first tried it, I was amazed at how quick and mess-free it was, making it my go-to for last-minute parties or fun weekend baking with the kids. If you want to impress without the stress, this recipe’s your new best friend. Go ahead, whip up a batch and watch your family light up with smiles—you’ll feel like a Halloween hero in your own kitchen!
Print
Boo-tiful Brownie Bites Recipe
- Prep Time: 10 minutes
- Cook Time: 0 minutes
- Total Time: 10 minutes
- Yield: 24 brownie bites 1x
- Category: Dessert
- Method: No-Cook
- Cuisine: American
Description
These Boo-tiful Brownie Bites are a quick and festive Halloween treat featuring store-bought brownie bites topped with creamy white frosting and adorable edible ghost decorations. Perfect for a spooky party or simple seasonal dessert.
Ingredients
Brownie Bites
- 24 store-bought round brownie bites
Frosting
- 1 can of white frosting
Decorations
- 24 edible Halloween ghosts (such as Wilton’s)
Instructions
- Prepare the Frosting Bag: Scoop frosting from the can into a quart-size ziplock bag. Squeeze all the frosting down into one corner and twist the top of the bag tightly to form a makeshift pastry bag. Carefully snip a very small hole at the tip of the bag to allow controlled piping.
- Stabilize the Frosting Bag: Place the ziplock bag with frosting tip-down inside a drinking glass. This setup prevents frosting from leaking and keeps the bag steady as you prepare the other components.
- Arrange Brownie Bites: Unpack the store-bought brownie bites and place them neatly on a cookie sheet or serving platter, ready for frosting and decorating.
- Unwrap Edible Ghosts: Carefully unwrap the edible Halloween ghost decorations so they are ready to be placed on top of each brownie bite.
- Pipe Frosting: Using the prepared ziplock pastry bag, pipe a swirl of white frosting on each brownie bite by moving your hand in circular motions, similar to how you would frost cupcakes. This creates a spooky ghostly mound of frosting.
- Top with Ghosts: Immediately top each frosted brownie bite with one edible ghost decoration, pressing lightly so it adheres to the frosting.
- Serve: Once all brownie bites are frosted and decorated, serve them promptly for a delicious and festive Halloween treat.
Notes
- Uses store-bought brownie bites for quick preparation.
- Easy-to-pipe frosting with a DIY ziplock pastry bag method.
- Edible ghost decorations add a festive Halloween touch.
- Perfect for Halloween parties or themed dessert tables.
- Can be prepared entirely in about 10 minutes.
Nutrition
- Serving Size: 1 brownie bite
- Calories: 150
- Sugar: 18g
- Sodium: 90mg
- Fat: 7g
- Saturated Fat: 3.5g
- Unsaturated Fat: 2.5g
- Trans Fat: 0g
- Carbohydrates: 22g
- Fiber: 1g
- Protein: 1g
- Cholesterol: 10mg

Your email address will not be published. Required fields are marked *