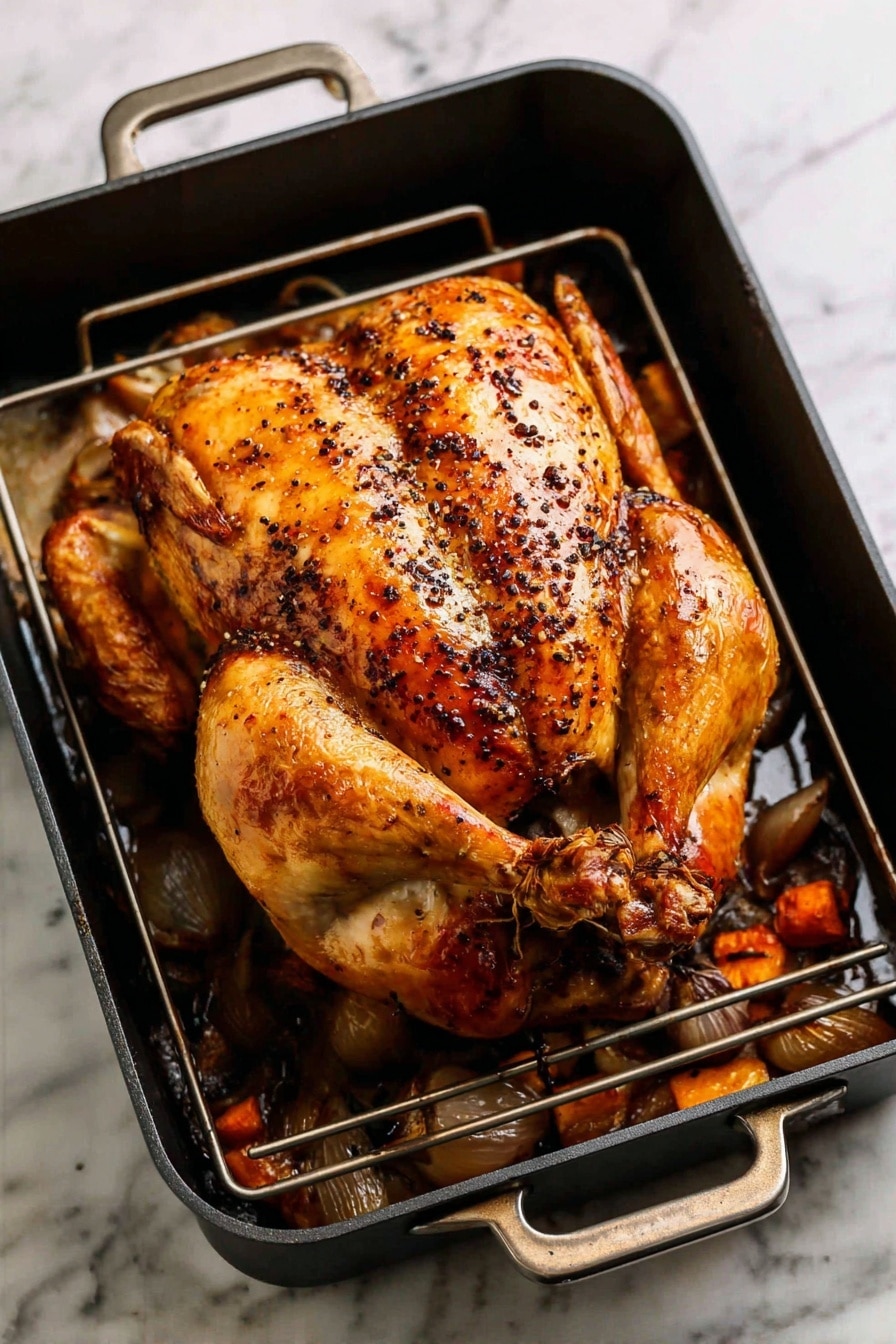
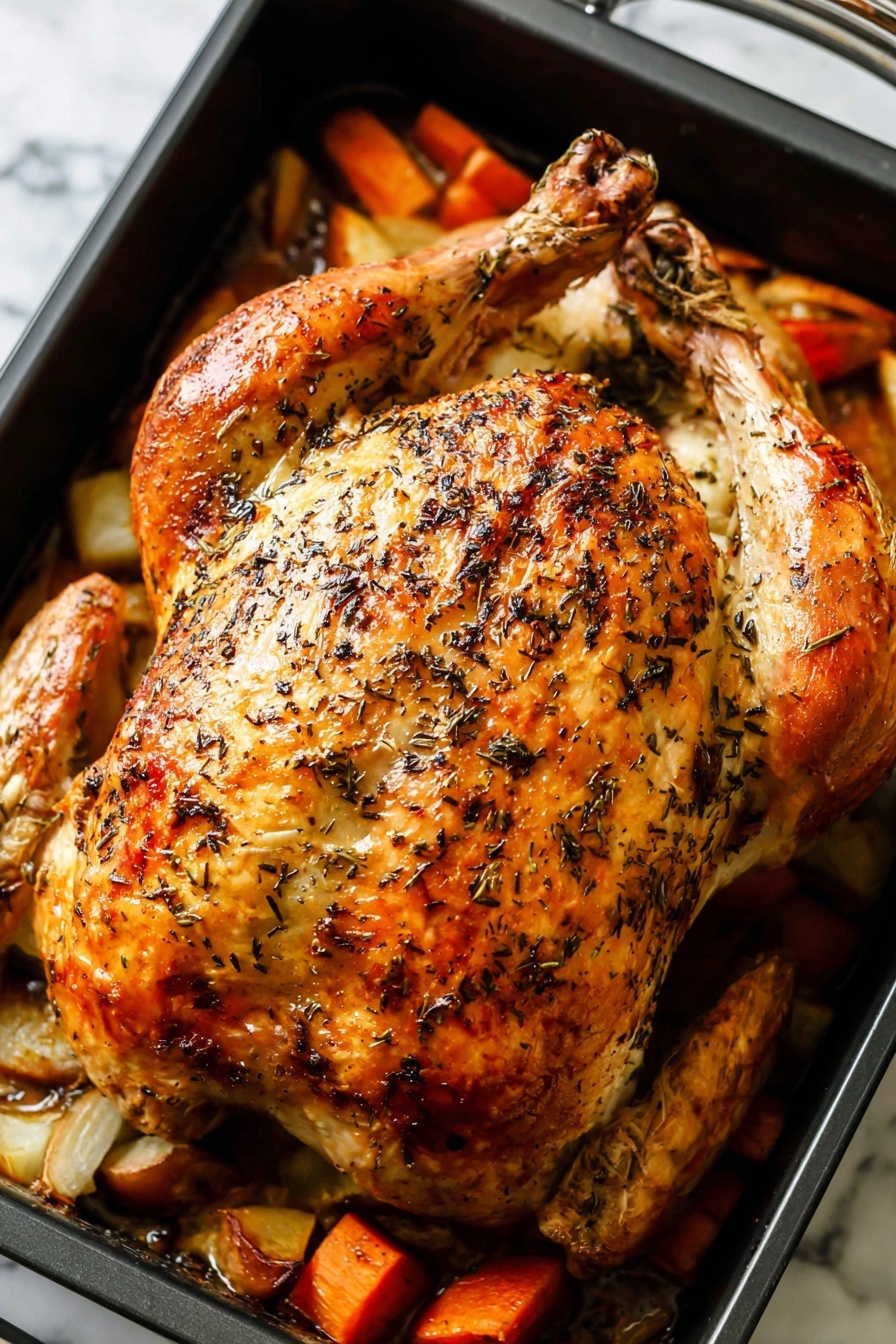
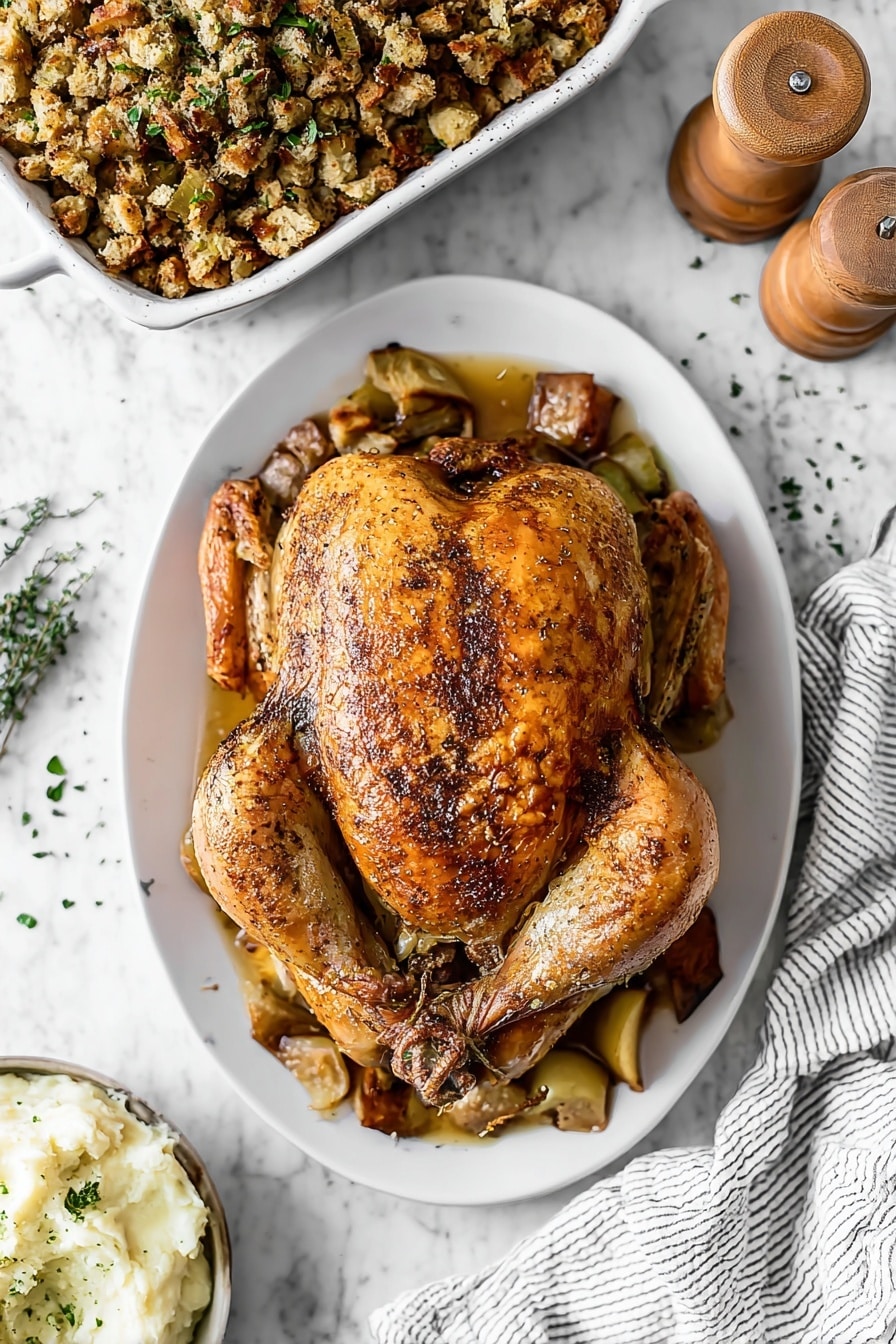
If you’re hunting for a foolproof way to make a turkey that’s bursting with flavor and incredibly moist, I can’t recommend this Juicy Dry Brine Turkey with Lemon & Rosemary Recipe enough. I first stumbled upon dry brining a few years back when I was tired of overly salted, dry turkey breast—and wow, what a game-changer! The bright notes from the lemon zest paired with fragrant rosemary really lift the flavor without overpowering the bird. Keep reading and I’ll walk you through every step to get this gorgeous, restaurant-worthy turkey on your table.
Why You’ll Love This Recipe
- Incredible Juiciness: The dry brine locks in moisture, keeping the turkey tender and juicy.
- Simple Ingredients: Just kosher salt, fresh rosemary, and lemon zest create a complex, fresh flavor.
- Crispy Skin: The uncovered resting period dries the skin perfectly for that coveted crispy, golden finish.
- Flexible Timing: You can start the brine anytime from two days before cooking and adjust based on your schedule.
Ingredients You’ll Need
I love how straightforward this ingredient list is. Each element plays a key role: the kosher salt tenderizes and seasons, the rosemary adds that earthy piney aroma, and lemon zest brightens everything up—making for a truly balanced turkey.
- Turkey: Choose a 14- to 16-pound turkey that’s fully thawed for even seasoning and cook time.
- Kosher salt: Use a coarse kosher salt like Morton’s for the best texture and flavor absorption.
- Fresh rosemary: Mince it finely to evenly distribute the herbal notes without clumps.
- Lemon zest: Use zest from small lemons for a punch of citrusy brightness; the lemon itself can be used inside the cavity for extra aroma.
Variations
One of the best parts about this Juicy Dry Brine Turkey with Lemon & Rosemary Recipe is how easily you can tweak it to suit your tastes or dietary needs. I encourage you to experiment—make it your own!
- Herbal Variation: I’ve swapped rosemary for sage or thyme depending on the season, and both work beautifully to change the flavor profile.
- Spicy Kick: Adding a pinch of crushed red pepper flakes to the brine mix gives a subtle heat that my family adores.
- Garlic Lover’s Version: Toss in some minced garlic into the dry brine for a savory depth that pairs especially well around the holidays.
- Salt-Free Option: Though dry brining relies on salt, if you’re avoiding sodium, try a wet brine instead with herbs and citrus for flavor without salt.
How to Make Juicy Dry Brine Turkey with Lemon & Rosemary Recipe
Step 1: Thaw Your Turkey Properly
This was a game-changer for me—starting with a properly thawed turkey is non-negotiable. Depending on your bird’s weight, plan ahead: refrigerate it 24 hours for every 5 pounds. For a quicker option, cold water thawing works in about 8 hours for a 15-pound bird—just remember to change the water every 30 minutes. The goal is a completely thawed turkey so your dry brine can work its magic evenly.
Step 2: Mix and Apply Your Dry Brine
Combine your kosher salt, minced rosemary, and lemon zest in a bowl. I like to do this right before applying to preserve the freshness of the zest and herbs. After removing the neck and giblets, pat the turkey super dry with paper towels—this step is vital for the brine to stick properly and to avoid spreading bacteria (don’t rinse your bird; just dry). I sprinkle one tablespoon inside the cavity first, then massage the rest all over the outside, focusing on the breast, under wings, and legs. I usually leave the backside that touches the pan unbrined since it won’t get crispy there anyway.
Step 3: Refrigerate Wrapped for 24 to 48 Hours
After rubbing your turkey with the dry brine, cover it tightly with plastic wrap and pop it in the fridge. The timing here allows the salt to penetrate deeply, seasoning the meat evenly and tenderizing it over time. I usually let mine go for a full 48 hours when possible—it’s worth the wait! If you’re on a tighter timeline, 24 hours still delivers great results.
Step 4: Dry Out the Skin for Crispy Perfection
Here’s the trick I learned to get golden crunchy skin: the day before or the morning of cooking, remove the plastic wrap and let the turkey chill uncovered in the fridge for about 24 hours. You’ll notice the skin turns a bit translucent and dry—this is exactly what you want. It helps the skin crisp up during cooking instead of steaming.
Step 5: Bring to Room Temperature and Cook
About an hour before roasting, take the turkey out of the fridge and let it come to room temperature—but don’t brush off the brine! Removing the plastic “carrier” from the legs now helps the heat circulate evenly. From here, you can prepare the turkey your favorite way—whether that’s classic roasting, spatchcocking, or even smoking. Just follow your method’s temperature and timing; the brine has done its job!
Pro Tips for Making Juicy Dry Brine Turkey with Lemon & Rosemary Recipe
- Patience is Key: Don’t rush the brining time; 24 to 48 hours makes all the difference in flavor and juiciness.
- Dry Thoroughly: Drying the turkey skin uncovered helps you achieve that crispy skin that’s hard to beat.
- Don’t Rinse the Turkey: Rinsing can spread bacteria and wash away seasoning, so trust the brine and pat dry instead.
- Use a Thermometer: Cooking to the right internal temperature ensures juicy meat without overcooking, so keep a probe handy.
How to Serve Juicy Dry Brine Turkey with Lemon & Rosemary Recipe

Garnishes
I love to garnish with fresh rosemary sprigs and lemon slices around the platter—it adds a beautiful pop of color and ties back to the flavors inside the bird. Plus, a sprinkle of flaky sea salt just before serving elevates the texture wonderfully.
Side Dishes
Perfect companions? I always go for creamy mashed potatoes, roasted root vegetables (think carrots, parsnips, and Brussels sprouts), and a crisp green salad with a lemon vinaigrette. These sides complement the flavors without overpowering the turkey’s natural brightness.
Creative Ways to Present
For holidays or special dinners, I sometimes carve the turkey on a wooden cutting board garnished with fresh herbs and citrus wedges, letting guests serve themselves family-style. Another fun idea is setting the whole bird on a bed of mixed greens and edible flowers—this always gets compliments and makes the centerpiece pop.
Make Ahead and Storage
Storing Leftovers
After your feast, wrap leftover turkey tightly in foil or store in airtight containers. I find leftovers keep well in the fridge for up to 4 days, perfect for turkey sandwiches or salads.
Freezing
If you want to freeze leftovers, slice the meat first, then pack tightly in freezer bags with excess air removed. This prevents freezer burn and keeps that juicy texture intact—usually good for 2 to 3 months.
Reheating
Reheat gently in the oven at 300°F wrapped in foil to maintain moisture. I sometimes add a splash of broth inside the foil packet to keep things from drying out—this little trick keeps the turkey tasting fresh and juicy, just like day one.
FAQs
-
Can I use a brine other than lemon and rosemary?
Absolutely! The lemon and rosemary combination is classic and fresh, but you can swap in herbs like thyme, sage, or even add spices like paprika or garlic powder depending on your flavor preference.
-
Do I really need to dry the skin uncovered before cooking?
Yes, letting your turkey air dry uncovered in the fridge for about 24 hours helps the skin lose moisture, ensuring a beautifully crispy, golden exterior when roasted.
-
What’s the difference between dry brining and wet brining?
Dry brining uses salt and seasonings rubbed directly on the turkey’s surface, pulling juices to the skin then reabsorbing them, resulting in concentrated flavor and crisp skin. Wet brining involves soaking the bird in a saltwater solution, which adds moisture but can sometimes lead to less crispy skin.
-
Can I prepare this turkey on the day of cooking?
For best results, start the dry brine at least 24 hours in advance to let the salt penetrate the meat. If you’re short on time, you can brine for 12 hours, but the flavor and juiciness won’t be as fully developed.
Final Thoughts
This Juicy Dry Brine Turkey with Lemon & Rosemary Recipe has truly become my go-to whenever I want a stress-free, deeply flavorful turkey that ends up juicy every single time. I love sharing this with friends and family because it’s such a reliable crowd-pleaser, plus it lets you savor the joy of gathering around the table—not fussing over dry or bland meat. Give this method a try and your Thanksgiving (or any festive meal) will be one to remember!
Print
Juicy Dry Brine Turkey with Lemon & Rosemary Recipe
- Prep Time: 20 minutes
- Cook Time: Varies depending on cooking method (commonly 3 to 4 hours roasting for a 14-16 pound turkey)
- Total Time: 72 hours (includes thawing and brining time)
- Yield: 10 to 12 servings; one 14- to 16-pound turkey 1x
- Category: Main Course
- Method: Roasting
- Cuisine: American
Description
This dry brine turkey recipe ensures a juicy, flavorful bird by seasoning it with kosher salt, fresh rosemary, and lemon zest days in advance. The brining process enhances the turkey’s moisture and tenderness, while drying the skin before roasting helps achieve a perfectly crispy finish. This method is simple, effective, and yields an impressively succulent turkey ideal for holiday meals or special occasions.
Ingredients
Turkey and Brine
- 1 14- to 16-pound turkey (thawed)
- 3 tablespoons kosher salt (Morton’s recommended)
- 1 ½ tablespoons minced fresh rosemary
- Zest of 2 small or 1 large lemon (reserve lemons for stuffing if desired)
Instructions
- Thaw Your Turkey: 4 to 6 days before cooking, thaw the turkey by placing it in the refrigerator for 24 hours per 5 pounds (approximately 3 days for a 15-pound bird). For faster thawing, submerge it in a cold water bath, changing the water every 30 minutes; this takes around 8 hours for a 15-pound turkey.
- Apply the Dry Brine: 1 to 2 days before cooking, mix the kosher salt, minced rosemary, and lemon zest in a small bowl. Remove neck and giblets from the turkey and pat the turkey dry with paper towels. Place the turkey on a rimmed baking sheet. Sprinkle 1 tablespoon of the salt mixture inside the cavity. Rub the remaining salt mixture thoroughly over the outside of the turkey, including under the wings and legs, focusing particularly on the breast. Cover tightly with plastic wrap and refrigerate for 24 to 48 hours.
- Dry the Skin: One day before or the morning of cooking, uncover the turkey and return it to the refrigerator uncovered for 24 hours or until 1 hour before cooking. This step dries the skin, which becomes somewhat translucent, aiding in crispiness when cooked.
- Bring to Room Temperature: One hour before cooking, remove the turkey from the refrigerator and let it sit at room temperature without rinsing off the brine. Remove any plastic carriers on the legs if present. The turkey is now ready to be cooked using your preferred roasting or cooking method.
- Cook as Desired: Follow your preferred turkey cooking method such as roasting, spatchcocking, or smoking to finish the bird.
Notes
- Dry brining enhances moisture retention and flavor without the hassle of a wet brine.
- Patting the turkey dry after removing giblets ensures better adhesion of the salt mixture.
- Do not rinse the turkey after salting to prevent bacterial spread.
- Uncovered refrigeration dries out the skin, making it crispier when cooked.
- This recipe works well with minimal ingredients, relying on salt, rosemary, and lemon zest for flavor.
Nutrition
- Serving Size: 1 serving (1/10 of a 14-pound turkey)
- Calories: 636 kcal
- Sugar: 0.3 g
- Sodium: Over 400 mg (due to kosher salt brining, estimated)
- Fat: 25 g
- Saturated Fat: 7 g
- Unsaturated Fat: 15 g
- Trans Fat: 0.3 g
- Carbohydrates: 0.2 g
- Fiber: 0.1 g
- Protein: 98 g
- Cholesterol: 325 mg


