

If you’ve been craving something cozy and oh-so-delicious without all the fuss, I’m about to share a No Bake Pumpkin Pie Recipe that you’ll absolutely adore. This is one of those desserts that screams fall vibes but doesn’t require firing up the oven — hello, less heat in the kitchen! I first stumbled on this gem when I was craving pumpkin pie but didn’t want to mess with all the baking steps. Trust me, this no bake version is creamy, perfectly spiced, and ready to impress your friends and family.
Why You’ll Love This Recipe
- No Oven Required: You get all the pumpkin pie flavor without heating your kitchen or waiting on the baking time.
- Super Simple Ingredients: Things you likely have on hand or easily find in any grocery store.
- Quick to Prepare: You can have this dessert ready in under 30 minutes – perfect for last-minute guests.
- Rich, Creamy Texture: The no bake filling is smooth and luscious, a lovely twist on traditional pumpkin pie.

Ingredients You’ll Need
The magic of this No Bake Pumpkin Pie Recipe comes from classic fall flavors balanced just right. You’ll want to choose quality pumpkin puree and fresh spices that really pop.
- Pumpkin puree: Use pure pumpkin puree, not pumpkin pie filling — it keeps the flavor fresh and lets you control the sweetness perfectly.
- Sweetened condensed milk: This adds creaminess and sweetness all in one, so your pie filling sets up without baking.
- Whipped topping: I usually grab the pre-made stuff, but homemade whipped cream totally ups the flavor game.
- Pie crust: I recommend a graham cracker crust here – no need to bake, just press it in and you’re set.
- Spices: Cinnamon, nutmeg, ginger, and cloves form that classic pumpkin pie spice combo—freshly ground if possible for that extra zing.
- Vanilla extract: Just a splash adds warmth and rounds out the flavors beautifully.
Variations
I love how versatile this No Bake Pumpkin Pie Recipe can be. Sometimes I swap out the crust or experiment with mix-ins to keep things fun.
- Gluten-free crust: Use almond flour crust or gluten-free graham crackers so everyone can indulge.
- Dairy-free option: I’ve made this with coconut milk whipped topping and sweetened condensed coconut milk, and it still tastes amazing.
- Extra spice kick: Sometimes I add a pinch of cayenne or cardamom for a warm, unexpected twist that my family asks for every year.
- Layered dessert: Try layering this no bake pumpkin pie filling with chunks of gingerbread or crushed cookies for a fun trifle version.
How to Make No Bake Pumpkin Pie Recipe
Step 1: Prepare Your Crust
Start by pressing your graham cracker crust into a 9-inch pie dish. I find that popping it into the fridge while you make the filling helps it firm up nicely. No baking necessary here, which means you’re off to a quick start!
Step 2: Mix the Pumpkin Filling
In a large bowl, blend your pumpkin puree with the sweetened condensed milk and all your spices. I like to add vanilla extract last—it’s like the secret weapon for bringing the flavors together. Make sure you get everything smooth but don’t overmix; the filling should be creamy but still light.
Step 3: Fold in the Whipped Topping
Gently fold the whipped topping into your pumpkin mixture with a spatula. This keeps it fluffy and creamy, giving that luscious texture you want from a no bake pie. Don’t rush this step–folding carefully helps keep the airy quality intact.
Step 4: Chill and Set
Pour your filling into the crust and smooth the top. Cover and refrigerate for at least 4 hours, though overnight is best if you can wait. This chilling step is key to letting the filling set so you get perfect clean slices and that hold-you-over richness.
Pro Tips for Making No Bake Pumpkin Pie Recipe
- Quality Pumpkin Puree: Using fresh or canned pure pumpkin flavor makes a huge difference compared to pumpkin pie filling in sweetness and texture.
- Don’t Skip the Chill Time: I learned the hard way that rushing the chill leads to a runny pie, so I always plan ahead.
- Gentle Folding: Overmixing whipped topping will deflate it — patience here keeps your pie fluffy and light.
- Spice Balance: Start with the basics and adjust spices to taste before folding in the whipped topping for maximum flavor control.
How to Serve No Bake Pumpkin Pie Recipe
Garnishes
I’m a sucker for a little extra whipped cream on top, sometimes with a sprinkle of cinnamon or crushed pecans for a lovely crunch. If I’m feeling festive, a drizzle of caramel or a dusting of pumpkin pie spice takes it over the top. These small touches make the pie feel extra special without any extra baking.
Side Dishes
This no bake pumpkin pie pairs wonderfully with a cup of spiced coffee or apple cider. For a dessert table, I like assembling a fall-themed spread with caramel popcorn, roasted nuts, and soft cheeses. The contrast of textures keeps your guests coming back for more.
Creative Ways to Present
I’ve served this pie in mini mason jars as single servings at Thanksgiving for easy grab-and-go treats, and that was such a hit! You can even layer individual parfait glasses with the filling, crushed cookie crumbs, and a dollop of whipped cream for a prettier, fuss-free approach.
Make Ahead and Storage
Storing Leftovers
I always cover leftover no bake pumpkin pie tightly with plastic wrap or store it in an airtight container in the fridge. It keeps beautifully for up to 3 days and tastes just as fresh as the day you made it, which is great for enjoying in small portions throughout the week.
Freezing
Freezing this pie is possible, though I prefer to freeze just the crust or filling separately for best texture. If you freeze the whole pie, wrap it super tight and thaw it overnight in the fridge; it’s ideal for longer storage but I find fresh chilling yields the best results.
Reheating
Since this is a no bake dessert, reheating isn’t needed — and honestly, it’s best enjoyed chilled. I’ve found that room temperature slices taste great too if you don’t feel like waiting for the chill.
FAQs
-
Can I use canned pumpkin pie filling instead of puree?
I wouldn’t recommend it because canned pumpkin pie filling already contains sugar and spices, which can throw off the balance in this no bake recipe. Pure pumpkin puree lets you control the sweetness and spice levels perfectly.
-
Do I have to use a graham cracker crust?
Not at all! I love graham cracker crusts for their sweetness and ease, but you can use other no bake crusts like gingersnap or digestive biscuits. Just pick one that pairs well with pumpkin spices.
-
How long should I chill the pie before serving?
At least 4 hours is ideal, but if you have the patience, chilling overnight helps the filling set firm and makes slicing easier. It also allows the flavors to meld beautifully.
-
Can I make this pie ahead for Thanksgiving?
Absolutely! This no bake pumpkin pie is perfect for making a day or two in advance. Just store it covered in the fridge and bring it out when you’re ready to impress your guests.
Final Thoughts
I absolutely love how this No Bake Pumpkin Pie Recipe comes together effortlessly but tastes like a labor of love. It’s been a game changer for me during busy holidays and hot fall days when I want pumpkin pie vibes without running my oven all afternoon. Give it a try — you might find it becomes your new go-to dessert shortcut (without sacrificing flavor). Trust me, your friends and family will go crazy for it, and you’ll be glad you have this simple, delicious recipe in your back pocket.
Print
No Bake Pumpkin Pie Recipe
- Prep Time: 20 minutes
- Cook Time: 40 minutes
- Total Time: 60 minutes
- Yield: 8 servings, 1 (9-inch) pie 1x
- Category: Dessert
- Method: Baking
- Cuisine: American
Description
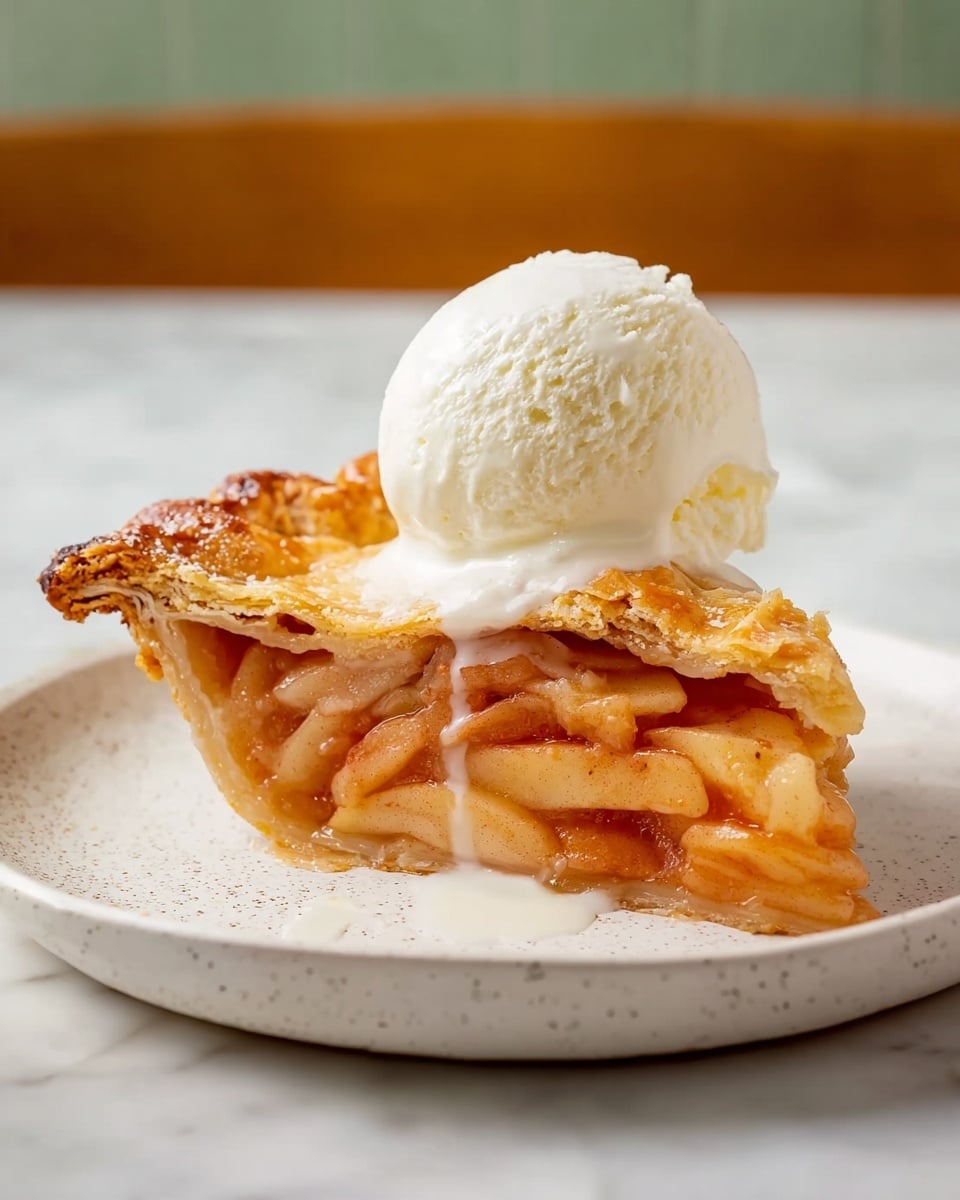
This Easy Apple Pie recipe features a flaky double-crust pastry filled with thinly sliced apples layered with cinnamon and sugar, baked to golden perfection. It’s a classic, comforting dessert perfect for fall or any time you crave a warm, fruity treat.
Ingredients
Pie Crust
- 1 (14.1 ounce) package pastry for a 9-inch double-crust pie
Filling
- 0.75 cup white sugar, or more to taste
- 1 teaspoon ground cinnamon
- 6 cups thinly sliced apples
- 1 tablespoon butter
Egg Wash
- 1 egg
- 1 tablespoon water
Instructions
- Prepare Ingredients: Gather all your ingredients to ensure you have everything ready before starting. Preheat your oven to 450 degrees F (230 degrees C) for optimal baking temperature.
- Line Pie Dish: Place one pastry crust into a 9-inch pie dish, ensuring it fits snugly. Set the second crust aside for the top layer.
- Mix Sugar and Cinnamon: In a small bowl, combine 3/4 cup white sugar with 1 teaspoon ground cinnamon. Adjust the amount of sugar if your apples are particularly tart.
- Layer Apples and Cinnamon Sugar: Arrange thinly sliced apples in layers inside the pie crust. Sprinkle a portion of the cinnamon-sugar mixture evenly over each layer to enhance the flavor.
- Add Butter: Dot the top layer of apple slices with small pieces of 1 tablespoon butter to add richness and moisture during baking.
- Cover with Top Crust: Place the second pastry crust over the filled pie dish, then flute or crimp the edges to seal the pie to prevent the filling from leaking during baking.
- Apply Egg Wash: Beat 1 egg with 1 tablespoon of water to create an egg wash. Brush this over the top crust for a glossy, golden finish once baked. Cut several slits in the crust to allow steam to escape and prevent the crust from becoming soggy.
- Bake Initially at High Temperature: Place the pie on the lowest rack in the preheated oven and bake at 450 degrees F for 10 minutes to set the crust and begin caramelizing the sugars.
- Reduce Heat and Continue Baking: Lower the oven temperature to 350 degrees F (175 degrees C) and continue baking for an additional 30 to 35 minutes or until the crust is golden brown and the apple filling bubbles through the slits.
- Cool and Serve: Remove the pie from the oven. Allow it to cool slightly before serving warm or enjoy it cooled, according to preference.
Notes
- This easy apple pie is perfect for fall, featuring simple layering of apples and cinnamon sugar inside a double crust.
- Adjust the sugar amount if using tart apples to balance sweetness.
- Ensure slits are cut on the top crust to allow steam to escape, preventing soggy crust.
- Using an egg wash gives the crust a beautiful golden and shiny appearance.
- Serving warm enhances the flavors, but it can also be enjoyed cold.
Nutrition
- Serving Size: 1 slice (1/8 of pie)
- Calories: 249 kcal
- Sugar: 29 g
- Sodium: 128 mg
- Fat: 9 g
- Saturated Fat: 3 g
- Unsaturated Fat: 0 g
- Trans Fat: 0 g
- Carbohydrates: 42 g
- Fiber: 3 g
- Protein: 2 g
- Cholesterol: 4 mg

Your email address will not be published. Required fields are marked *