
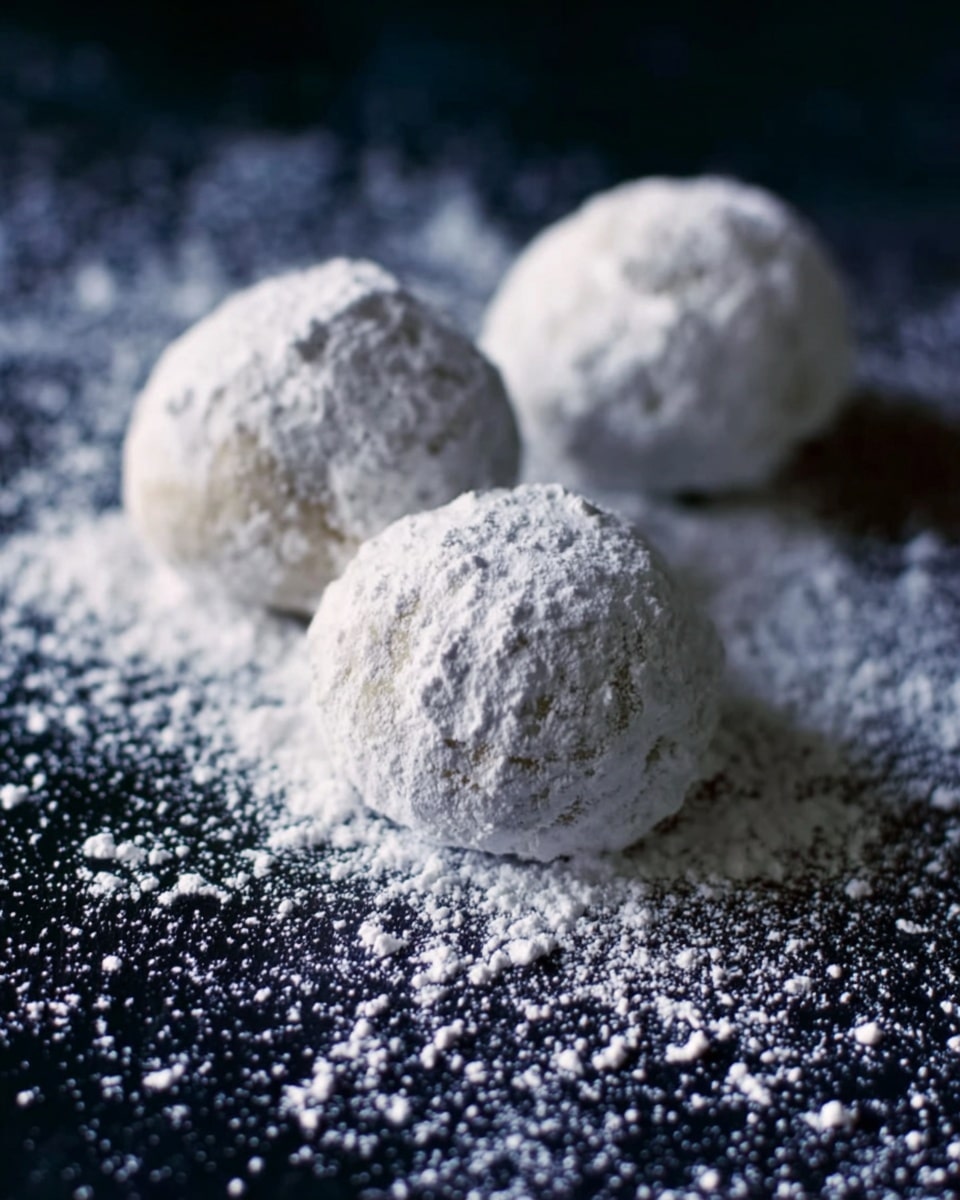
Oh, I absolutely love this Russian Tea Cakes Recipe! They’re one of those cookies that feel like a warm hug—delicate, buttery, and just melt-in-your-mouth amazing. Whether you’re baking for a holiday gathering, a cozy afternoon tea, or just because, these little treats never disappoint. I discovered this recipe years ago, and it’s been a staple in my kitchen ever since for its perfect balance of nuttiness and sweetness.
What makes this Russian Tea Cakes Recipe truly special is how simple ingredients come together in such an elegant way. You don’t need fancy equipment or complicated steps, just a little patience in chilling the dough and a good rolling hand. You’ll find that they’re wonderfully crumbly, with crushed nuts adding that lovely texture, all dusted with powdered sugar that makes them look and feel festive. Trust me, once you try these, they’ll be a go-to cookie for all your special occasions.
Why You’ll Love This Recipe
- Classic, Timeless Flavor: These cookies deliver that nostalgic, buttery nutty taste everyone remembers and loves.
- Simple Ingredients: You’ll find everything right in your pantry—no need for anything exotic or hard to find.
- Perfect Texture: Crispy on the outside, tender and crumbly on the inside thanks to a smart blend of nuts and butter.
- Great Make-Ahead Cookie: You can prepare the dough the day before, making your baking day stress-free and fun.

Ingredients You’ll Need
I always aim to keep the ingredients straightforward yet impactful. Using good quality nuts and butter can make a world of difference in these Russian Tea Cakes Recipe classics, so grab the best you can.
- Nuts: Choose your favorite—almonds, pecans, walnuts, or hazelnuts all work beautifully. Toast them lightly for an extra depth of flavor.
- Granulated sugar: This helps balance the richness while blending smoothly into the dough for that perfect crumb.
- All-purpose flour: Unbleached is best; it gives structure but keeps the cookie tender.
- Salt: Just a pinch to enhance all the flavors without making it salty.
- Unsalted butter: Softened and cut into chunks, this is the rich heart of the cookie, so don’t substitute with margarine.
- Vanilla extract: Adds that sweet warmth and aroma you can’t bake without.
- Egg yolk (optional): I like adding it for a little extra richness and binding, but you can skip it if you prefer.
- Powdered sugar: Essential for coating the cookies once baked, to give that signature snowy look and sweet finish.
Variations
I love how versatile the Russian Tea Cakes Recipe is. Over the years, I’ve tried tweaking nuts and spices, and trust me, you can personalize it to fit your mood or diet without losing the cookie’s classic charm.
- Nut substitutions: I swapped pecans with macadamia nuts once, and the buttery crunch was next level—give it a try for a unique twist.
- Adding spices: Experiment with a pinch of cinnamon or ginger in the dough for a cozy seasonal flair, especially around the holidays.
- Gluten-free option: I’ve used a gluten-free flour blend when friends visit, and the cookies still held their delicate texture wonderfully.
- Egg-free version: Leaving out the egg yolk works fine; just add a bit more vanilla to keep them fragrant.
How to Make Russian Tea Cakes Recipe
Step 1: Prepare Your Nuts
Start by pulsing your chosen nuts in a food processor until about half are finely ground and the rest are coarsely chopped. I learned this trick after a failed batch that was either too powdery or too chunky—the balance is key for texture. Once done, transfer the nuts to a bowl and wipe out any leftover oil from the processor bowl with a paper towel so the dough won’t get greasy.
Step 2: Mix Your Dry Ingredients and Butter
Next, process the granulated sugar until it’s almost powdery before adding your flour and salt. Give it a few pulses just to mix. Then add the softened butter, vanilla extract, and your optional egg yolk. Process until the dough looks damp and just starts to clump together. Don’t over-process—it’s about getting a crumbly, cohesive dough, not a paste.
Step 3: Incorporate Nuts and Chill
Stir in your chopped nuts, or pulse a couple of times if you want to do it in the processor. The dough should be soft but firm enough to roll without sticking badly. Cover it tightly, and refrigerate for at least 2 hours—overnight is even better. I usually do this step the night before; it makes rolling the dough much easier.
Step 4: Shape and Bake
Preheat your oven to 325°F and place racks in the upper and lower thirds. Roll the dough into balls about 1¼ inches in diameter—slightly more than a tablespoon of dough each works nicely. Space them about 2 inches apart on your baking sheets. Bake for 22-24 minutes, rotating trays halfway through baking for even color. The tops should be lightly colored and the bottoms golden brown when done.
Step 5: Sweet Finish
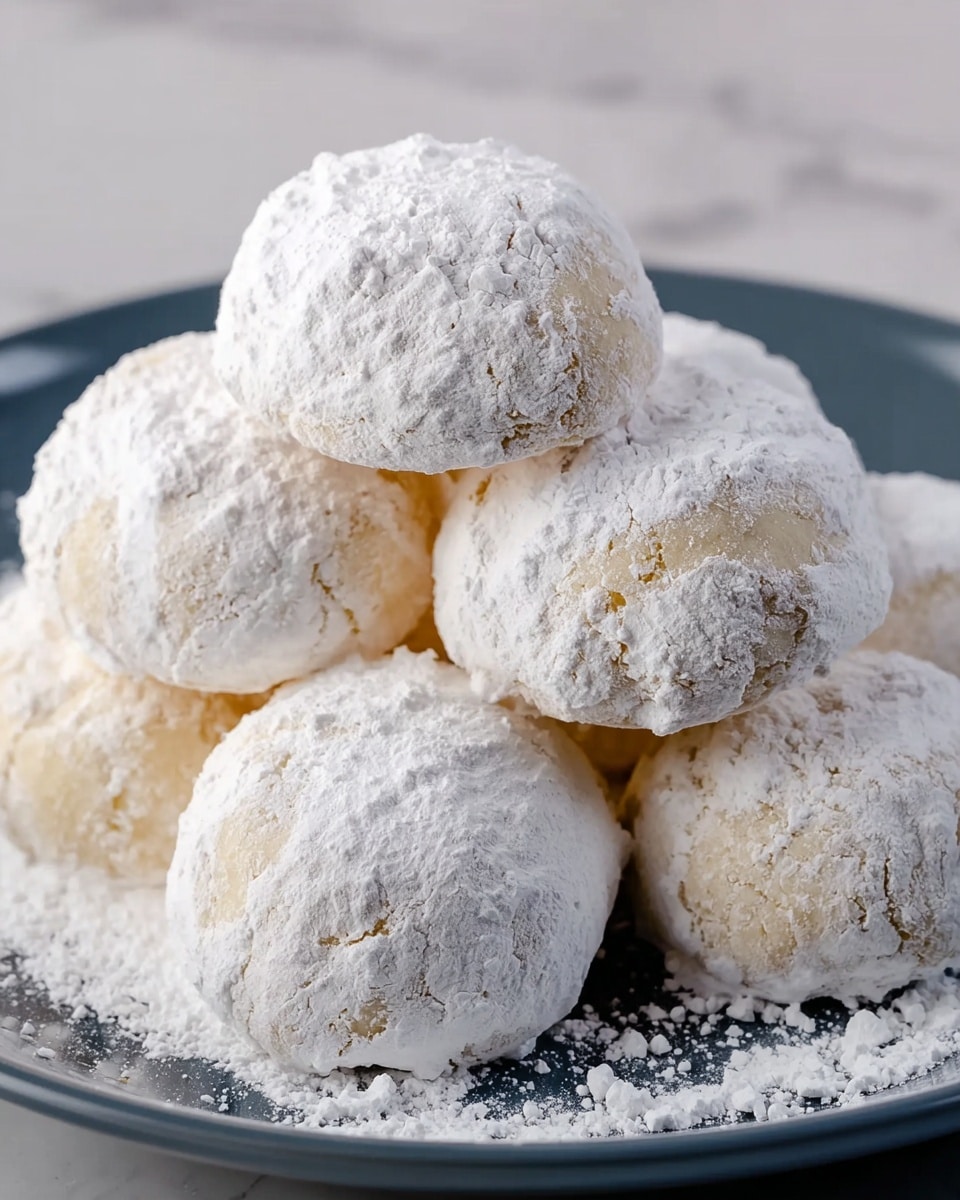
While the cookies bake, sift your powdered sugar into a bowl so it’s ready. When the cookies come out, let them rest on the pan for 5 minutes before coating them generously with powdered sugar. Transfer to a cooling rack to finish cooling completely. If you want, add a second dusting of powdered sugar just before serving—this step always delights guests!
Pro Tips for Making Russian Tea Cakes Recipe
- Chill the Dough Well: I can’t stress this enough—cold dough keeps the shape and texture just right without spreading too much.
- Nut Prep Matters: Toast your nuts lightly before pulsing for a fragrant, rich flavor that really shines.
- Don’t Skip the Double Sugar Dusting: A fresh dust of powdered sugar just before serving keeps the cookies looking beautiful and sweeter.
- Rotate Baking Sheets: I learned the hard way that swapping pans during baking ensures even browning and prevents burnt edges.
How to Serve Russian Tea Cakes Recipe
Garnishes
I keep it simple with these cookies—powdered sugar is just enough as a garnish, lending that snowy, charming look. For special occasions, sometimes I add a tiny sprinkle of finely chopped pistachios or a hint of cocoa powder on top for some color contrast and extra flavor.
Side Dishes
These light, delicate cookies go beautifully with a hot cup of tea or coffee. I often serve them alongside spiced chai or a warm mocha when guests come over, which feels festive and comforting. They’re also delightful paired with fresh berries or a scoop of vanilla ice cream for a fun dessert plate.
Creative Ways to Present
For holiday parties, I’ve packaged these Russian Tea Cakes in little cellophane bags tied with pastel ribbons—total crowd-pleasers as edible gifts. You can also arrange them on tiered dessert stands, alternating with fresh fruit and mini chocolates for a charming presentation. They look adorable dusted with powdered sugar right before serving to keep that fresh “snowfall” effect.
Make Ahead and Storage
Storing Leftovers
I usually store leftover Russian Tea Cakes in airtight containers at room temperature. They stay fresh and crumbly for up to two weeks, which makes them perfect for baking ahead for a party or gift. Just keep them in a cool, dry place away from sunlight to prevent the butter from turning rancid.
Freezing
Freezing these cookies works like a charm! I like to freeze them fully baked and cooled in a sealed container with parchment layers between to avoid sticking. When you’re ready to eat, just thaw at room temperature for a few hours, and they’ll taste almost freshly baked.
Reheating
If you want that just-baked warmth, pop the cookies in a 300°F oven for about 5 minutes—this revives their texture and aroma without drying them out. I avoid microwaving as it can make them overly soft or greasy, so the oven trick is my go-to.
FAQs
-
Can I use different types of nuts for the Russian Tea Cakes Recipe?
Absolutely! Almonds, pecans, walnuts, hazelnuts, and even pistachios all work well. Just remember to toast them lightly and pulse to the right texture—some fine, some chunky—for the best texture in your cookies.
-
Is the egg yolk necessary in the dough?
The egg yolk is optional. It adds a little extra richness and helps bind the dough slightly, but you can omit it if you have allergies or dietary restrictions. The cookies will still turn out tender and delicious without it.
-
How do I prevent the cookies from spreading too much while baking?
Chilling the dough thoroughly before baking is key. The cold dough holds its shape better in the oven, preventing the cookies from flattening. Also, avoid softening the butter too much; it should be just softened but not melting.
-
Can I make these Russian Tea Cakes ahead of time?
Yes! You can prepare the dough a day or two in advance and refrigerate it. After baking, these cookies stay fresh for up to two weeks stored in an airtight container at room temperature. You can also freeze baked cookies for longer storage.
Final Thoughts
This Russian Tea Cakes Recipe feels like a little tradition I can share with you—a simple, heartfelt cookie that turns ordinary days into something special. I hope you enjoy the process of making them as much as the joy in biting into these tender, nutty delights. Trust me, these cookies will quickly become one you’ll ripple out to family and friends, baking memories with each batch. So roll up your sleeves and give them a try—you won’t regret it!
Print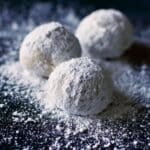
Russian Tea Cakes Recipe
- Prep Time: 15 minutes
- Cook Time: 24 minutes
- Total Time: 2 hours 39 minutes
- Yield: 40 to 45 cookies (1/2-inch size) 1x
- Category: Dessert
- Method: Baking
- Cuisine: Russian
- Diet: Vegetarian
Description
Classic Russian Tea Cakes are tender, buttery cookies studded with finely chopped nuts and coated in a delicate layer of powdered sugar. These melt-in-your-mouth treats are perfect for holidays or any time you crave a sweet, nutty cookie with a tender crumb and a dusting of sweetness.
Ingredients
Dry Ingredients
- 1/4 cup (50 grams) granulated sugar
- 2 cups (255 grams) unbleached all-purpose flour
- 3/4 teaspoon salt
- 1/2 cup powdered sugar (for coating)
Nuts
- 1 1/2 cups nuts (choose one: 210 grams almond or hazelnuts, 150 grams pecans or walnuts, 170 grams peanuts, 190 grams macadamias, or 255 grams pistachios)
Wet Ingredients
- 16 tablespoons (225 grams or 2 sticks) unsalted butter, softened and cut into small chunks
- 2 teaspoons vanilla extract
- 1 egg yolk (optional)
Instructions
- Process the nuts: Pulse the nuts in a food processor fitted with a steel blade until about half of them are finely pulverized and the rest are roughly chopped. Transfer to a bowl and set aside. Wipe the processor bowl clean with a paper towel to remove any excess oil.
- Make the dough: Add granulated sugar to the food processor and process until fine and powdery. Add flour and salt, pulsing just to combine. Add softened butter, vanilla extract, and egg yolk if using. Process until the mixture looks damp and starts to clump together. Add the chopped nuts and pulse just until combined. Transfer the dough to a bowl.
- Chill the dough: Cover the dough and refrigerate for at least 2 hours or preferably overnight to allow flavors to meld and dough to firm up.
- Preheat the oven: Set the oven temperature to 325°F (163°C). Position oven racks in the upper and lower thirds of the oven for even baking.
- Shape and bake cookies: Shape slightly more than level tablespoons of dough into 1¼-inch balls. Place the balls 2 inches apart on ungreased cookie sheets. Bake for 22 to 24 minutes, or until the tops are lightly colored and the bottoms are golden brown. Rotate cookie sheets from top to bottom and front to back halfway through baking to ensure even cooking.
- Prepare powdered sugar coating: While the cookies bake, place the powdered sugar in a small bowl to be used for coating.
- Cool and coat cookies: Once baked, allow cookies to cool on the pan for 5 minutes. Then, sift powdered sugar over the warm cookies to coat them lightly. Transfer to a cooling rack and allow them to cool completely.
- Store and serve: Store the cooled cookies in an airtight container for at least 2 weeks. Before serving, dust with additional powdered sugar if desired for extra sweetness and presentation.
Notes
- Choose your preferred nuts according to taste or availability; almonds, pecans, or walnuts are traditional favorites.
- The egg yolk is optional but helps bind the dough slightly; you can omit it for a dairy-nut cookie.
- Chilling the dough overnight improves texture and flavor development.
- Be sure to rotate the cookie sheets during baking to ensure even coloring and cooking.
- Cookies can be stored airtight at room temperature for up to two weeks, making them great for gifting or making ahead.
- Use powdered sugar fresh for coating to avoid clumping caused by moisture.
Nutrition
- Serving Size: 1 cookie (approx. 10 g)
- Calories: 80
- Sugar: 4 g
- Sodium: 40 mg
- Fat: 6 g
- Saturated Fat: 3.5 g
- Unsaturated Fat: 2 g
- Trans Fat: 0 g
- Carbohydrates: 7 g
- Fiber: 0.5 g
- Protein: 1 g
- Cholesterol: 15 mg

Your email address will not be published. Required fields are marked *