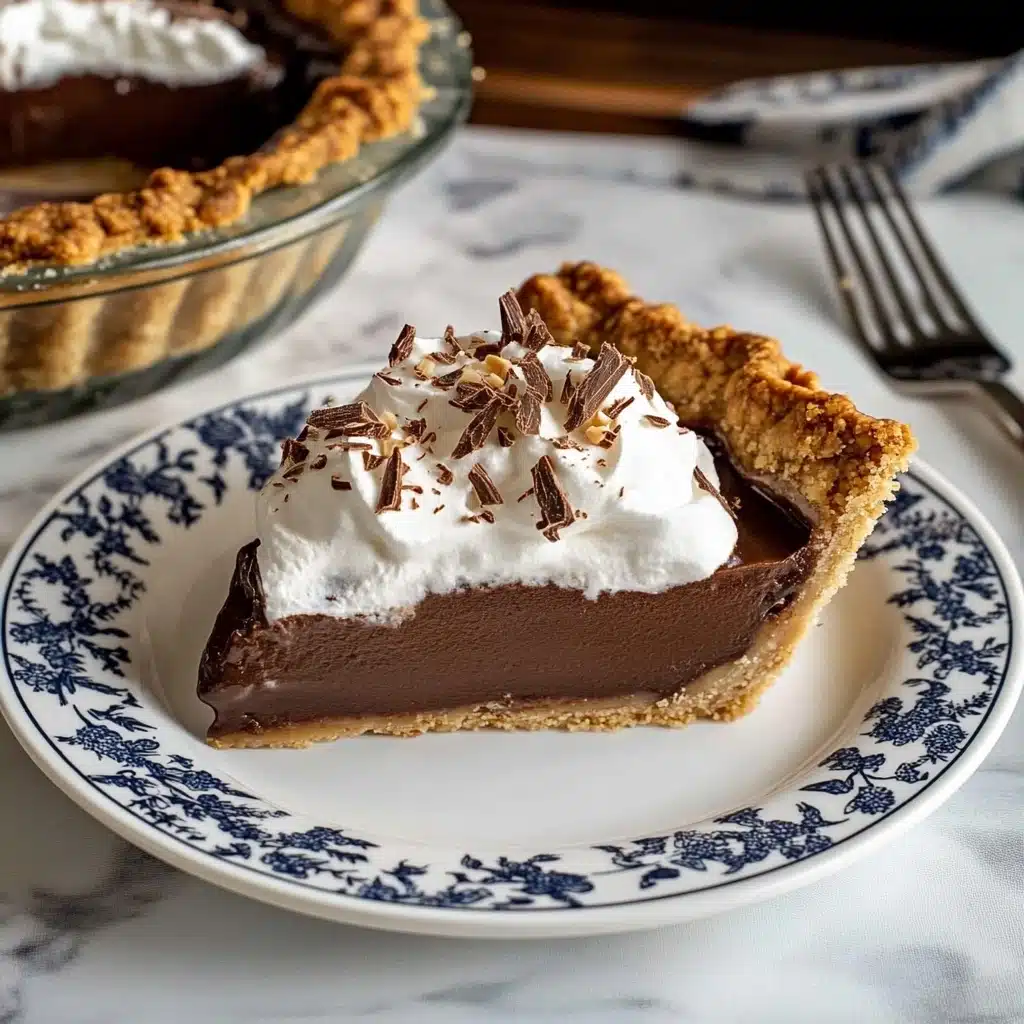
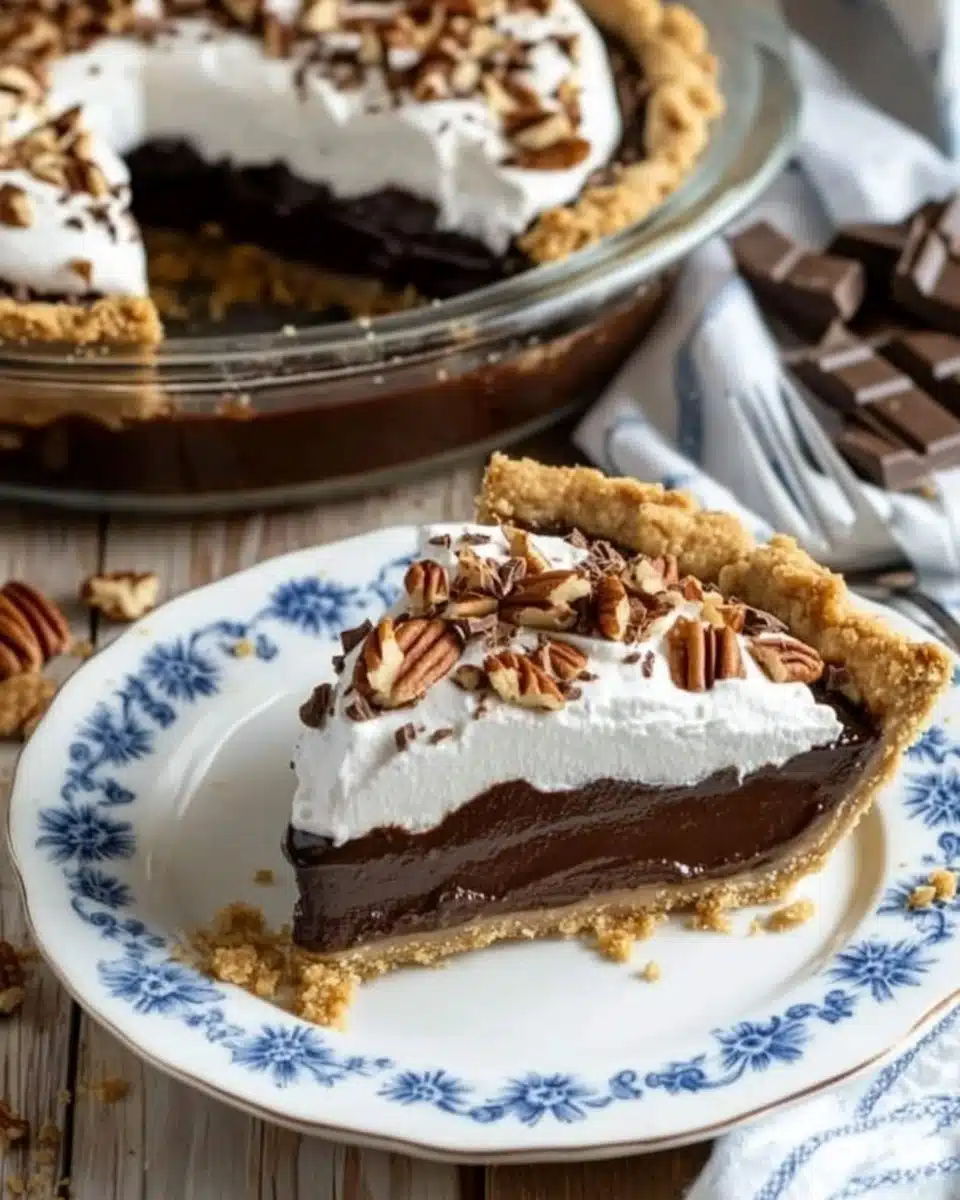
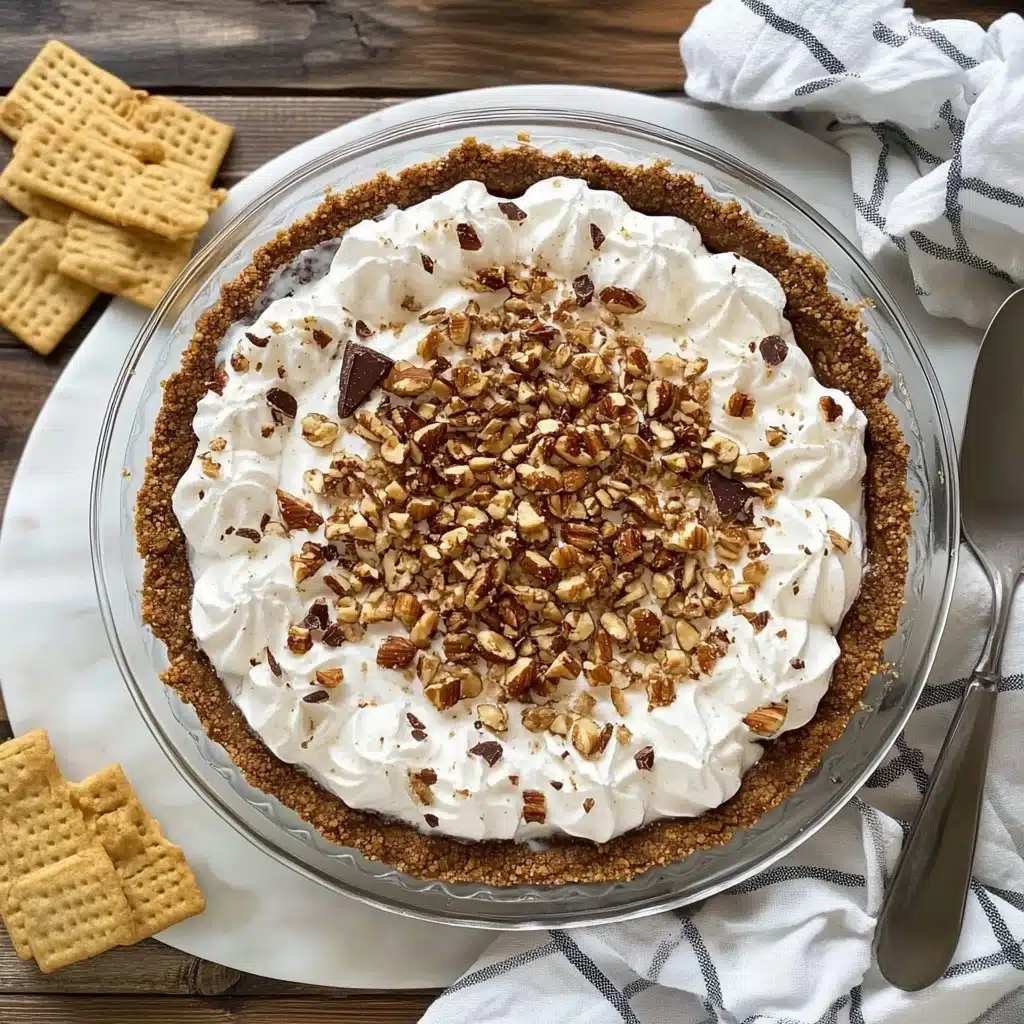
Chocolate Icebox Pie is the dreamy, old-fashioned dessert your inner chocoholic has been craving! It boasts a rich, silky chocolate filling nestled in a buttery graham cracker crust, all topped with clouds of whipped cream, chocolate shavings, and toasted pecans. Every cool, creamy slice is pure comfort and a celebration of classic flavors.
Why You’ll Love This Recipe
- Ultimate Chocolate Creaminess: The custard filling is lush, rich, and studded with marshmallows for that irresistible melt-in-your-mouth texture.
- No-Fuss, Make-Ahead Magic: This pie is at its best when made ahead, making it perfect for entertaining or stress-free holiday prep.
- Buttery, Crunchy Crust: The graham cracker base is sweet, sturdy, and so simple—no rolling or pastry skills required.
- Classic with a Twist: From the marshmallow-studded filling to the finishing touch of pecans, Chocolate Icebox Pie delivers nostalgic flavor, but with extra flair.
Ingredients You’ll Need
Part of the magic of Chocolate Icebox Pie is how it transforms a handful of pantry staples into something spectacular. Each ingredient plays a starring role—building layers of flavor, texture, and all-out chocolate bliss.
- Graham Cracker Crumbs: These create a sweet, crunchy crust that’s the soul of every classic pie.
- Unsalted Butter: Softened butter binds the crust and gives the whole dessert its signature richness.
- Granulated Sugar: Just enough for sweetness and a touch of crunch in the crust and filling.
- Flour: A little flour helps set the custard filling perfectly for neat, creamy slices.
- Unsweetened Chocolate: Melted chocolate squares bring deep, complex chocolate flavor front and center.
- Evaporated Milk or Heavy Whipping Cream: Either will lend a silky, creamy base to the filling—choose cream for maximum indulgence.
- Large Egg Yolks: Egg yolks add richness and help create that dreamy custard texture.
- Mini Marshmallows: These melt right into the warm custard, making the pie luscious and a touch gooey (in the best possible way).
- Semisweet Chocolate (for grating): A handful of shavings on top adds a hint of bittersweetness and a touch of elegance.
- Chopped Pecans: Just a scattering gives crunch and classic Southern flair.
- Heavy Whipping Cream: For swirling into mounds of fresh whipped cream on top—don’t skip it!
Variations
Don’t be shy about making this Chocolate Icebox Pie your own! With just a few tweaks, you can easily adapt the recipe to suit what you have on hand, your favorite flavors, or special dietary needs.
- Go Nut-Free: Omit the pecans or swap them for toasted coconut flakes for a similar crunch without nuts.
- Cookie Crust Swap: Use chocolate wafer crumbs or even crushed Oreos in place of the graham crackers for a double-chocolate twist.
- Dairy-Free Option: Substitute coconut cream for the whipped cream and use a plant-based butter to make a totally dairy-free version.
- Marshmallow Variations: Use kosher marshmallows for a “rocky road” vibe or try flavored marshmallows for a playful touch.
How to Make Chocolate Icebox Pie
Step 1: Build the Buttery Graham Cracker Crust
Start by combining graham cracker crumbs, softened butter, and sugar in a small bowl. Use your hands or the back of a spoon to blend them until every crumb is coated in buttery goodness. Then, press the mixture firmly into your pie dish, making sure you get an even layer up the sides. Prebaking for just 8 minutes will set the crust and give it a lovely crunch—be sure to let it cool completely before adding the filling!
Step 2: Whisk Up the Rich Chocolate Custard
In a saucepan, whisk together the sugar, flour, and salt. Gently melt unsweetened chocolate (a microwave or double-boiler both work) and add it to the pan, along with evaporated milk or cream. Add a cup of water and your lightly beaten egg yolks, then whisk again. Cook over medium-low heat, stirring consistently—this part takes patience! After about 10–15 minutes, as the mixture thickens into a luscious custard, don’t look away, or the custard could stick.
Step 3: Blend in the Marshmallows and Finish Cooling
Once your custard is thick and glossy, remove the pan from the heat. Stir in the butter until it melts, then whisk in the mini marshmallows. Watch as they transform the filling into velvety chocolate perfection! Allow the mixture to return to room temperature to avoid melting the whipped cream topping later on.
Step 4: Fill and Chill
Pour the cooled chocolate custard into your graham crust, smoothing the top. It’s important to give your pie several hours—ideally overnight!—in the fridge. This is where the magic happens, as the filling sets up beautifully and the flavors meld together.
Step 5: Top with Whipped Cream, Chocolate, and Pecans
Right before serving, whip up a batch of fluffy cream, lightly sweetened for balance. Dollop or pipe it over the chilled pie, then finish with a flourish of grated semisweet chocolate and a generous sprinkle of chopped pecans. Chill a little longer to set the topping, then slice and serve!
Pro Tips for Making Chocolate Icebox Pie
- Perfect Custard Texture: Keep stirring the filling over gentle heat—if you rush or crank the heat up, you risk lumps or a scorched bottom.
- Marshmallow Meltdown: Add marshmallows while the custard is hot for a truly smooth, creamy finish; it also helps keep the filling from splitting.
- Chill for Success: Plan ahead to refrigerate your Chocolate Icebox Pie at least 6 hours (overnight is even better!) so the filling sets and slices cleanly.
- Beautiful Toppings: For the prettiest presentation, pipe whipped cream using a star tip and be generous with chocolate shavings and pecans for true vintage charm.
How to Serve Chocolate Icebox Pie

Garnishes
The finishing touches are what make each slice of Chocolate Icebox Pie feel extra special. Swirl or pipe your whipped cream, then top with a heap of grated semisweet chocolate for a dramatic, elegant look. A sprinkle of chopped pecans adds nutty flavor and texture—if you want an extra pop, toast them lightly in a dry pan first!
Side Dishes
Since Chocolate Icebox Pie is decadently rich, try serving it with some tart or fresh sides to contrast the sweetness. Fresh raspberries, sliced strawberries, or even a scoop of tangy frozen yogurt pair beautifully. For a Southern-style feast, offer strong iced coffee, black tea, or a tall glass of cold milk alongside.
Creative Ways to Present
If you want to wow guests at a party, consider making individual mini pies in ramekins, or even layering chunks of pie with berries and whipped cream to make show-stopping parfaits. You could also use a cookie cutter to make “pie bites” from a full-size Chocolate Icebox Pie for a dessert platter that disappears in minutes!
Make Ahead and Storage
Storing Leftovers
Leftover Chocolate Icebox Pie stores beautifully in the fridge. Just tent the pie plate with plastic wrap or use an airtight pie keeper, and enjoy slices for up to 4 days. If you’ve added the whipped cream topping, it’ll stay fluffy and fresh for a couple of days—though it’s rare to have leftovers for long!
Freezing
You can absolutely freeze Chocolate Icebox Pie! For best results, do so before you add the whipped cream. Wrap the whole pie or individual slices tightly in both plastic wrap and foil; freeze for up to 1 month. Thaw overnight in the refrigerator, then add fresh whipped cream and your toppings before serving.
Reheating
This is one dessert that doesn’t need reheating—its charm is all about that chill! If you froze the pie, simply let it fully thaw in the refrigerator before topping and serving.
FAQs
-
Can I substitute the graham cracker crust with something else?
Yes! Chocolate wafer cookies, Oreos (with or without the filling), digestive biscuits, or crushed shortbread cookies all make delicious and sturdy bases for Chocolate Icebox Pie. Just keep the ratios of crumbs, butter, and sugar similar for the right consistency.
-
Why didn’t my chocolate filling set properly?
Usually, the filling doesn’t set if it wasn’t cooked long enough or if exact amounts of flour and egg yolks weren’t used. Make sure the custard thickens visibly and clings to your whisk, then chill the pie thoroughly—overnight is ideal for a perfectly sliceable Chocolate Icebox Pie.
-
Is it possible to make Chocolate Icebox Pie gluten-free?
Absolutely! Swap the flour for a gluten-free all-purpose blend and use gluten-free graham crackers or cookies for the crust. Double-check your marshmallows and other additives to ensure the whole pie is celiac-safe.
-
Can I make this pie in advance for an event?
Chocolate Icebox Pie is actually even better when made a day ahead! Prepare and chill the pie (sans whipped cream) for up to 2 days in advance, then add the fresh whipped cream and toppings the day you plan to serve it for the best texture and presentation.
Final Thoughts
If you’ve been searching for a foolproof crowd-pleaser, Chocolate Icebox Pie is that irresistible dessert everyone will be talking about. One bite is all it takes to turn skeptics into loyal fans! I hope you’ll give it a try—you might just find it becomes a cherished favorite in your own kitchen, too.
Print
Chocolate Icebox Pie Recipe
- Prep Time: 15 minutes
- Cook Time: 8 hours
- Total Time: 8 hours 15 minutes
- Yield: 10 servings 1x
- Category: Baking
- Method: Oven
Description
Indulge in the creamy goodness of this Chocolate Icebox Pie. A buttery graham cracker crust filled with a decadent chocolate custard and topped with freshly whipped cream, chocolate shavings, and chopped pecans.
Ingredients
Crust:
- 1 1/3 cups graham cracker crumbs
- 5 tablespoons unsalted butter, room temperature
- 1/4 cup granulated sugar
Filling:
- 2/3 cup + 2 tablespoons granulated sugar, divided
- 1/8 teaspoon salt
- 5 tablespoons flour
- 1 3/4 squares unsweetened chocolate
- 12 ounces evaporated milk or 1/2 cup heavy whipping cream (1 can)
- 2 large egg yolks, lightly beaten
- 2 cups small marshmallows
- 1/4 cup unsalted butter
- 1 cup heavy whipping cream
- Semisweet chocolate for grating
- 2 tablespoons chopped pecans
Instructions
- Make Crust – Preheat oven to 375 degrees F. Combine graham cracker crumbs, butter, and sugar. Press into a pie plate and bake for 8 minutes. Cool.
- Make Filling – Combine sugar, salt, and flour. Add melted chocolate, milk/cream, and yolks. Cook until thick. Stir in butter and marshmallows. Pour into crust and chill.
Notes
- You will also need: small and medium mixing bowls, 9-inch pie plate or dish, small saucepan, whisk, pie plate, electric mixer, spatula, grater
- This recipe was tested with both regular marshmallows and kosher marshmallows. Both results were delicious, so feel free to use kosher marshmallows if you prefer.
Nutrition
- Serving Size: 1 slice
- Calories: 380
- Sugar: 28g
- Sodium: 200mg
- Fat: 24g
- Saturated Fat: 14g
- Unsaturated Fat: 8g
- Trans Fat: 0g
- Carbohydrates: 40g
- Fiber: 2g
- Protein: 4g
- Cholesterol: 85mg


Your email address will not be published. Required fields are marked *