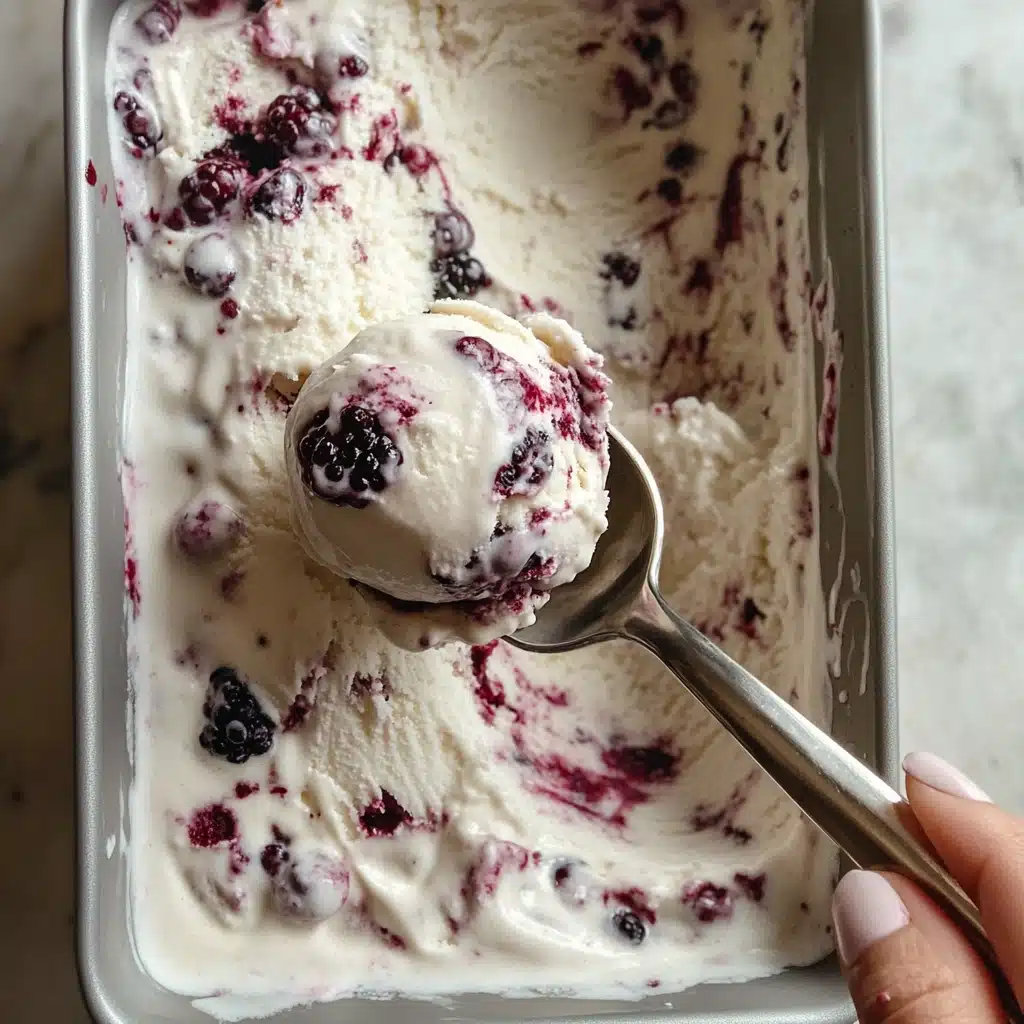
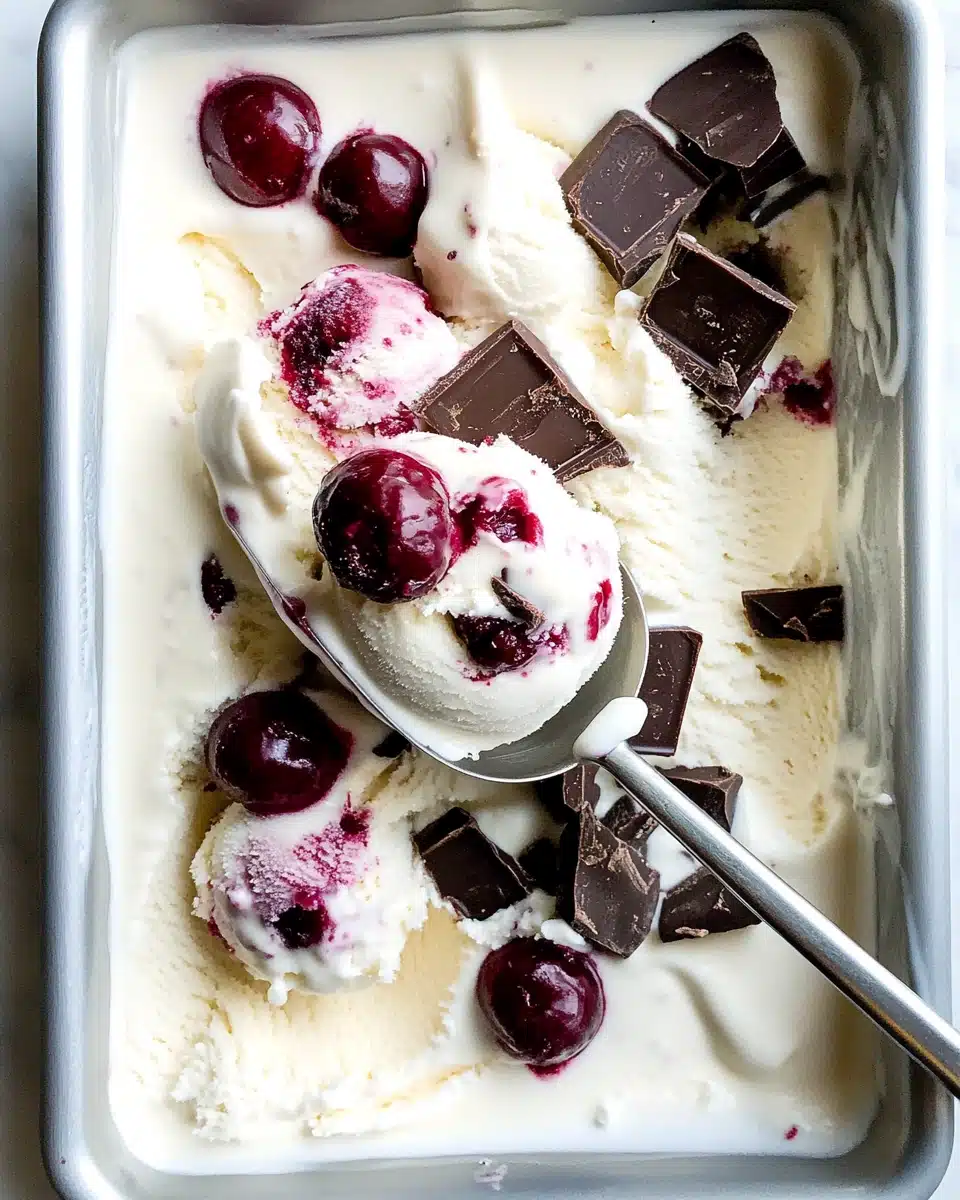
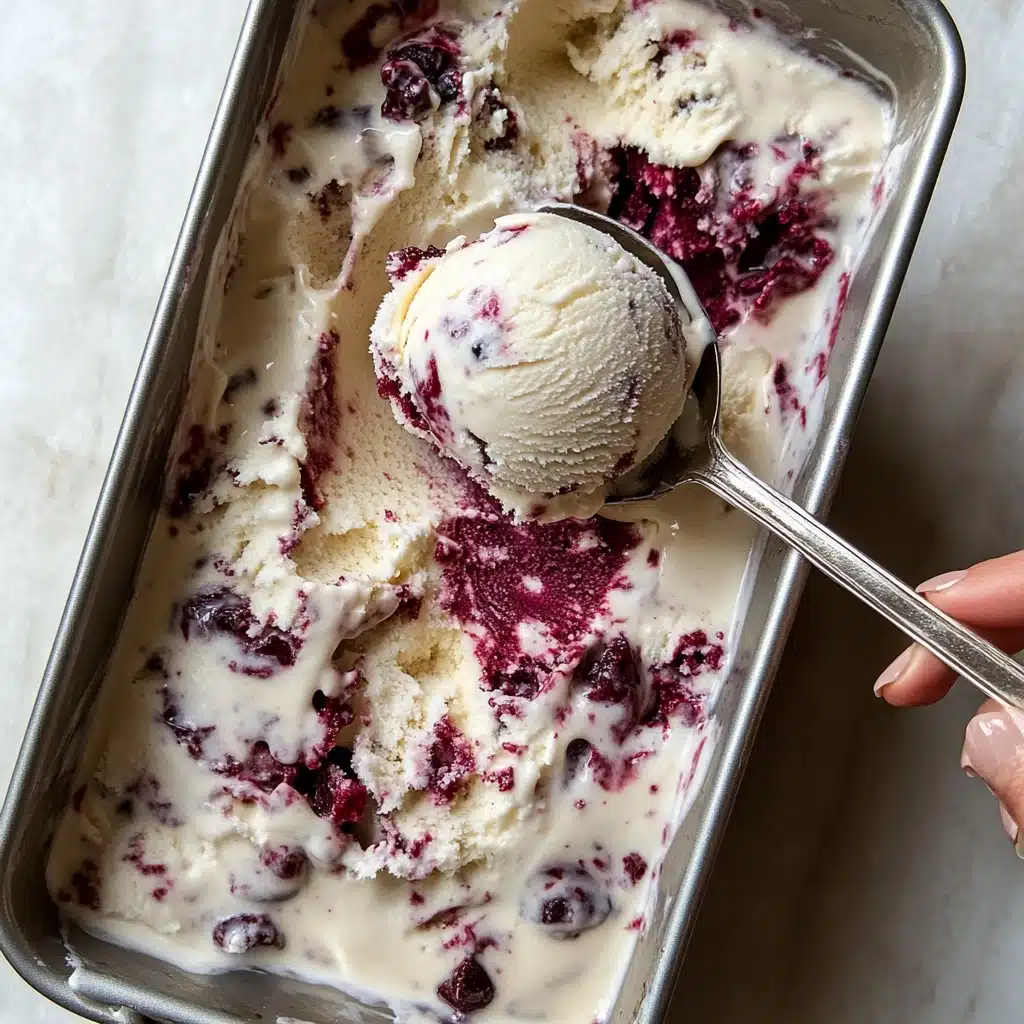
If you’re craving a sweet summer treat that’s outrageously decadent but blissfully easy to whip up, this No-Churn Chocolate Cherry Ice Cream is about to become your new obsession. It’s a dreamy mashup of creamy chocolate richness and tart, juicy cherries—and there’s not an ice cream machine in sight!
Why You’ll Love This Recipe
- No-Churn Magic: Absolutely zero fancy equipment needed—you just need a mixer and a little patience for chilling.
- Incredible Flavor: The combination of rich chocolate chunks and tart, juicy cherries gives every bite a perfect sweet-tangy balance.
- Creamy, Dreamy Texture: The sweetened condensed milk ensures a velvety, scoopable texture that rivals any ice cream shop.
- Family-Friendly Fun: It’s a fantastic project with kids or for impressing guests—inspired flavors with absolutely minimum effort.
Ingredients You’ll Need
With just a handful of simple, easy-to-find ingredients, you’ll be amazed at how much sophistication and satisfaction you can pack into this No-Churn Chocolate Cherry Ice Cream. Each one plays an essential role in the flavor, creamy consistency, and that gorgeous marbled look.
- Whipping Cream (16 oz carton): The heart of the ice cream, it whips up fluffy and light to give your treat the perfect mouthfeel.
- Sweetened Condensed Milk (10 oz can): No-churn ice cream’s secret weapon—it sweetens and keeps the ice cream lusciously smooth.
- Vanilla Extract (1 teaspoon): Just a touch brings out all the nuanced flavors and adds that classic ice cream aroma.
- Cherries (1 cup, pitted & chopped): Fresh summer cherries bring a burst of color, juiciness, and tart-sweet flavor to every bite.
- Dark Chocolate (1 cup, chopped or chunks): Rich, slightly bitter chocolate balances the sweetness and adds a satisfying crunch throughout.
Variations
The wonder of No-Churn Chocolate Cherry Ice Cream is how easily it can be tweaked to match what you love or already have in your pantry. Don’t be afraid to get creative—this recipe is seriously forgiving and so much fun to adapt!
- Maraschino Cherry Swirl: Swap in maraschino cherries for a sweeter, candy-like twist and swirl in a bit of the syrup for vibrant color.
- Milk Chocolate or White Chocolate: Not a dark chocolate fan? Use milk or white chocolate for a softer, creamier flavor profile.
- Nuts About It: Fold in a handful of toasted walnuts or almonds for extra crunch and a hint of nutty depth.
- Dairy-Free Version: Use coconut whipped topping and a coconut-based sweetened condensed milk for a luscious plant-based version.
How to Make No-Churn Chocolate Cherry Ice Cream
Step 1: Whip the Cream
Pour the whipping cream into a chilled mixing bowl and let your hand (or stand) mixer do the magic, whipping it until you’ve got gorgeous, stiff peaks. This step is key for that signature cloud-like texture you want in your homemade No-Churn Chocolate Cherry Ice Cream.
Step 2: Mix in Sweetened Condensed Milk & Vanilla
Drizzle the sweetened condensed milk and add the vanilla extract right into your whipped cream. Beat again just until everything’s smooth and fully combined—the condensed milk will make your base luscious and dreamy.
Step 3: Fold In Cherries & Chocolate
Switch to a spatula and gently fold in the chopped cherries and chocolate chunks. For swoon-worthy bites, reserve a little of both to sprinkle over the top before freezing. Be gentle—over-mixing will deflate all that lovely whipped cream airiness.
Step 4: Transfer & Freeze
Spoon the mixture into your loaf pan, smooth the top a bit, and scatter the reserved chocolate and cherries on top. Cover tightly with foil or plastic wrap, and freeze for 5 to 6 hours—or until completely set. It’s the hardest (but most anticipation-filled) part!
Step 5: Scoop & Serve
When you’re ready for dessert, let your No-Churn Chocolate Cherry Ice Cream sit at room temp for 5 minutes, just enough to soften a bit. Grab your scoop and dive into bowls or cones for pure, creamy, cherry-studded bliss.
Pro Tips for Making No-Churn Chocolate Cherry Ice Cream
- Chill Your Equipment: For the fluffiest whipped cream, start with a cold bowl and cold beaters—it makes the cream whip up faster and hold its peaks.
- Pat Dry the Cherries: If your cherries are especially juicy, dab them with paper towels before folding in. This helps prevent icy spots in your ice cream.
- Layer for Better Mix-Ins: To evenly distribute chocolate and cherries, add the ice cream base in layers to your pan, sprinkling extra mix-ins as you go.
- Slightly Under-Freezing is Best: Just 5 hours of freezing keeps the ice cream creamy and easy to scoop—longer freezing? Let it temper a few minutes before serving!
How to Serve No-Churn Chocolate Cherry Ice Cream

Garnishes
Turn each scoop into a celebration by topping it with extra chopped cherries, a smattering of chocolate shavings, or even a playful drizzle of glossy chocolate sauce. A sprig of fresh mint or some sliced almonds give it a bakery-worthy finishing touch!
Side Dishes
This No-Churn Chocolate Cherry Ice Cream is definitely the star, but it’s fabulous scooped over warm brownies, paired with crisp shortbread cookies, or spooned alongside a slice of dark chocolate cake for the ultimate dessert duo.
Creative Ways to Present
Try serving in retro ice cream parfait glasses, layering with whipped cream and fresh cherries, or nestling a scoop between homemade chocolate chip cookies for unforgettable ice cream sandwiches. Individual mason jars or cones also make for an adorable hand-held treat at summer parties.
Make Ahead and Storage
Storing Leftovers
Keep your leftover No-Churn Chocolate Cherry Ice Cream covered in the loaf pan, or transfer it to an airtight freezer container. It will stay fresh and delectable for up to two weeks—though it rarely sticks around that long!
Freezing
For best texture, freeze the ice cream immediately after mixing, and make sure it’s sealed tightly to avoid freezer burn. If making it ahead for a special occasion, prepare it up to 48 hours in advance and stash it toward the back of your freezer (where temps stay the most consistent).
Reheating
While you definitely don’t want to reheat ice cream, letting your No-Churn Chocolate Cherry Ice Cream sit out for about 5 minutes before scooping softens it to that perfect creaminess—never microwave, or you’ll lose that smooth magic!
FAQs
-
Can I use frozen cherries instead of fresh?
Absolutely! Just let frozen cherries thaw and pat them dry really well before chopping and folding them in, so your No-Churn Chocolate Cherry Ice Cream stays creamy and isn’t watered down.
-
How long does this ice cream take to freeze?
It usually takes about 5 to 6 hours for the ice cream to freeze to the perfect scoopable consistency. For best results, prepare it in the morning for a fun evening treat, or let it go overnight if you can resist!
-
Can I double or halve this recipe?
Yes to both! To double, use two loaf pans or a larger freezer-safe container. To halve, just use half of each ingredient—great for smaller households or if you want to test flavors.
-
Is it possible to make this without a mixer?
You can whip cream by hand with a sturdy whisk and some elbow grease—it’ll take a bit more time and effort, but the results are worth it for homemade No-Churn Chocolate Cherry Ice Cream!
Final Thoughts
Go ahead—treat yourself and your loved ones to a batch of homemade No-Churn Chocolate Cherry Ice Cream. It’s simple enough for a weekday surprise yet so special it makes any gathering feel festive. You’ll adore every creamy, cherry-studded spoonful—promise!
Print
No-Churn Chocolate Cherry Ice Cream Recipe
- Prep Time: 15 minutes
- Total Time: 6 hours, 15 minutes
- Yield: 6–8 servings 1x
- Category: Dessert
- Method: Mixing, Freezing
- Cuisine: American
- Diet: Vegetarian
Description
Indulge in the rich, creamy goodness of this no-churn chocolate cherry ice cream. With just a few simple ingredients and easy steps, you can enjoy a delicious frozen treat that’s perfect for any time of year.
Ingredients
For the ice cream:
- 16 oz carton whipping cream
- 10 oz can sweetened condensed milk
- 1 teaspoon vanilla
Additional mix-ins:
- 1 cup cherries, pitted and chopped or quartered
- 1 cup dark chocolate, chopped or chunks
Instructions
- Whip the cream: Using a hand or stand mixer, whip the cream until stiff peaks form.
- Incorporate ingredients: Add sweetened condensed milk and vanilla, continue mixing until well incorporated.
- Add mix-ins: Gently fold in the chopped cherries and chocolate pieces. Reserve some for topping if desired.
- Freeze the ice cream: Pour the mixture into a loaf pan, top with remaining chocolate and cherries. Cover and freeze for 5 to 6 hours.
- Serve: Allow the ice cream to soften slightly, scoop into bowls or cones, and serve immediately.
Nutrition
- Serving Size: 1 serving
- Calories: 290
- Sugar: 23g
- Sodium: 72mg
- Fat: 19g
- Saturated Fat: 12g
- Unsaturated Fat: 5g
- Trans Fat: 0g
- Carbohydrates: 27g
- Fiber: 1g
- Protein: 3g
- Cholesterol: 62mg


Your email address will not be published. Required fields are marked *