

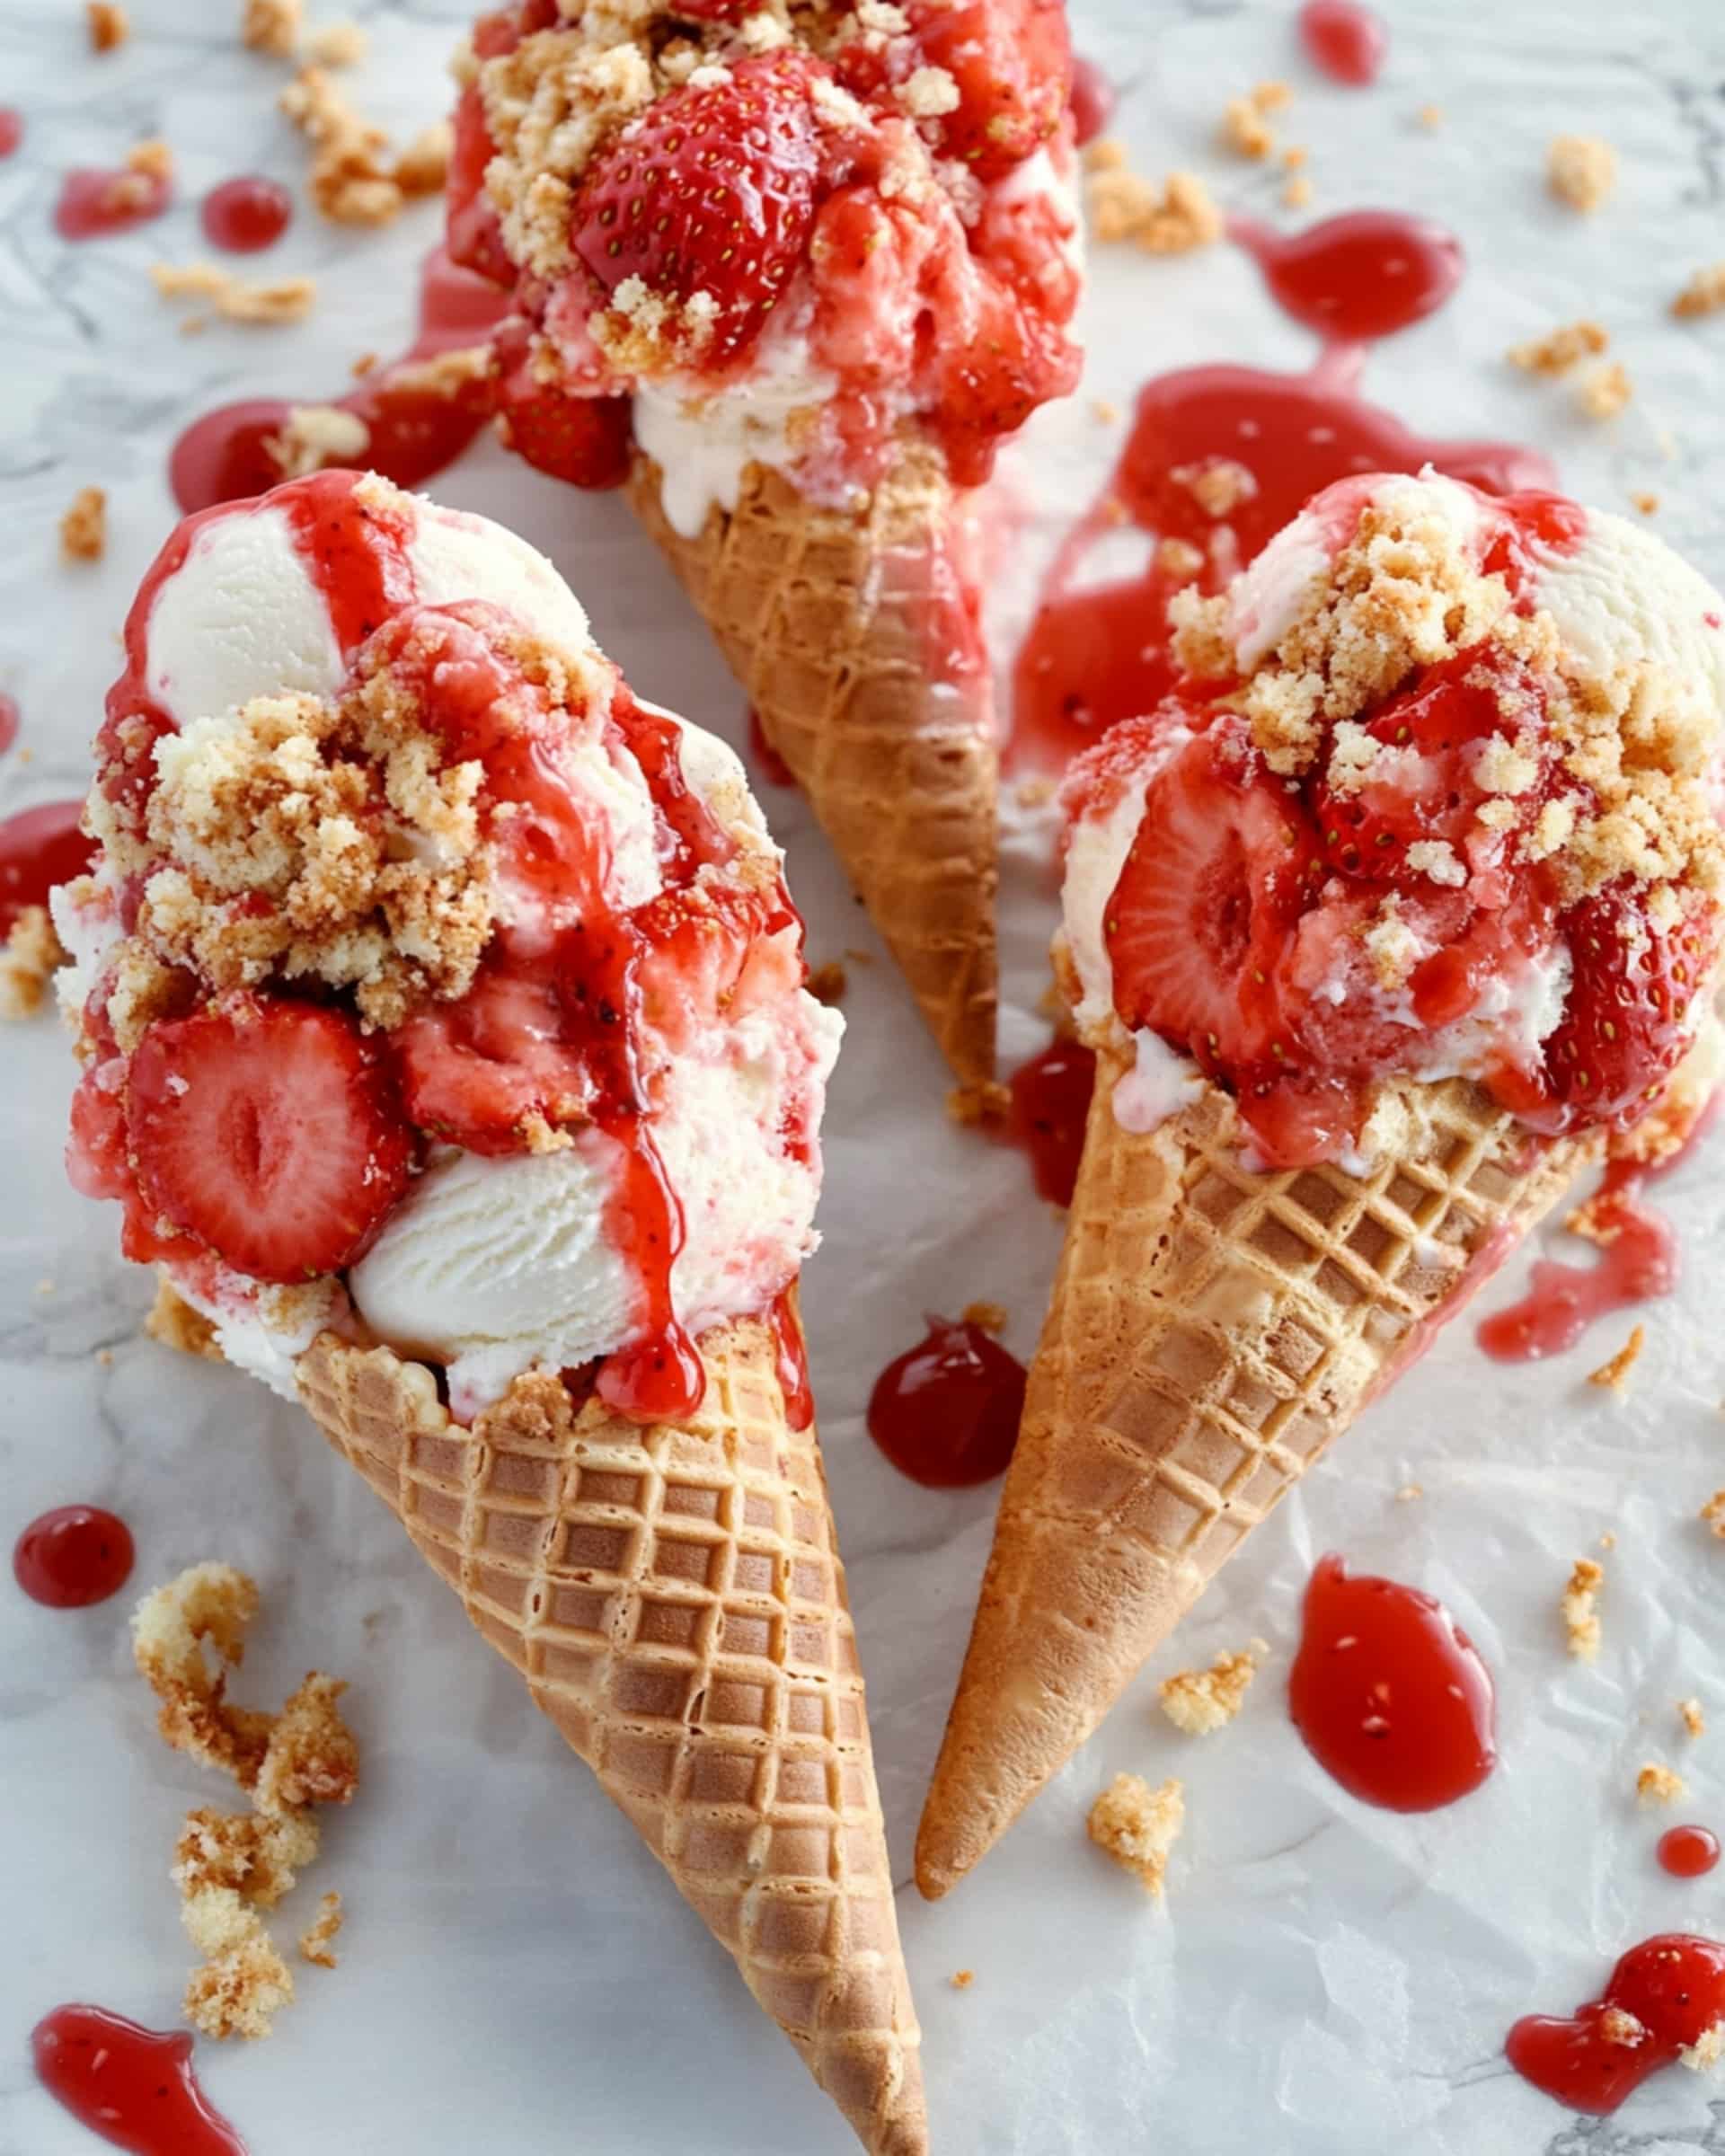
Cheesecake lovers, prepare to meet your new favorite treat: Strawberry Crunch Cheesecake Cones. Imagine the richest, creamiest no-bake cheesecake filling wrapped inside a crisp, chocolate-dipped waffle cone—each bite bursting with juicy fresh strawberries and a sweet, nostalgic strawberry crunch topping. This recipe is an absolute game changer for anyone who’s short on time but still wants to impress, perfect for busy nights, parties, or when you need a quick pick-me-up dessert. It’s easy, fun, and totally irresistible.
Why You’ll Love This Recipe
- Quick & No-Bake: You can make these cones start to finish in about 20 minutes—no oven required and minimal mess.
- Incredible Flavor Textures: Silky cheesecake meets crispy, crunchy, and fresh with every single bite. The combination is pure bliss!
- Visually Stunning: These cones look like a million bucks, with their strawberry-studded tops and drizzle of white chocolate.
- Crowd Pleaser: Whether for kids or adults, these cones always disappear first at any gathering—trust me, people will ask for the recipe.
- Make-Ahead Friendly: You can prep most components ahead, so serving is as simple as fill, top, and chill.

Ingredients You’ll Need
Get ready for big flavors without a long shopping list. Here’s what you’ll need—and why each one matters:
- Strawberry Crunch Topping: Adds the all-important sweet, crumbly, nostalgic crunch. You can use store-bought or homemade.
- No-Bake Cheesecake Filling: The luscious, creamy star of the show. Use a pre-made variety for speed or whip up your own cream cheese-based filling.
- Fresh Strawberries: Diced for juicy bursts and color, these bring freshness to every bite.
- White Chocolate: Melted and used to coat the cones, adding a creamy barrier and extra decadence.
- Strawberry Glaze or Sauce: For a touch of tangy-sweet, fruity flavor between layers. Store-bought or homemade works.
- Waffle or Sugar Cones: The crisp base that holds it all together. Be sure to use fresh, crunchy cones to avoid sogginess.
Tip: Go for waffle cones for an extra sturdy, bakery-style presentation, but sugar cones work if you prefer a smaller portion.
Variations
Ready to mix it up? Here are some fun ways to change the recipe to suit your mood or pantry:
- Chocolate Lovers’ Dream: Use milk or dark chocolate instead of white chocolate to dip the cones and drizzle over the top.
- Berry Bonanza: Swap strawberries for raspberries, blueberries, or a combo for a mixed berry twist.
- Nutty Crunch: Add chopped pistachios or toasted almonds along with the strawberry crunch topping for extra texture.
- Lemon Zing: Fold in a little lemon zest into your cheesecake mixture for a refreshing, citrusy kick.
- Dairy-Free Version: Use a plant-based cheesecake filling and vegan chocolate—no one will miss the dairy!
How to Make Strawberry Crunch Cheesecake Cones
Step 1: Prep the Cones
First, melt the white chocolate as directed on the package until smooth. Dip the upper rim of each cone into the chocolate, carefully tapping off any excess.
Step 2: Crunch Time
Immediately roll the freshly dipped cones in the strawberry crunch topping to cover the chocolate. Set each on a parchment-lined tray to let the chocolate harden—usually just 5-10 minutes.
Step 3: Fill ‘Em Up!
Load your cheesecake filling into a piping or zip-top bag (cut off the corner for piping if you don’t own a piping bag). Squeeze the filling halfway into each cone.
Step 4: Layer the Goodies
Add a spoonful of strawberry glaze or sauce and a sprinkle of diced strawberries over the cheesecake filling.
Step 5: Top It Off
Pipe in more cheesecake filling right to the top of each cone. Heap on more strawberry glaze, extra fresh strawberries, and a hit of strawberry crunch topping.
Step 6: Final Touch
For an extra-special look, drizzle with any remaining melted white chocolate. Sprinkle one last pinch of crunch topping on top.
Step 7: Chill and Serve
Pop the finished cones in the fridge for 10-20 minutes so everything sets. Serve chilled for the best texture (and the prettiest presentation).
Pro Tips for Making the Recipe
- Don’t skip the strawberry crunch coating on the cone rim—it creates a delicious barrier to keep the cones crispy longer!
- Work quickly with the melted chocolate so it doesn’t harden in the bowl before you coat the cones.
- Pipe the cheesecake filling for those classic dessert-shop swirls, but a regular spoon works if you’re in a hurry.
- If assembling ahead, keep the finished cones standing upright in a tall glass in the fridge to prevent tipping.
- Keep ingredients chilled until you’re ready to assemble, especially in warm weather.
How to Serve
Strawberry Crunch Cheesecake Cones are truly a showstopper solo, but here are some fresh ways to enjoy them:
- Dessert Platter: Arrange the cones upright on a platter with extra strawberries or edible flowers for an eye-catching party tray.
- With Beverages: Pair alongside a glass of cold milk, iced coffee, or a summery rosé.
- For Kids: Hand them out straight from the fridge for an easy, no-fuss treat.
- Grown-Up Twist: Add a splash of strawberry liqueur to the glaze or filling for a playful adults-only version.
Tip: Serve immediately for maximum crunch. Once filled, cones are best enjoyed within a few hours.
Make Ahead and Storage
Storing Leftovers
If you have any leftover filled cones, tuck them into the fridge and enjoy within a few hours—the cones will soften over time, but the flavors stay dreamy.
Freezing
It’s best not to freeze assembled cones, but you can freeze just the cheesecake filling for a future quick option. Thaw it overnight in the fridge before piping.
Reheating
No reheating needed—just take them out of the fridge and enjoy!
Note: For best results, keep cones and crunch topping in airtight containers at room temperature, and fillings/glaze in the fridge until ready to combine.
FAQs
Can I use regular ice cream cones instead of waffle or sugar cones?
Absolutely! Just be aware that regular cake cones are a bit more delicate, so fill them right before serving for best results.
What can I use if I can’t find strawberry crunch topping?
Crush up freeze-dried strawberries with vanilla sandwich cookies (like Golden Oreos). Pulse in a food processor and you’ve got a perfect homemade substitute.
Can I make the cheesecake filling in advance?
Yes! Whip up your filling a day ahead, keep it chilled in the fridge, and you’re ready to assemble when dessert o’clock hits.
How do I prevent the cones from getting soggy?
Dip the rim of each cone in chocolate and crunch topping to create a barrier, then fill right before serving for ultimate crispiness.
Final Thoughts
Strawberry Crunch Cheesecake Cones bring together everything you love about summer treats—bright berries, creamy cheesecake, and that unbeatable nostalgic crunch—in a super simple, wait-free recipe. Whether you’re making them for your family, a party, or just because you deserve an extra-special dessert, these cones promise smiles (and requests for seconds!). Go ahead—grab your cones, gather your toppings, and let your creativity shine. You’ll be craving these again and again!
Print
Strawberry Crunch Cheesecake Cones Recipe
- Prep Time: 20 minutes
- Cook Time: 0 minutes
- Total Time: 20 minutes
- Yield: 6 cones 1x
- Category: Desserts
- Method: No-cook
- Cuisine: American
- Diet: Vegetarian
Description
Strawberry Crunch Cheesecake Cones are a quick, no-bake dessert that combines creamy cheesecake filling, fresh strawberries, strawberry crunch topping, and white chocolate in a fun, handheld treat. Ideal for parties or special occasions, these cones deliver the perfect mix of textures and flavors with minimal prep time.
Ingredients
For the Cones
- 6 Waffle or Sugar Cones
For Decorating the Cones
- 5 oz white chocolate, melted
- 1 cup Strawberry Crunch Topping
For the Filling
- 24 oz No Bake Cheesecake Filling (premade or homemade)
- 6–8 strawberries, diced
- Strawberry Glaze or Sauce, as needed
Instructions
- Melt the White Chocolate: Melt the white chocolate according to the package directions until smooth and pourable.
- Coat the Cones: Dip the top part of each waffle or sugar cone into the melted white chocolate, tapping off any excess.
- Add Strawberry Crunch: Immediately roll the white chocolate covered part of the cone in strawberry crunch topping so it adheres well.
- Set the Cones: Place cones on a parchment-lined baking sheet and let them harden for 5-10 minutes so the chocolate sets.
- Prepare the Filling Bag: Transfer the no-bake cheesecake filling into a piping bag or Ziploc bag and snip off one corner for easy filling.
- Initial Filling: Pipe cheesecake filling halfway into each cone. Add a small spoonful of strawberry glaze and a few fresh strawberry pieces on top.
- Final Filling: Continue piping in cheesecake filling to fill each cone to the top. Top with more strawberry glaze and extra diced strawberries.
- Finish & Decorate: Sprinkle additional strawberry crunch topping on top, drizzle more melted white chocolate if desired, and add another dusting of crunch topping.
- Repeat: Repeat the process for all cones.
- Chill & Serve: Chill the assembled cones in the refrigerator for 10-20 minutes before serving for best texture.
Notes
- You can prepare the strawberry glaze and cheesecake filling up to 1 day in advance. Store them in the refrigerator until ready to assemble.
- Keep the strawberry crunch topping and waffle cones in an airtight container to maintain freshness.
- Assemble the cones just before serving to prevent sogginess—the cones get soft within a few hours.
Nutrition
- Serving Size: 1 cone
- Calories: ~340
- Sugar: 18g
- Sodium: 170mg
- Fat: 16g
- Saturated Fat: 9g
- Unsaturated Fat: 6g
- Trans Fat: 0g
- Carbohydrates: 42g
- Fiber: 2g
- Protein: 5g
- Cholesterol: 20mg

Your email address will not be published. Required fields are marked *