

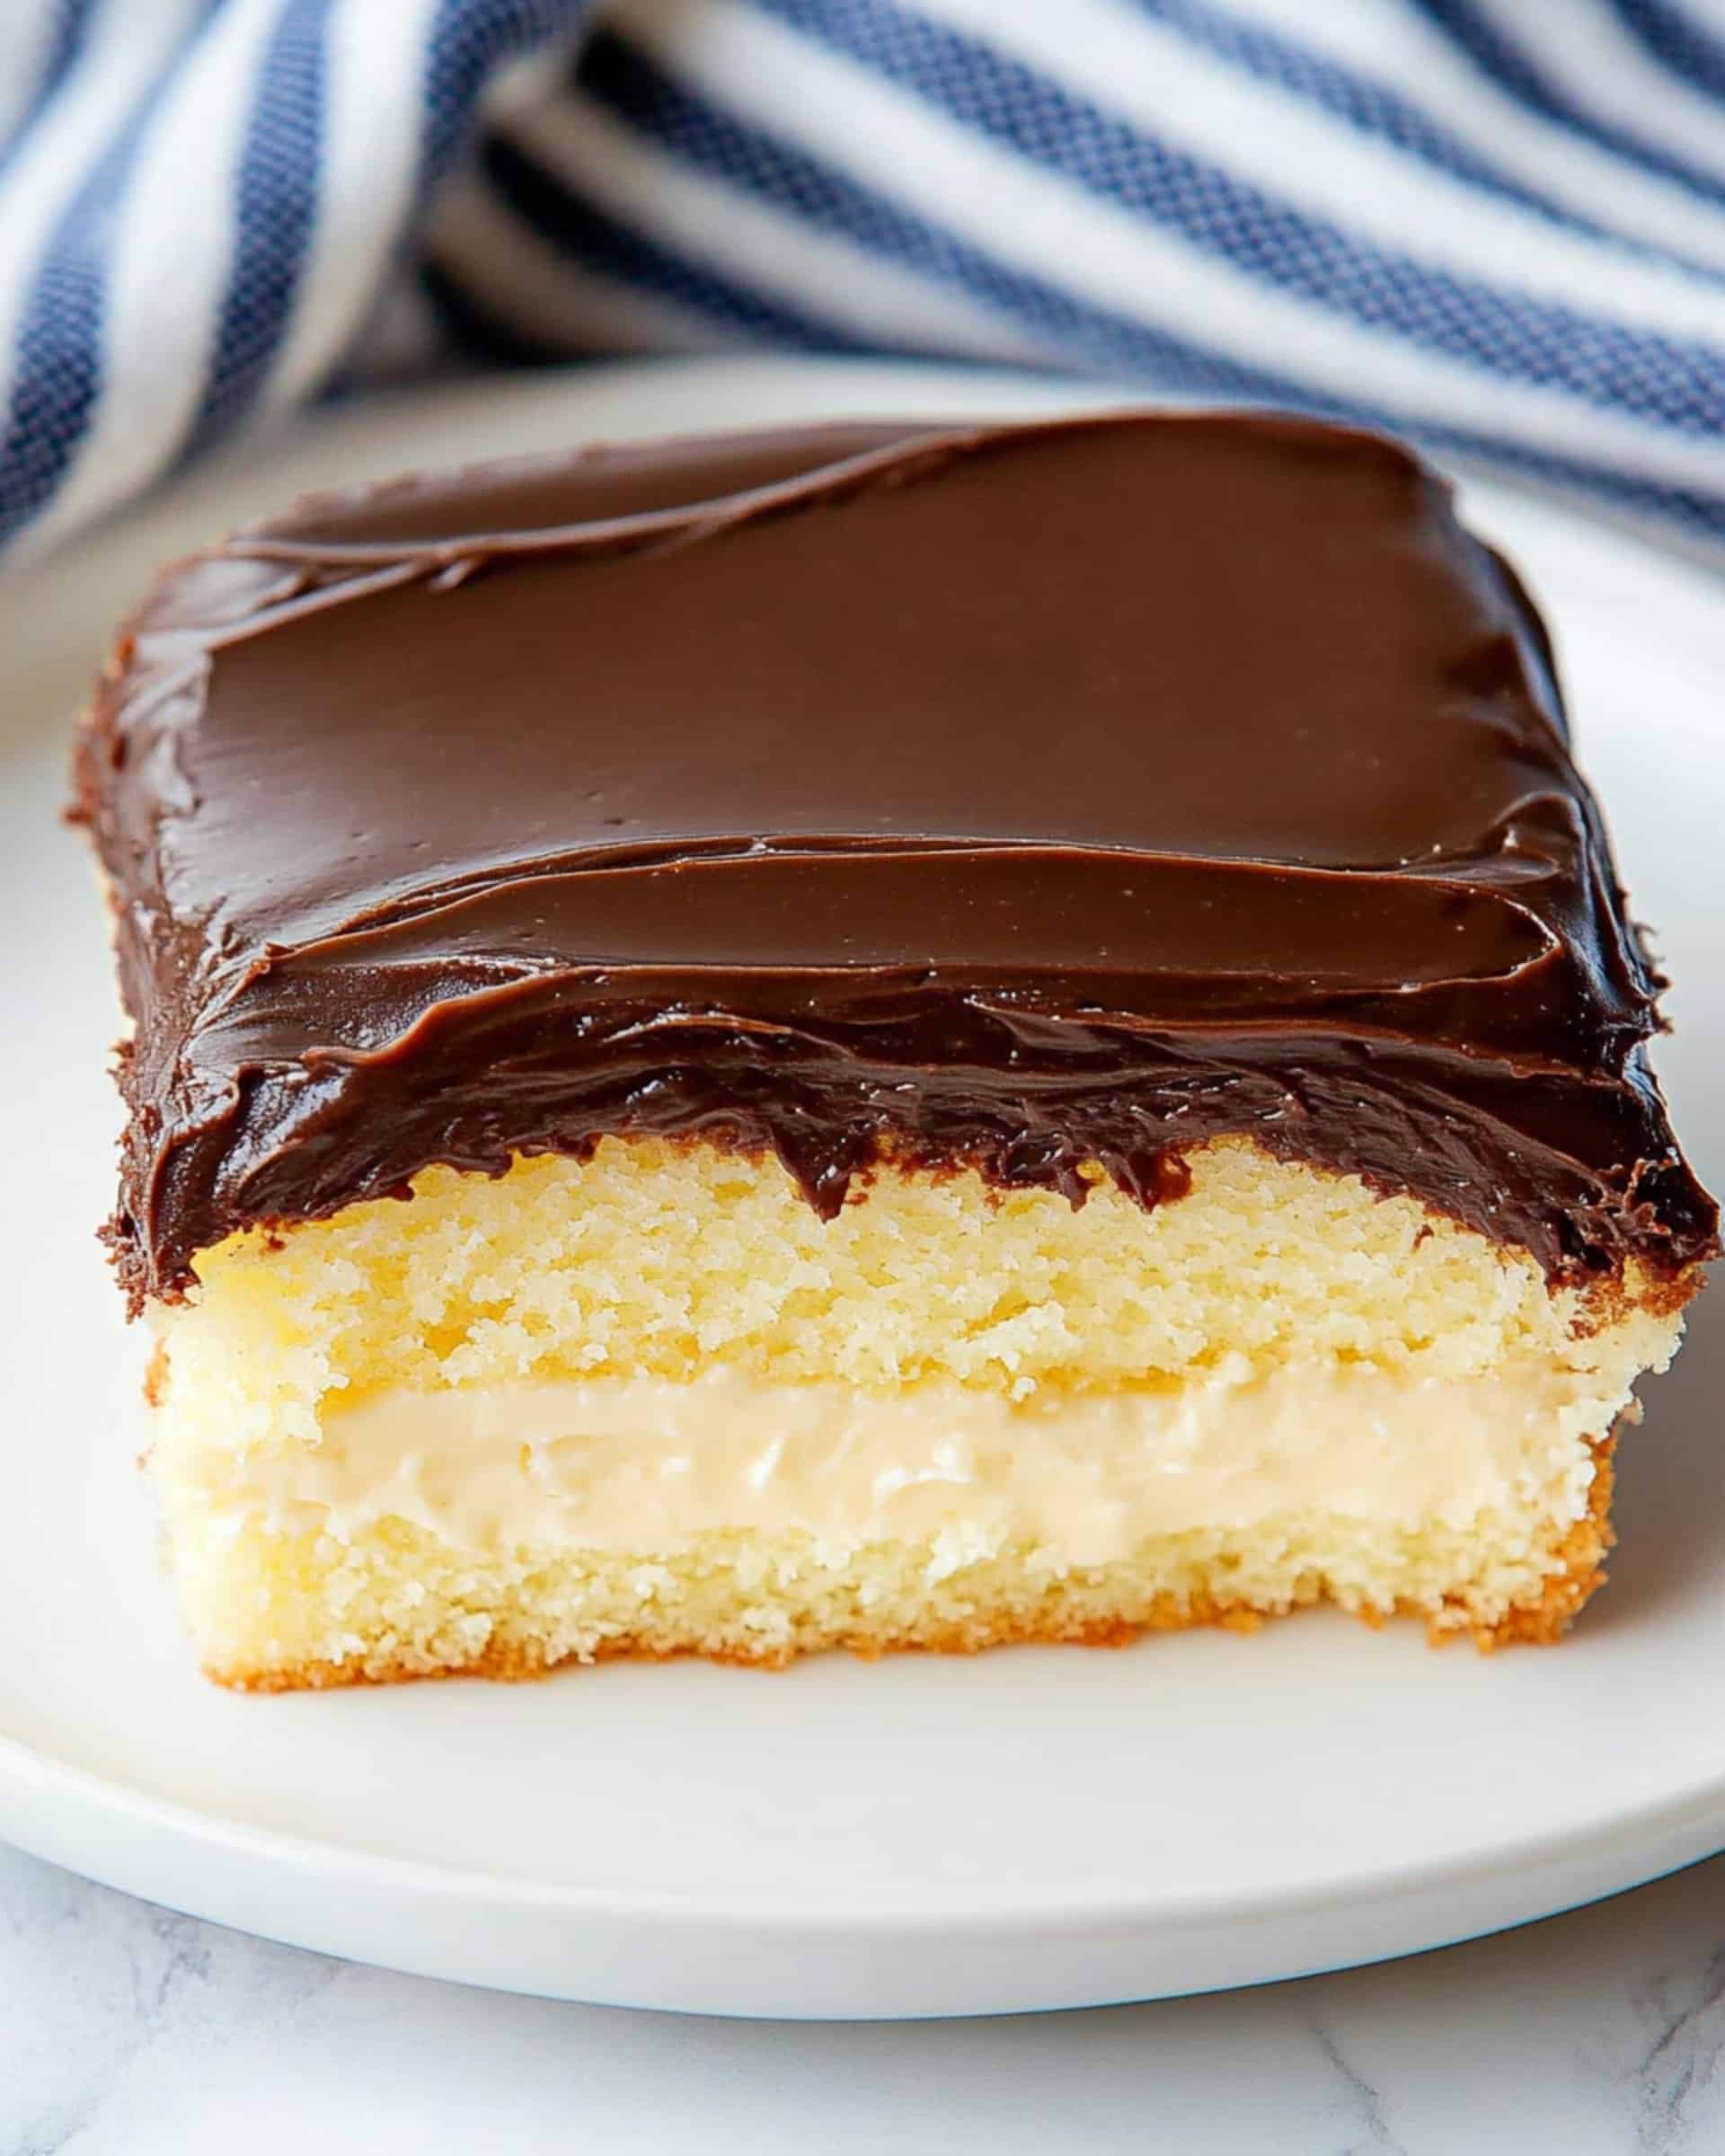
This irresistible Boston Cream Poke Cake transforms the classic Boston cream pie into an even easier, more indulgent dessert that will have everyone asking for seconds! The moist yellow cake soaks up creamy vanilla pudding, while the silky chocolate frosting creates that signature Boston cream flavor profile we all know and love. Perfect for potlucks, family gatherings, or when you need a simple yet impressive dessert that tastes like you spent hours in the kitchen!
Why You’ll Love This Recipe
- No-Fuss Elegance: Get all the flavors of a traditional Boston cream pie with half the effort! No stacking or careful assembly required.
- Make-Ahead Magic: This cake actually gets better as it sits, making it perfect for preparing a day before your gathering.
- Crowd-Pleaser: The combination of moist cake, creamy pudding, and rich chocolate appeals to practically everyone – it’s that perfect balance of flavors and textures.
- Foolproof Results: Even if you’re not an experienced baker, this recipe delivers impressive results every time with simple ingredients and techniques.

Ingredients You’ll Need
- Yellow Cake Mix: The foundation of our dessert, providing that perfect golden, vanilla-forward base. Follow the box instructions for additional ingredients like eggs, oil, and water.
- Vanilla Pudding Mix: Creates that custard-like filling that’s characteristic of Boston cream desserts. The pudding will seep into the holes, creating pockets of creamy goodness throughout the cake.
- Chocolate Frosting: The crowning glory that provides the classic chocolate top layer. Store-bought frosting works perfectly here and saves significant time.
- Basic Pantry Items: You’ll need whatever ingredients your cake mix and pudding call for (typically eggs, oil, water, and milk).
Variations
Flavor Twists
- Chocolate Lover’s Version: Use chocolate cake mix instead of yellow for a double-chocolate experience.
- Coffee Infusion: Add 1 teaspoon of espresso powder to the chocolate frosting for a mocha twist.
- Banana Cream: Use banana cream pudding instead of vanilla for a tropical variation.
Decoration Ideas
- Fresh Berries: Top with fresh strawberries or raspberries for a fruity contrast.
- Chocolate Shavings: Sprinkle chocolate curls on top for an elegant finish.
- Whipped Cream Dollops: Add small dollops of whipped cream before serving for extra decadence.
How to Make Boston Cream Poke Cake
Step 1: Bake the Cake
Prepare your yellow cake according to the package directions for a 9×13 pan. Bake until a toothpick inserted in the center comes out clean, then allow it to cool completely. This is crucial—a warm cake won’t absorb the pudding properly.
Step 2: Create the Holes
Take a wooden spoon handle (or a straw for smaller holes) and poke holes all over the cake surface. Don’t be shy here—you want plenty of cavities for the pudding to fill.
Step 3: Prepare and Add the Pudding
Mix up both boxes of vanilla pudding according to package instructions. While it’s still liquid (before it sets completely), pour it over your cake, using a spatula to guide it into all those wonderful holes you created.
Step 4: Chill Time
Cover the cake and refrigerate for at least 30 minutes, though overnight is even better. This resting period allows the pudding to fully infiltrate the cake, creating that signature texture.
Step 5: Add the Chocolate Topping
Warm the chocolate frosting in the microwave for 30-60 seconds until it reaches a pourable consistency. Spread it evenly across the top of the pudding layer. Return the cake to the refrigerator for another 30 minutes to allow the chocolate to set.
Step 6: Serve and Enjoy
Cut into squares and watch as everyone marvels at those beautiful layers of yellow cake, creamy pudding, and glossy chocolate!
Pro Tips for Making the Recipe
- Even Holes: Space your pokes evenly throughout the cake for consistent pudding distribution.
- Warm Frosting: Don’t skip warming the frosting—it creates that smooth, pourable consistency that sets into a beautiful, glossy top layer.
- Cool Completely: Make sure your cake is fully cooled before poking holes and adding pudding to prevent a soggy mess.
- Instant Pudding: Use instant pudding rather than cook-and-serve for best results in this recipe.
How to Serve
Perfect Pairings
Serve this cake with a scoop of vanilla ice cream for an extra indulgent treat, or balance the sweetness with a cup of strong coffee or hot tea.
Presentation Ideas
For a restaurant-worthy presentation, dust the top with a little powdered sugar just before serving, or add a mint leaf garnish for a pop of color.
Special Occasions
This cake is perfect for birthdays, potlucks, or Sunday family dinners. It’s impressive enough for celebrations but easy enough for everyday dessert cravings.
Make Ahead and Storage
Storing Leftovers
Keep leftover cake covered in the refrigerator for 5-7 days. The flavors actually continue to meld and improve for the first couple of days!
Freezing
This cake freezes beautifully! Wrap individual slices or the entire remaining cake well with plastic wrap and aluminum foil. Freeze for up to 3 months.
Reheating
No need to reheat—simply thaw frozen cake in the refrigerator overnight, then let it sit at room temperature for about 30 minutes before serving for the best texture and flavor.
FAQs
Can I use a homemade cake instead of a box mix?
Absolutely! A homemade vanilla or yellow cake works wonderfully in this recipe. Just make sure it’s not too delicate in texture, as you need it sturdy enough to hold up to the poking and pudding.
Why did my pudding not sink into the holes?
This usually happens if the pudding has started to set before pouring it over the cake. Make sure to pour the pudding while it’s still in its liquid state, right after mixing. Also, check that your holes are large and deep enough.
Can I make this cake with other pudding flavors?
Definitely! While vanilla pudding gives you the classic Boston cream flavor, feel free to experiment with chocolate, cheesecake, or even lemon pudding for interesting variations.
How far in advance can I make this cake?
This cake is at its best when made 1-2 days ahead. The extra time allows the flavors to meld perfectly, while the cake still maintains its ideal texture. I wouldn’t go beyond 2 days before serving for the freshest results.
Final Thoughts
This Boston Cream Poke Cake brings together all the flavors you love about the classic dessert in a format that’s perfect for sharing. The beautiful layers, the blend of vanilla and chocolate, and that incredibly moist texture make this a standout dessert that’s sure to become a regular in your recipe rotation. Whether you’re a seasoned baker or just starting out, this forgiving and flexible recipe delivers impressive results every time. Give it a try—your friends and family will thank you!
Print
Boston Cream Poke Cake Recipe
- Prep Time: 15 minutes
- Cook Time: 30 minutes
- Total Time: 1 hour 45 minutes
- Yield: 16 servings 1x
- Category: Desserts
- Method: Baking
- Cuisine: American
- Diet: Vegetarian
Description
Boston Cream Poke Cake is a simple and delicious dessert that combines the flavors of classic Boston cream pie with the ease of a poke cake. Moist yellow cake is filled with creamy vanilla pudding and topped with rich chocolate frosting for a crowd-pleasing treat.
Ingredients
Cake
-
- 1 box yellow cake mix
- Ingredients listed on the cake mix box (usually eggs, oil, water)
Pudding
-
- 2 (3.4 oz) boxes vanilla pudding mix
- Ingredients listed on the pudding mix boxes (usually cold milk)
Topping
- 1 (16 oz) tub chocolate frosting
Instructions
- Prepare the Cake: Preheat your oven according to the package instructions. Prepare the yellow cake mix as directed on the box for a 9×13-inch pan, including all required ingredients. Bake according to package directions. Allow the cake to fully cool once it has finished baking.
- Poke Holes in the Cake: Once the cake is cool, use a straw or the handle of a wooden spoon to poke holes evenly throughout the surface of the cake, reaching about two-thirds of the way down.
- Prepare the Pudding: Make the vanilla pudding by following the instructions on the package using the required amount of cold milk. Whisk until smooth and slightly thickened, but still pourable.
- Add Pudding to Cake: Spoon the pudding evenly over the cake, gently pressing down with a spatula to help the pudding seep into the holes. Spread the remainder over the top for an even layer.
- Chill the Cake: Cover the cake and refrigerate for at least 30 minutes, or preferably overnight, to allow the pudding to soak into the cake.
- Frost the Cake: Place the tub of chocolate frosting in the microwave and warm for 30–60 seconds, or until smooth and easily spreadable. Pour the frosting over the chilled pudding layer and use a spatula or knife to spread evenly across the cake.
- Set and Serve: Refrigerate the finished cake for at least another 30 minutes to allow the chocolate layer to set. Slice into squares, serve, and enjoy!
Notes
- This cake is a great dessert to make a day ahead—it tastes even better as the flavors meld.
- Store leftover cake in an airtight container in the refrigerator for 5-7 days.
- You can freeze the cake; thaw in the refrigerator for a day before serving.
- Ensure the cake is completely cooled before adding pudding to prevent it from soaking too quickly or melting.
- Microwaving frosting makes it easier to spread and creates a smooth, glossy finish.
Nutrition
- Serving Size: 1 square (1/16 of 9×13-inch cake)
- Calories: 310
- Sugar: 32g
- Sodium: 390mg
- Fat: 12g
- Saturated Fat: 4g
- Unsaturated Fat: 6g
- Trans Fat: 0g
- Carbohydrates: 49g
- Fiber: 1g
- Protein: 3g
- Cholesterol: 30mg

Your email address will not be published. Required fields are marked *