
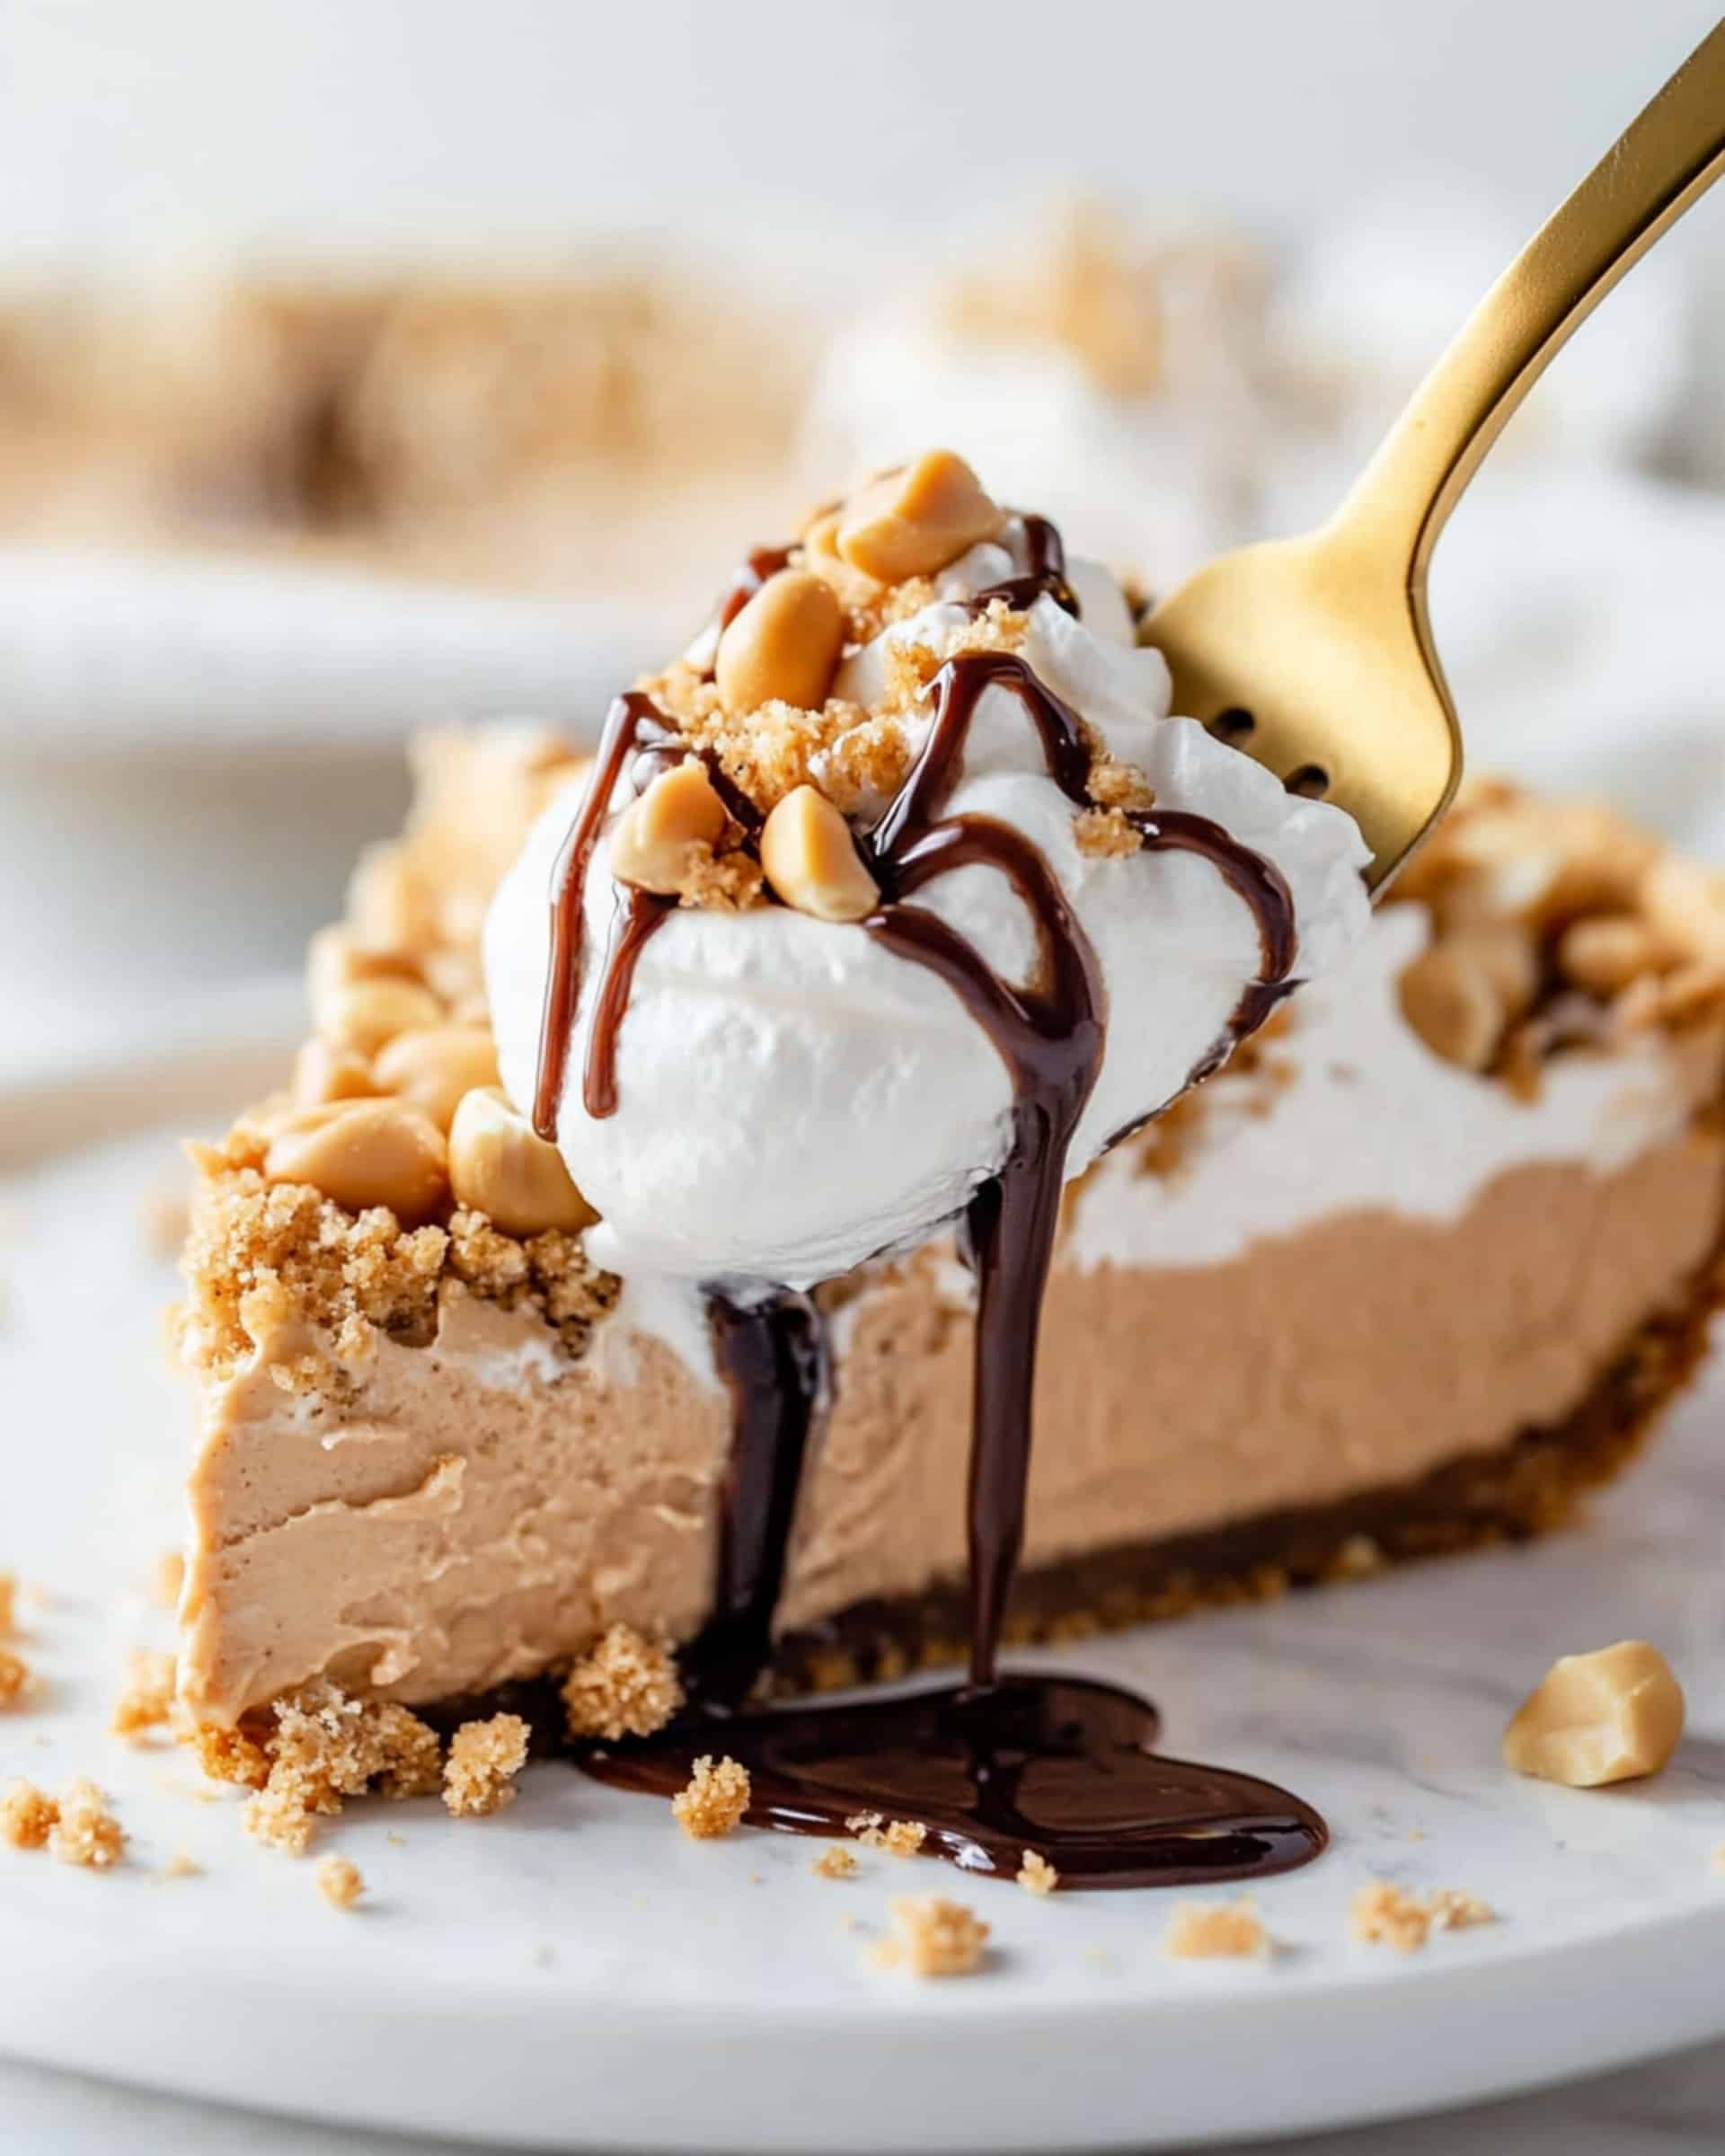
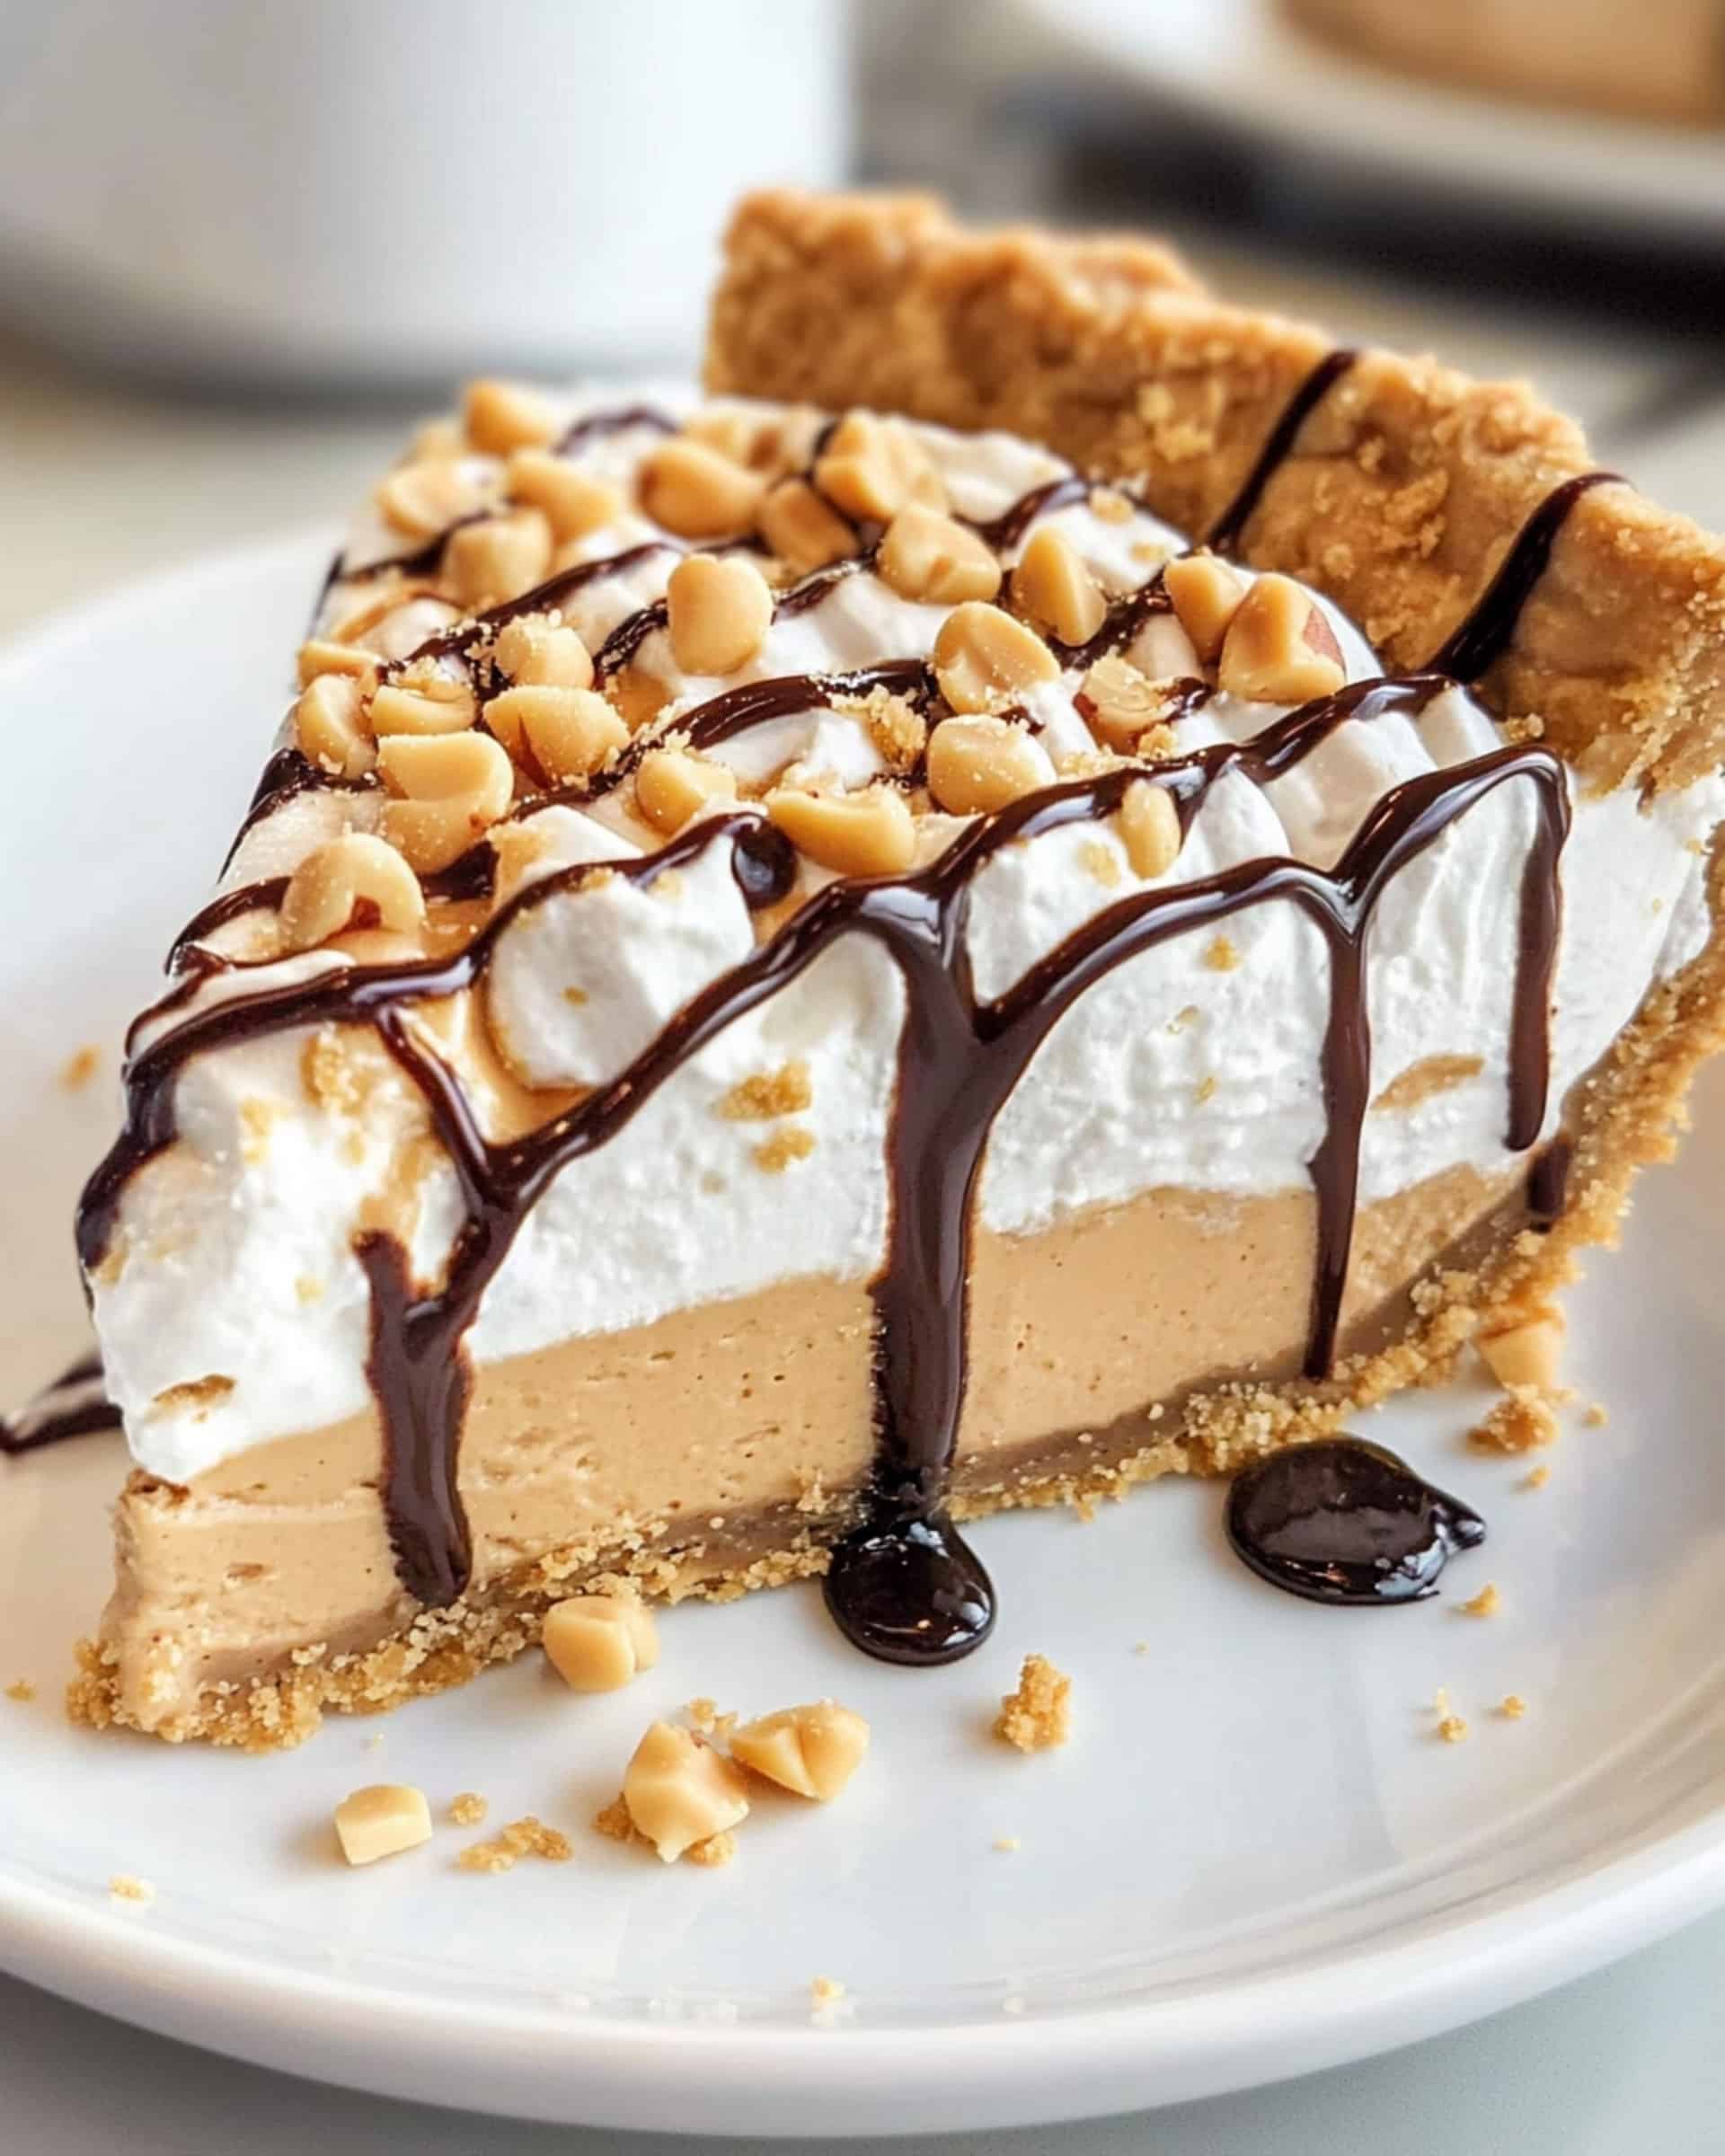
This decadent No-Bake Peanut Butter Pie is the ultimate crowd-pleaser that comes together in just minutes! With its creamy peanut butter filling and light, fluffy texture, this dessert strikes the perfect balance between rich indulgence and cloud-like softness. The best part? Your oven gets to take the night off while you whip up this impressive treat!
Why You’ll Love This Recipe
- Ridiculously Easy: Just mix, fold, pour, and chill—no baking skills required! Perfect for those hot summer days when you don’t want to turn on the oven.
- Time-Saving Wonder: With only 10 minutes of prep time, you can focus on enjoying your evening instead of spending hours in the kitchen.
- Crowd-Pleaser: This pie consistently earns rave reviews—even the pickiest eaters will be coming back for seconds!
- Make-Ahead Magic: Prepare this pie days in advance and simply pull it out when you’re ready to impress your guests.

Ingredients You’ll Need
- Premade graham cracker pie crust: The perfect crispy, slightly sweet foundation that complements the creamy filling. Grab one from the store to save even more time!
- Peanut butter: The star of the show! Use a creamy variety for the smoothest texture, though crunchy works too if you want some texture contrast.
- Cream cheese: Adds a wonderful tanginess that balances the sweetness. Make sure it’s softened to room temperature for easy mixing.
- Confectioners’ sugar: Sweetens the filling without the grittiness of granulated sugar, creating that silky-smooth texture we’re after.
- Whipped topping (Cool Whip): The secret to the pie’s cloudlike consistency. One container goes into the filling, while additional topping creates that beautiful finishing layer.
- Optional toppings: Chopped salted peanuts and chocolate sauce take this pie from delicious to absolutely spectacular with that sweet-salty contrast.
Variations
Want to customize your peanut butter pie? Try these tasty twists:
- Chocolate Lover’s Version: Add a layer of chocolate ganache on the bottom of the crust before adding the filling.
- Crunchy Delight: Mix in some crushed Reese’s Peanut Butter Cups or chocolate chips into the filling for little bursts of texture and flavor.
- Cookie Crust: Swap the graham cracker crust for an Oreo cookie crust to create a chocolate-peanut butter masterpiece.
- Banana Addition: Place sliced bananas on the crust before adding the filling for a peanut butter-banana combo that’s absolutely divine.
How to Make No-Bake Peanut Butter Pie
Step 1: Prepare the Filling
In a large bowl, combine cream cheese, peanut butter, and confectioners’ sugar. Whip until completely smooth and no lumps remain. The mixture should be thick but not stiff.
Step 2: Fold in Whipped Topping
Gently fold in the 8 oz container of Cool Whip whipped topping using a rubber spatula. Work with a light hand to maintain the air and fluffiness, continuing until well combined and no white streaks remain.
Step 3: Fill the Crust
Pour the peanut butter mixture into your graham cracker crust, spreading it evenly with a spatula to fill the entire shell. Make sure to create a smooth, level surface.
Step 4: Add Topping Layer
Spread the additional 4 oz of whipped topping over the peanut butter layer, working from the center outward, and smooth all the way to the edges for a professional finish.
Step 5: Chill and Set
Place the pie in the refrigerator for at least 2 hours, though longer is even better. This crucial chilling time allows the flavors to develop and the pie to set to the perfect consistency.
Step 6: Garnish and Serve
Just before serving, sprinkle with chopped salted peanuts and drizzle with chocolate sauce if desired (and trust me, you’ll want to!).
Pro Tips for Making the Recipe
- Room Temperature Cream Cheese: Make sure your cream cheese is properly softened to avoid lumps in your filling.
- Don’t Skimp on Chilling Time: The two-hour minimum chill is essential—overnight is even better for developing flavors.
- Clean Knife Technique: For picture-perfect slices, use a sharp knife and wipe it clean between cuts.
- Save Some Topping: Reserve a small amount of the whipped topping to pipe decorative borders around the edge if you’re feeling fancy.
- Prevent Freezer Burn: If freezing, wrap first in plastic, then in foil for double protection against freezer burn.
How to Serve
This peanut butter pie is incredibly versatile when it comes to serving options:
Perfect Pairings:
Serve with a scoop of vanilla ice cream or a strong cup of coffee to balance the richness.
Special Occasions:
For birthdays or celebrations, consider adding candles or writing a message with chocolate syrup on top.
Everyday Elegance:
A simple dusting of cocoa powder or a light sprinkle of sea salt can elevate this pie for a weeknight dessert that feels special.
Make Ahead and Storage
Storing Leftovers
Cover any remaining pie tightly with plastic wrap and store in the refrigerator for up to 5 days. The texture may become slightly firmer but will remain delicious.
Freezing
This pie freezes beautifully! Wrap it carefully with plastic wrap and then aluminum foil to prevent freezer burn. It will keep for up to 3 months frozen.
Reheating
No reheating needed! For frozen pie, simply transfer to the refrigerator the night before serving, or let individual slices sit at room temperature for about 15-20 minutes before enjoying.
FAQs
Can I use natural peanut butter for this recipe?
Natural peanut butter can work, but may create a less stable filling due to its oils separating. For best results, use commercial creamy peanut butter like Jif or Skippy that doesn’t require stirring. If you prefer natural, make sure it’s well-mixed before measuring.
Is there a dairy-free alternative I can use?
Absolutely! You can substitute dairy-free cream cheese and coconut whipped topping to make this pie completely dairy-free. The texture might be slightly different, but the flavor will still be delicious with that perfect peanut butter punch.
Can I make this pie without Cool Whip?
Yes! You can substitute homemade whipped cream by whipping 2 cups of heavy cream until stiff peaks form. For the topping layer, just reserve about a quarter of your whipped cream. Add 2-3 tablespoons of powdered sugar to help stabilize it.
How far in advance can I make this pie?
This pie is perfect for planning ahead! You can make it up to 3 days in advance and store it in the refrigerator, or freeze it for up to 3 months. Just add any fresh toppings like chopped peanuts right before serving.
Final Thoughts
This No-Bake Peanut Butter Pie is truly the perfect dessert for any occasion—whether you’re a novice in the kitchen or simply short on time. With its irresistible combination of creamy peanut butter filling and light, airy texture, it’s sure to become your go-to dessert recipe. Give it a try this week—I promise you’ll be amazed at how something so simple can taste so incredible!
Print
No-Bake Peanut Butter Pie Recipe
- Prep Time: 10 minutes
- Cook Time: 0 minutes
- Total Time: 2 hours 10 minutes
- Yield: 8 servings 1x
- Category: Desserts
- Method: No-cook
- Cuisine: American
- Diet: Vegetarian
Description
This No Bake Peanut Butter Pie recipe is a quick and easy dessert made with a creamy peanut butter and cream cheese filling, set in a graham cracker crust and topped with fluffy whipped topping. Perfect for any occasion, this pie comes together in minutes with minimal effort and no baking required, making it a crowd-pleasing treat that can be made ahead of time.
Ingredients
-
Pie Crust
- 1 premade graham cracker pie crust
-
Filling
- 3/4 cup peanut butter
- 4 oz cream cheese, softened
- 1 cup confectioners’ sugar
- 8 oz whipped topping (such as Cool Whip)
-
Topping
- 4 oz whipped topping
- Chopped salted peanuts (optional, for garnish)
- Chocolate sauce (optional, for garnish)
Instructions
- Prepare Filling: In a large bowl, combine the softened cream cheese, peanut butter, and confectioners’ sugar. Whip the mixture until it is smooth and well blended, ensuring no lumps remain.
- Fold in Whipped Topping: Gently fold in 8 oz of whipped topping into the peanut butter mixture. Mix until all ingredients are well incorporated and the filling is light and airy.
- Assemble Pie: Pour the prepared filling into the premade graham cracker pie crust. Use a spatula to spread the filling evenly, filling the crust completely.
- Add Topping: Spread the additional 4 oz of whipped topping evenly over the top of the filled pie. Smooth the topping to the edges to create an even layer.
- Chill: Place the pie in the refrigerator and chill for at least 2 hours to allow the filling to set and the flavors to develop.
- Garnish and Serve: Before serving, top the pie with chopped salted peanuts and a drizzle of chocolate sauce, if desired. Slice and serve chilled.
Notes
- Chill the pie for at least 2 hours to firm it up and develop the flavors.
- Use a large, sharp knife to cut neat slices, cleaning the knife between cuts for best presentation.
- To freeze the pie, cover it with plastic wrap and then foil to prevent freezer burn.
- When ready to serve from frozen, slice with a sharp knife while still firm.
- Store leftovers tightly covered and return to the fridge or freezer promptly.
- The pie can be made several days ahead for convenience.
Nutrition
- Serving Size: 1 slice (1/8 pie)
- Calories: 420
- Sugar: 21g
- Sodium: 320mg
- Fat: 26g
- Saturated Fat: 8g
- Unsaturated Fat: 15g
- Trans Fat: 0g
- Carbohydrates: 41g
- Fiber: 2g
- Protein: 7g
- Cholesterol: 17mg

Your email address will not be published. Required fields are marked *